Real estate photography isn’t just about taking professional pictures. You have to create a sense of desire in potential buyers.
Looking for real estate photography focusing tips? Begin with pre-production and managing the natural light in your pictures. You always need to highlight a property’s best features. Find out the selling point of your real estate and focus on that!
Finally, refine your creation during the post-processing. You can use photo-editing software like Photoshop and Illustrator. To learn more about the ins and outs of real estate photography, keep reading!
Why is Focusing So Important in Real Estate Photography?
Most real estate buyers browse photos online first. Imagine seeing a picture of a beautiful kitchen, but it’s too blurry for you to notice the features. You’ll naturally look for another listing.
This is why focusing is crucial in real estate photography. Here’s how focusing impacts your photography –
Show Off the Good Stuff
Great real estate photography highlights the best features of a house.
Whether it’s a fancy fireplace or a gorgeous view, sharp focus makes sure these details are crystal clear.
Buyers can’t fall in love with what they can’t see!
Show Off the Good Stuff
If you focus sharply on the foreground, it can create a sense of depth in the photo. This makes it easier for potential buyers to virtually “walk through” the space and understand the layout and size of the rooms.
Professional Appeal
Sharp, focused images show professionalism and attention to detail. This builds trust and confidence in potential buyers. Now they’re more likely to consider the property!
Real Estate Photography Focusing: 10 Best Tips to Remember!
Real estate photography can be a bit tricky. You have to find the right lighting, angle, and composition for the best picture. That’s why we’ve made a list of the top ten real estate photography focusing tips for you!
Follow these easy tips to get the best results –
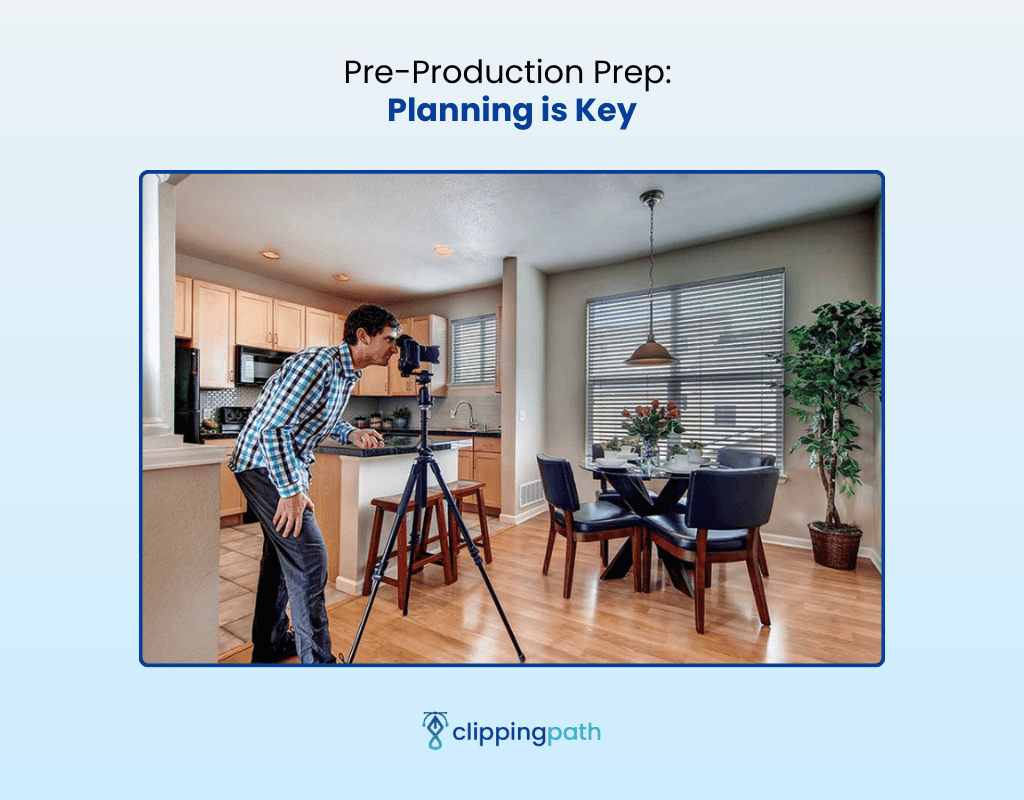
1. Pre-Production Prep: Planning is Key
Before you even touch your camera, take some time to plan your shoot. Here’s what you’ll need:
- Shot List: This roadmap makes sure you capture all the important angles of each room. You should include the exterior and unique features too.
- Camera Setup: What’s the best camera setup for real estate photography? We recommend taking wide shots, close-ups of architectural details, and even lifestyle shots!
- Schedule the Shoot: Wondering what the best lighting is? It’s no other than natural light! The late afternoon works best when sunlight creates a warm glow. Always coordinate with the seller before scheduling!
- Gear Up: You should have a strong tripod, a wide-angle lens (around 24mm), and a level are essential tools. If you want to reduce camera shake or bouncy lights, get a remote shutter release and flash diffuser.
2. Learning to Manage Natural Light
Natural light is your best friend in real estate photography. Open all curtains and blinds to bathe the rooms in a soft and inviting glow.
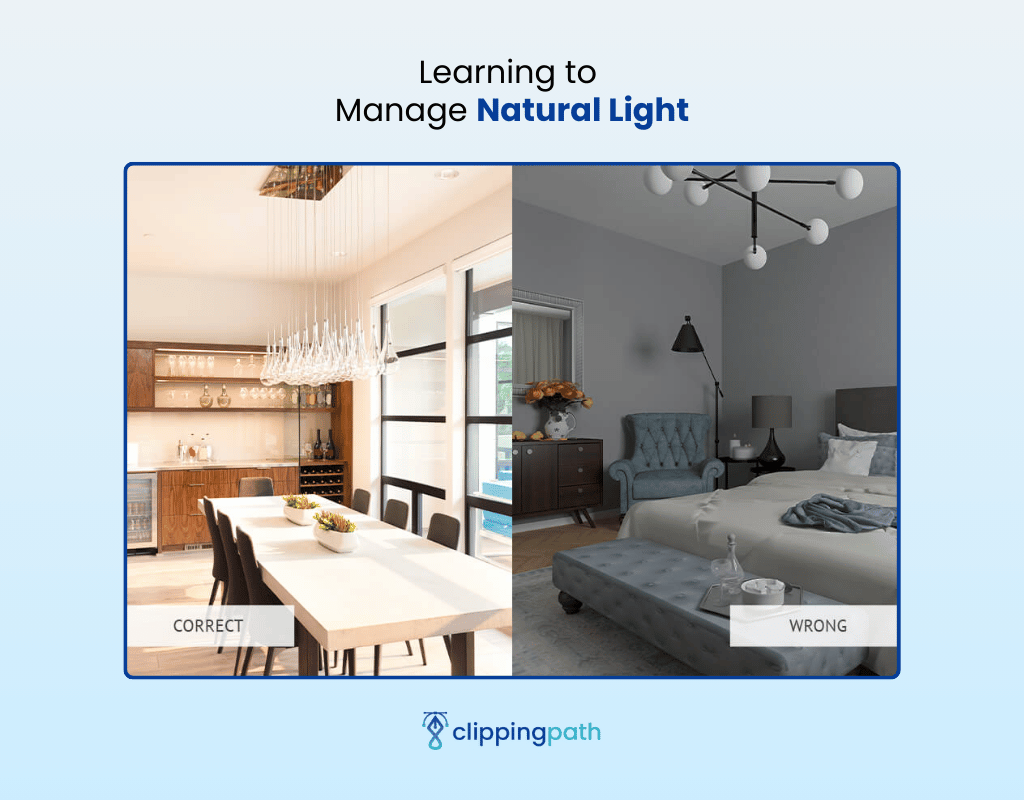
- Diffused Light is Best: Direct sunlight can create harsh shadows and uneven exposure. You can use sheer curtains or bounce light with a reflector for softer illumination.
- Embrace the Golden Hour: The hour or two after sunrise and before sunset offer the best natural light. This creates a warm, golden hue that makes everything look simply stunning.
- Supplies When Needed: In low-light situations, use a flash on a low setting off-camera. This is how you can add a touch of light without washing out the scene. Experiment with bouncing the flash off a wall or ceiling for a more natural look!
3. Focus on Composition for Better Real Estate Photos
Want to create a visually pleasing image? You have to know the art of arranging elements in your frame
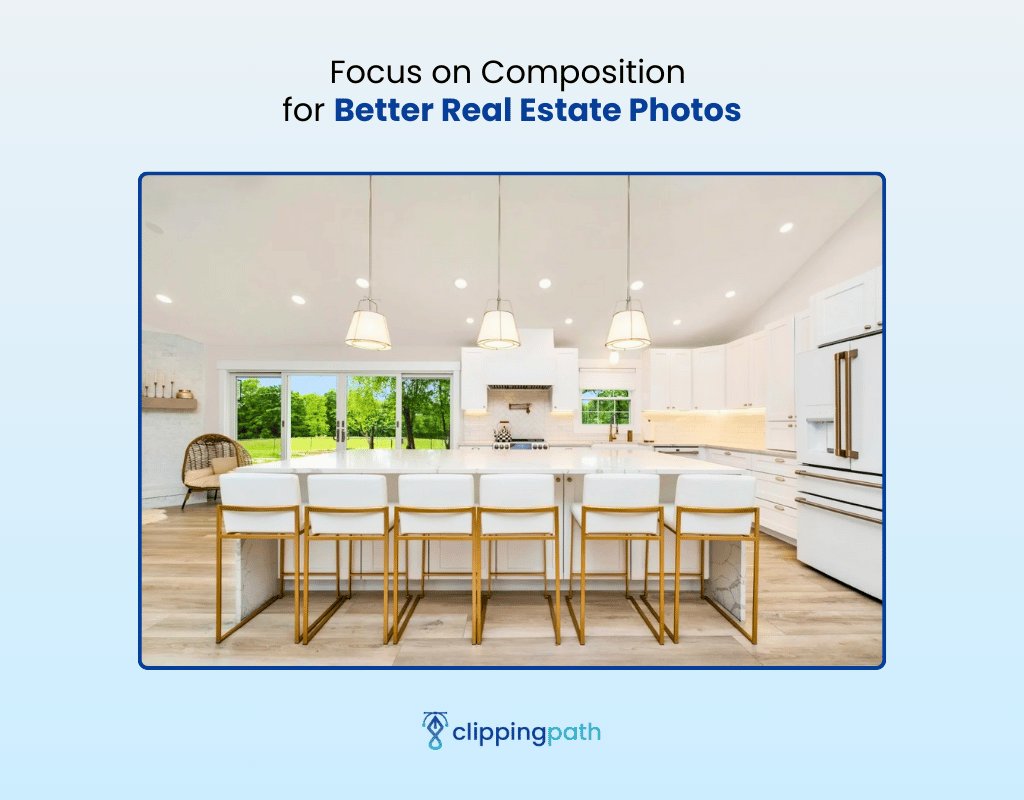
Here are two important composition techniques you can use:
- Rule of Thirds
Don’t just place everything in the center! You need to think about the best full-frame camera for real estate photography.
Imagine dividing your frame into a 3×3 grid. Now, place key elements of the scene along the intersecting lines. You can also use the points where the lines meet. This creates a more dynamic composition!
- Leading Lines
Use natural lines in the scene. For example, hallways, stairways, or countertops draw the viewer’s eye into the image. Now, explore the space further.
4. Try the Vertical Viewpoint
Even though horizontal shots have their place, don’t underestimate the power of vertical photos!
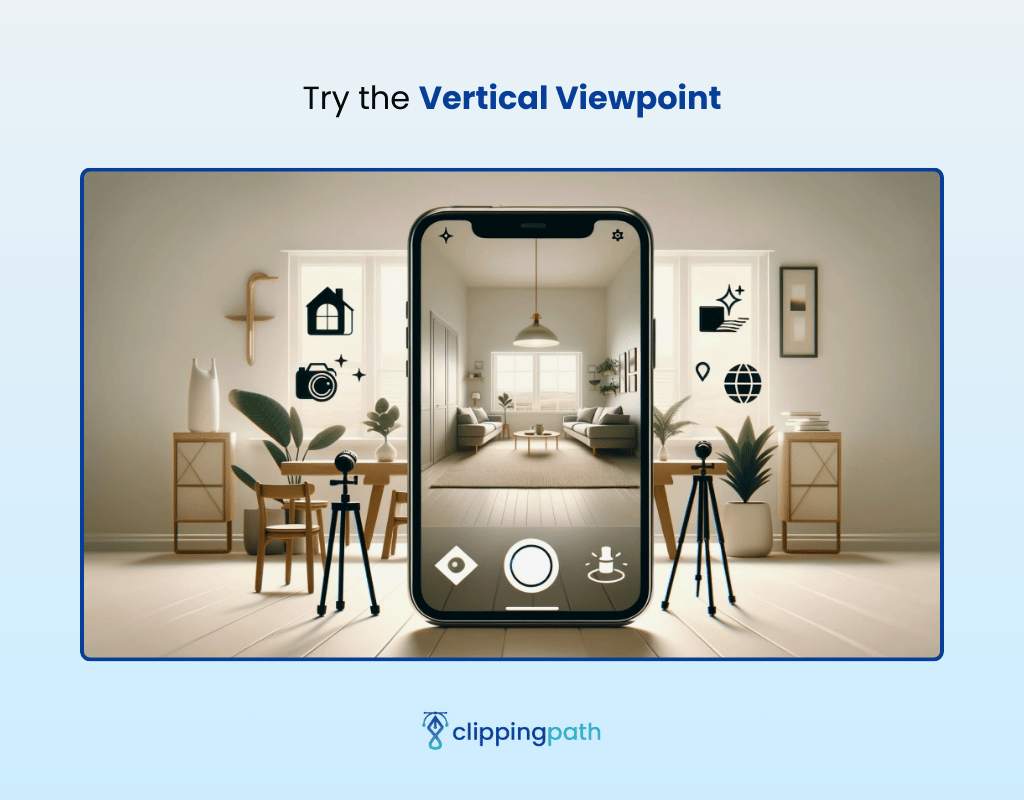
- Highlight Grand Spaces: Looking for a perfect subject for your vertical photos? Tall rooms with soaring ceilings or dramatic staircases are great!
- Showcase the Floor-to-Ceiling Windows: Capture the full impact of large windows that bring the outdoors in.
- Grab the Architectural Details: Draw attention to vertical elements like columns, built-in bookshelves, or unique light fixtures.
5. The Art of White Balance
White balance makes sure the colors in your photos look natural. Most cameras offer automatic white balance settings. But it’s always a good idea to double-check and adjust!
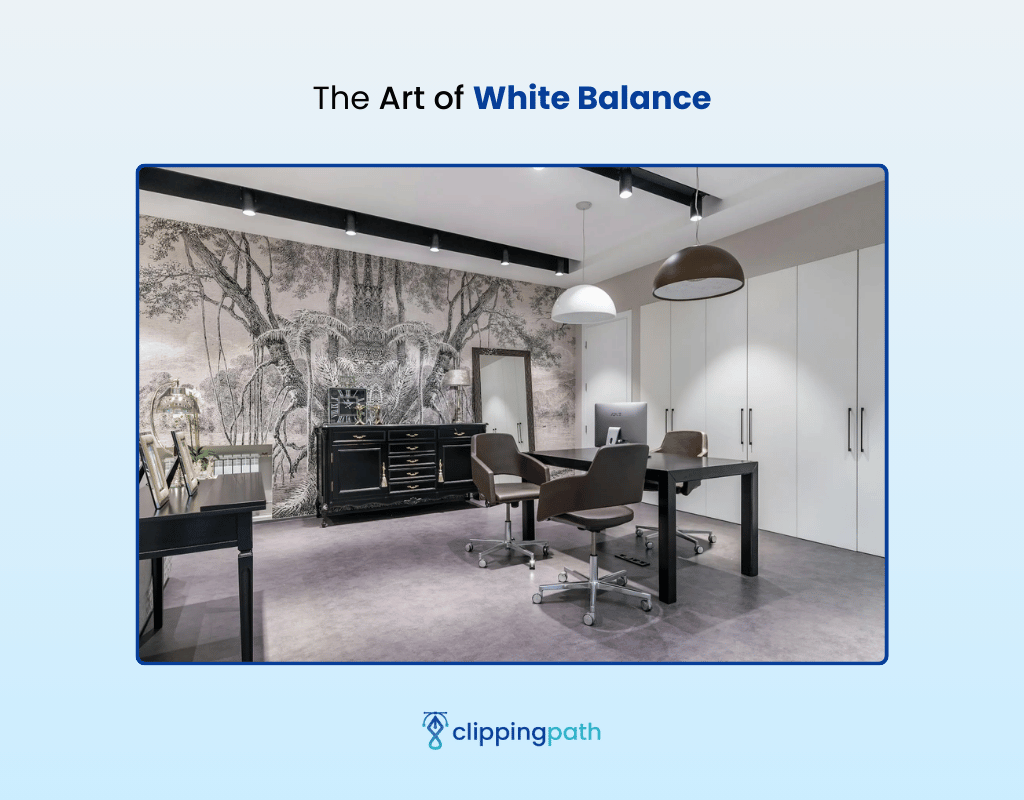
Go for neutral white tones and avoid a yellowish or bluish cast.
6. Level Up Your Interiors: No More Distractions
Before you start shooting, take a good look at the space. Now, here’s what you need to do –

- Declutter Surfaces: Remove any clutter that might distract from the space’s features. This includes personal belongings, stacks of magazines, or overflowing wastebaskets.
- Personal Item Removal: Pack away family photos or other personalized items. The goal is to create a neutral canvas that potential buyers can imagine as their own.
- Furniture Finesse: Straighten furniture and arrange the pillows with intention. Make sure everything is in its designated place.
A well-organized space will make your space look clean and livable!
7. Highlight the Exterior
The first impression matters the most. So, make sure your exterior shots are captivating.
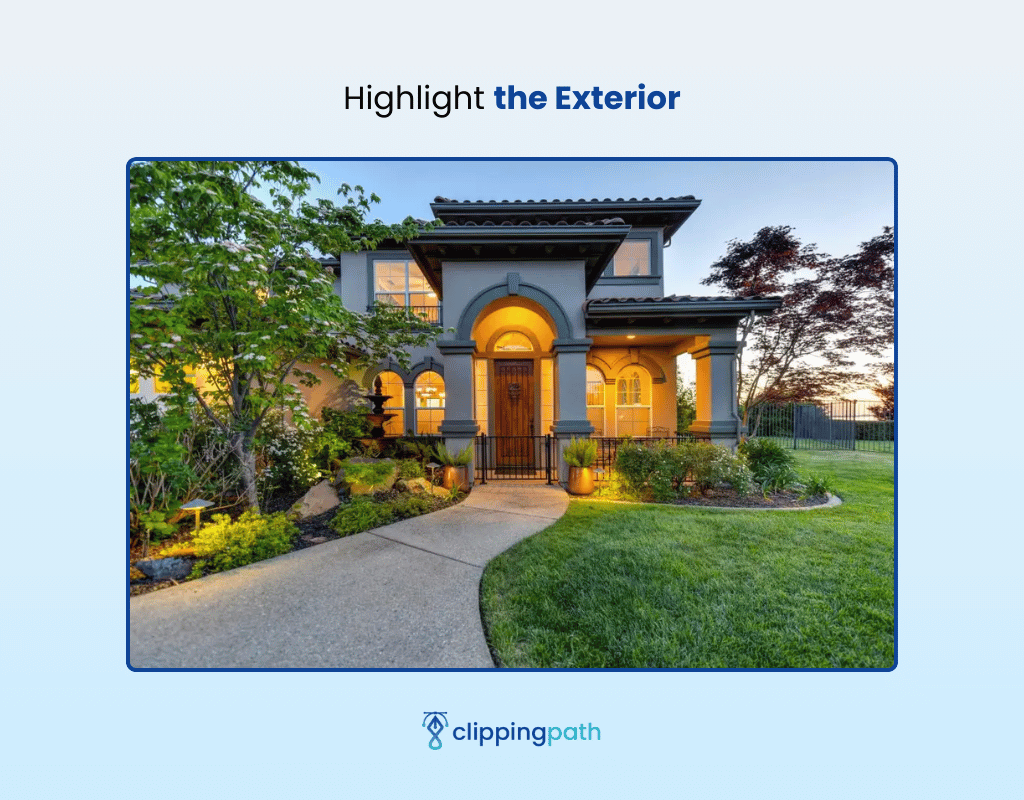
Landscape your yard and power wash the walkways. You can add pops of color with blooming flowers. Capture the property’s best angles. Don’t forget to include the street view, backyard oasis, and any unique features!
8. Embrace Bracketed Exposures: Capture the Details
Bracketing means taking multiple photos of the same scene at different exposure levels. This makes sure you capture details in both the highlights and shadows.
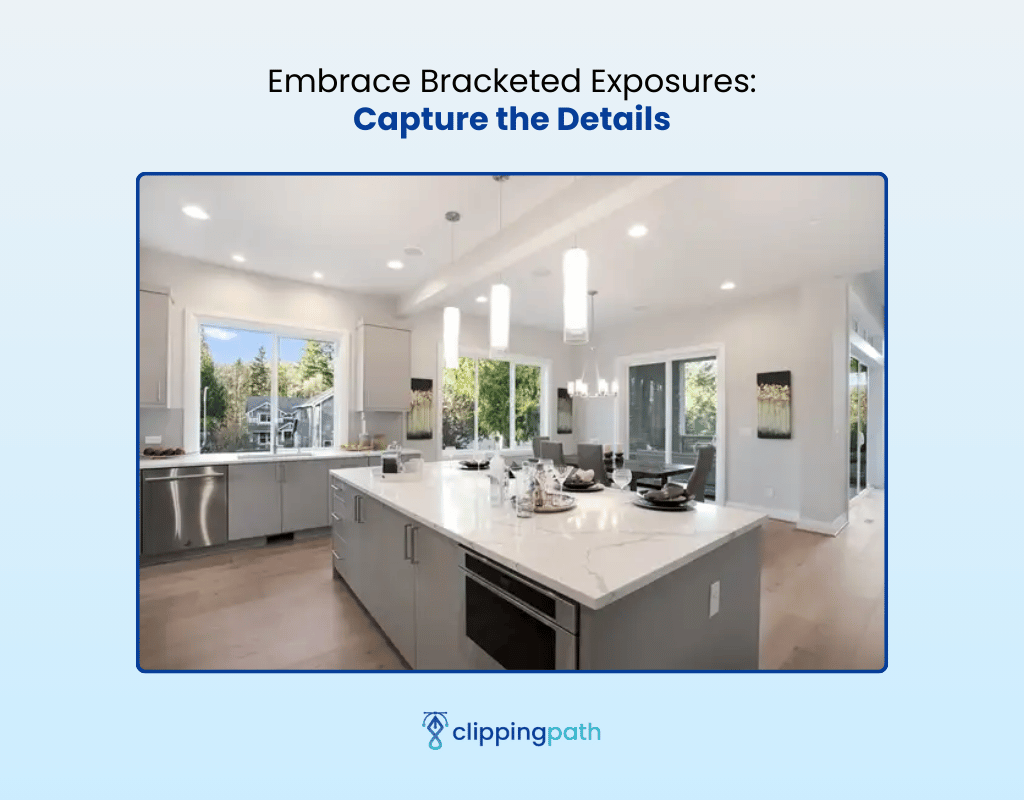
You can use Photoshop to merge these exposures for a perfectly balanced image!
9. Post-Processing: The Final Touches
Editing software is your secret weapon to enhance your photos without creating an unrealistic look. Here are some basic adjustments you can try –
- Cropping: Tighten the composition and remove any unwanted elements from the frame.
- Horizon Alignment: Make sure your photos are perfectly level by straightening any tilted horizons.
- Lighting and Color Tweaks: Fine-tune the lighting and color balance to create a warm and inviting atmosphere.
10. Invest in Yourself: Sharpen Your Skills
The more you practice, the better you’ll become at capturing stunning real estate photos. Take online courses, experiment with different techniques, and learn from experienced photographers!

Keep these steps in mind and you’ll be well on your way to capturing the best real estate pictures!
Final Words
Real estate photography needs professional editing and fine-tuning. Worried about getting good real estate photos? We have the best real estate photography tips for you!
From planning your shoot to editing your photos for perfection, our guide will help you with everything. Remember, real estate photography isn’t just about capturing a space.
It’s about creating a story, a f

Meta Clipping Path – A well-known one-stop photo editing service provider company with 5+ years of experience and 25+ highly skilled professionals.
Working with 20 reputed worldwide e-commerce companies and 200+ satisfied customers.
![You are currently viewing Top 10 Real Estate Photography Focusing Tips [Learn to Edit Like a Pro]](https://metaclippingpath.com/wp-content/uploads/2024/08/Real-Estate-Photography-Focusing-Tips.png)

![Read more about the article Real Estate Photography Tips [A Complete Guide]](https://metaclippingpath.com/wp-content/uploads/2024/08/Real-Estate-Photography-Tips-300x160.png)
