Editing a photo takes many attempts and changes. If you use a non-destructive editing technique, you can comfortably refine and repeat!
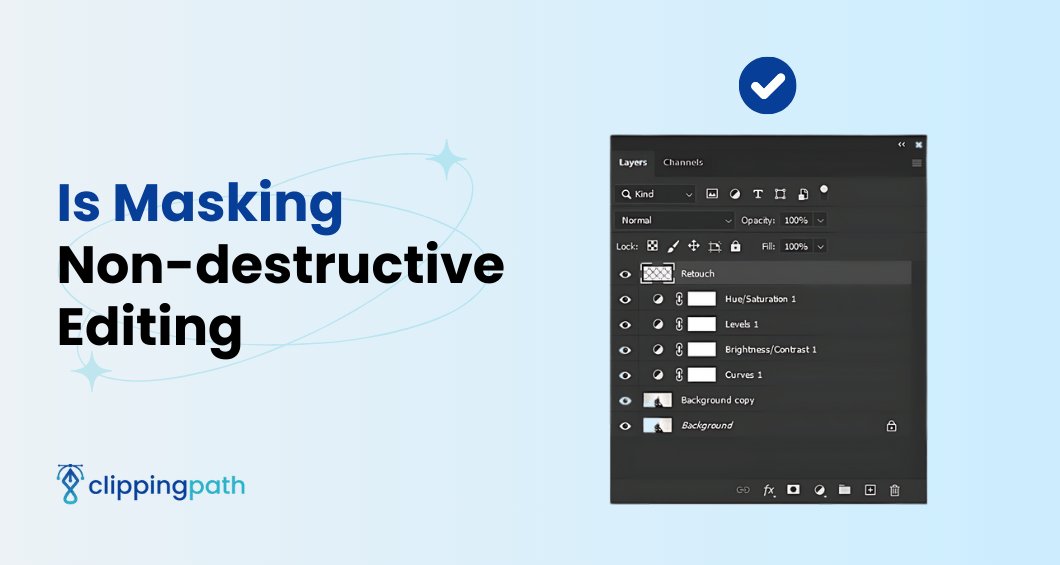
But is masking non-destructive editing? Yes! Masking is non-destructive because you can edit the masks without affecting the hidden pixels. Just choose your base image, add an adjustment layer, and start masking!
There are many types of masks you can use in Photoshop. Keep reading to learn how to use masking as a beginner!
Why is Masking Non-destructive Editing?
Imagine editing a photo like writing with a pencil on white paper. Even if you erase the mistakes, the original paper will be crumbled. This is an example of destructive editing.
Non-destructive editing lets you manipulate an image without harming the original. What does masking do? Masking is a core non-destructive editing technique. You can selectively apply your adjustments to the picture!
Types of Popular Masking Techniques
Masking isn’t a one-size-fits-all solution. Here’s how you can use different types of masks for non-destructive editing in Photoshop –
1. Layer Mask
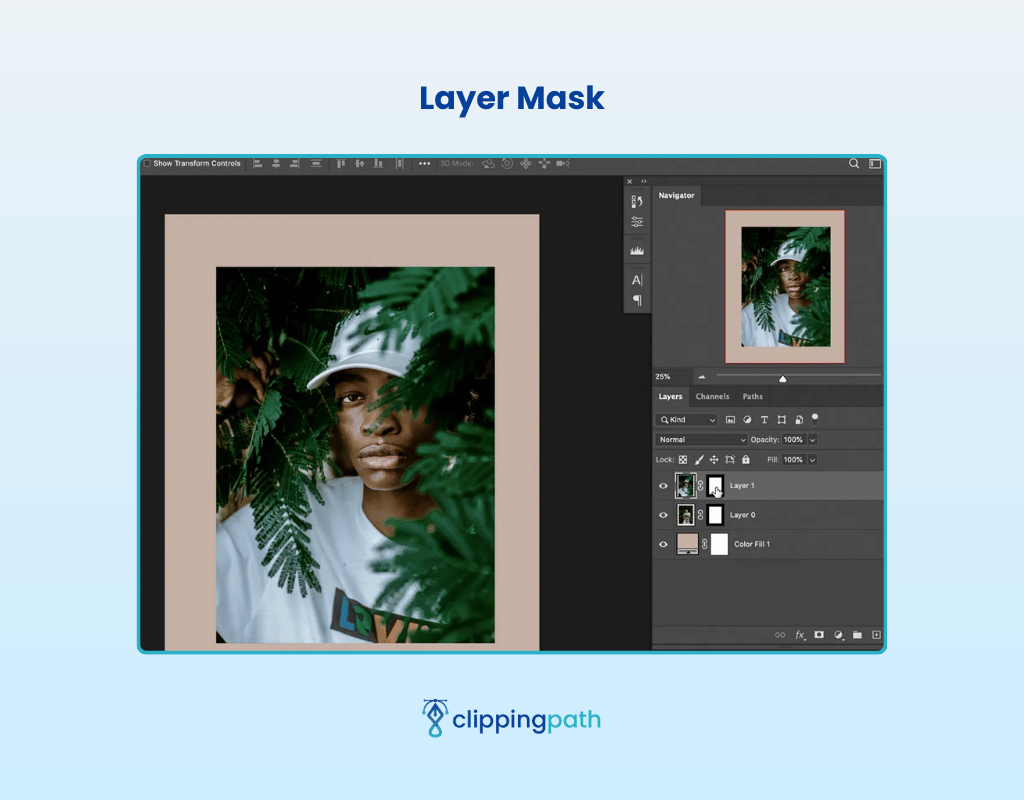
- Function: This is the foundation of masking. It’s directly linked to an adjustment layer. Use layer masking to control where the adjustment is applied to the image!
- How it Works: Think of it like a virtual paintbrush. Painting black on the mask hides the adjustment’s effect. Use white if you want to reveal it completely. Grayscales create a smooth transition between the adjusted and unadjusted areas.
- Best For: Precise control over adjustments on specific areas. Perfect for tasks like:
- Brightening a face in a shadowy portrait.
- Blurring a distracting background.
- Selectively adjusting the color of an object.
- Advanced Technique: Combine multiple-layer masks with different adjustments for intricate edits. What if you have a landscape photo with a bright sky and dark foreground? Create a mask for selective brightening in the foreground. Ise another for the color balance on the sky!
2. Quick Selection Mask
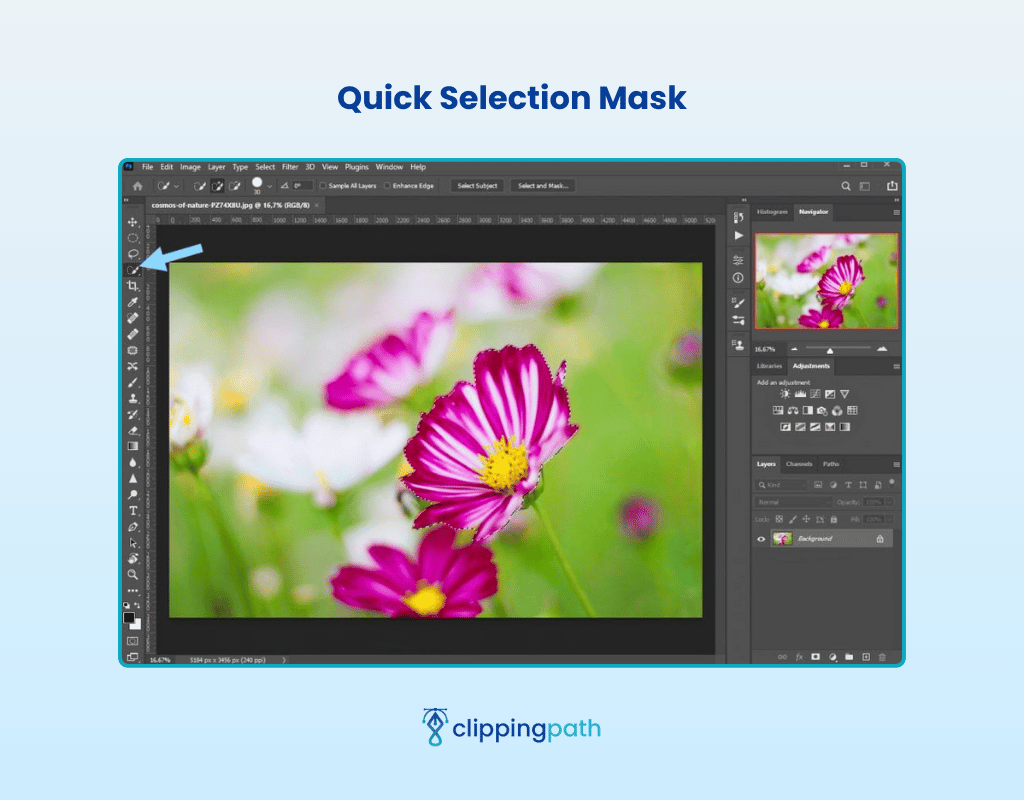
- Function: It works as a fast assistant that automates initial selections based on color or contrast similarities.
- How it Works: Click and drag the Quick Selection tool across the area you want to select. The software attempts to isolate that area based on its color and contrast.
- Best For: Creating a basic selection for more refinement. Useful for quickly masking out large and single-colored areas:
- Skies in landscapes.
- Backgrounds in portraits.
- Advanced Technique: Use the Quick Selection Mask as a starting point, then refine it with a brush mask for more precise control over the edges of your selection.
3. Gradient Mask
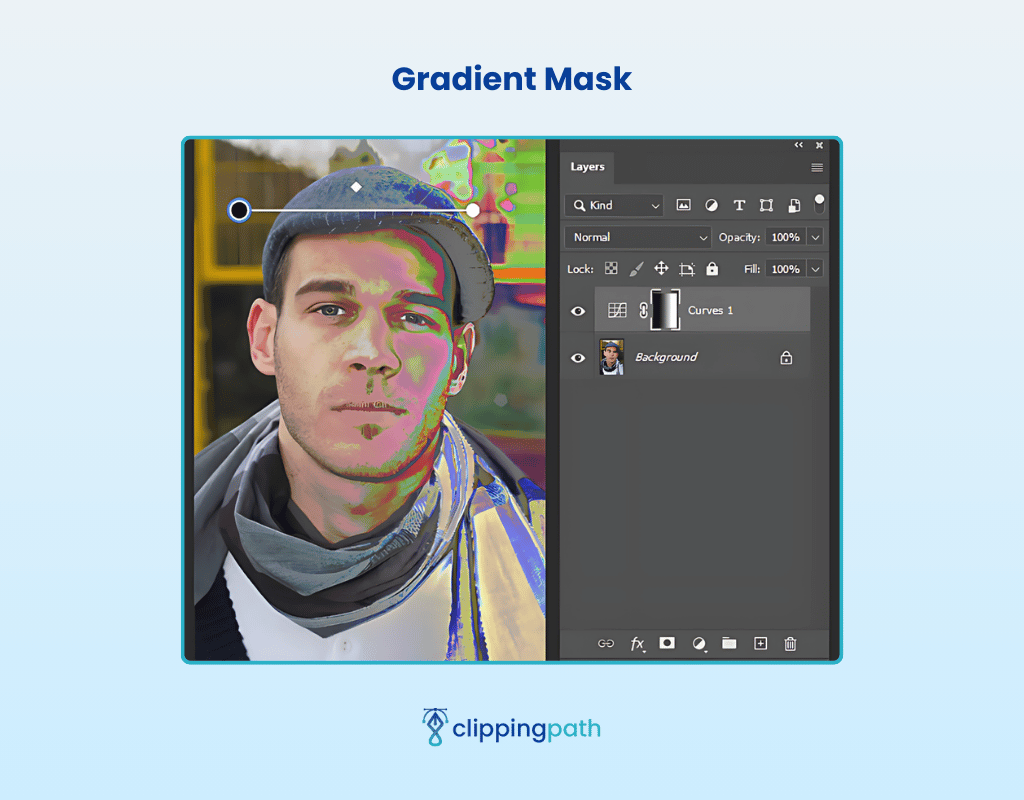
- Function: Creates a smooth transition between the adjusted and untouched area. It’s perfect for effects like vignettes. You can even make it seem like the mask is fading the edges of the image!
- How it Works: Choose the Gradient Mask tool and drag it across the
- Best For:
- Masking out specific sections of text for creative effects.
- Advanced Technique: Combine vector masks with layer masks for even greater control. For example, use a vector mask to create a precise outline around a person in a photo. Then you can refine the selection with a layer mask to create flyaway hairs or clothing details!
4. Vector Mask
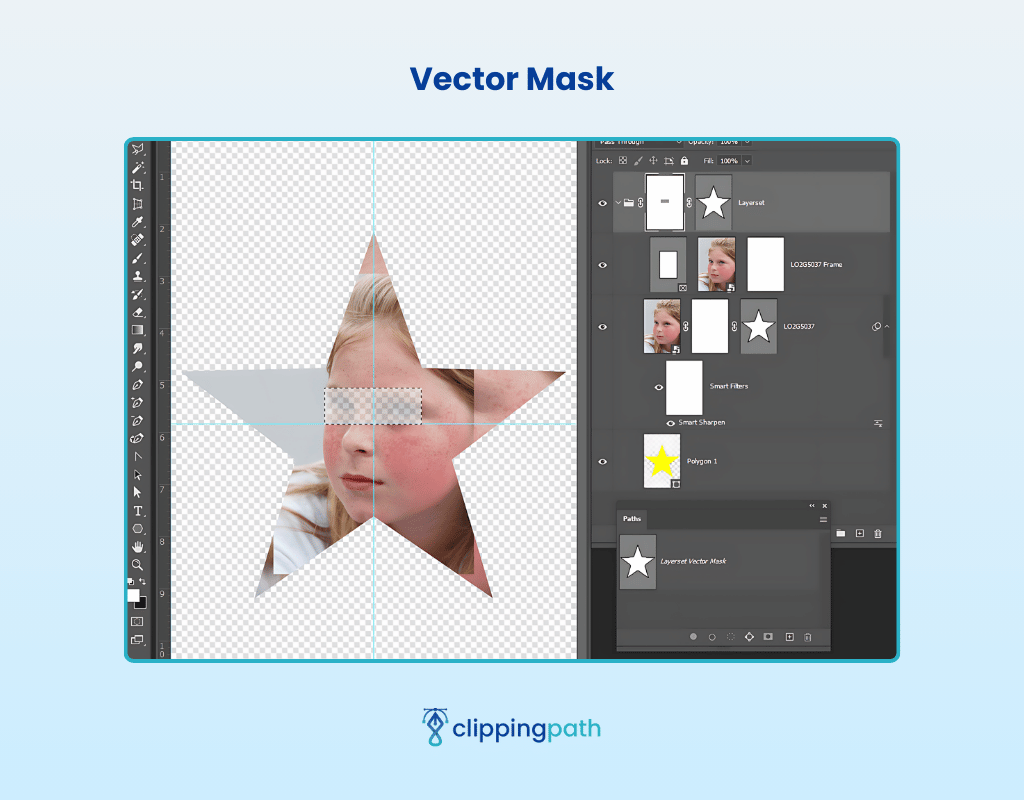
- Function: This mask uses paths to define the selection area. Unlike pixel-based masks, vector masks are resolution-independent. This means they won’t lose quality when resizing the image.
- How it Works: Use the Pen tool or shape tools to create a path that outlines the area you want to mask. This path defines the selection boundary.
- Best For:
- Removing unwanted objects with clean lines.
- Masking out specific sections of text.
- Removing unwanted objects with clean lines.
- Masking out complex shapes with sharp edges.
- Advanced Technique: Combine them with layer masks for ultimate control. Or you can even use compound shapes for intricate objects. Explore nested masks, deformations, and channel targeting!
5. Luminosity Mask

- Function: This lets you target specific brightness levels within the image. Now, you can apply adjustments based on the light and shadow values in the photo!
- How it Works: Generate a luminosity mask based on the highlights, shadows, and mid-tones in your image. You can then paint on this mask to selectively apply adjustments to those specific areas.
- Best For: Selective adjustments based on light and shadow. Useful for tasks like:
- Dodging and burning (lightening or darkening specific areas)
- Adding localized color balance (adjusting color in highlights, shadows, or mid-tones)
- Advanced Technique: Explore creating luminosity masks based on specific color ranges within the image. Want to brighten warm tones in a sunset photo or darken cool tones in a portrait for a moodier effect? You can do it selectively with masking now!
How to Use Masking in Photoshop: 6 Easy Steps
You can find many photo-editing software for masking your images. Masking is a great way of non-destructive editing in Photoshop. Here’s how you can do it –
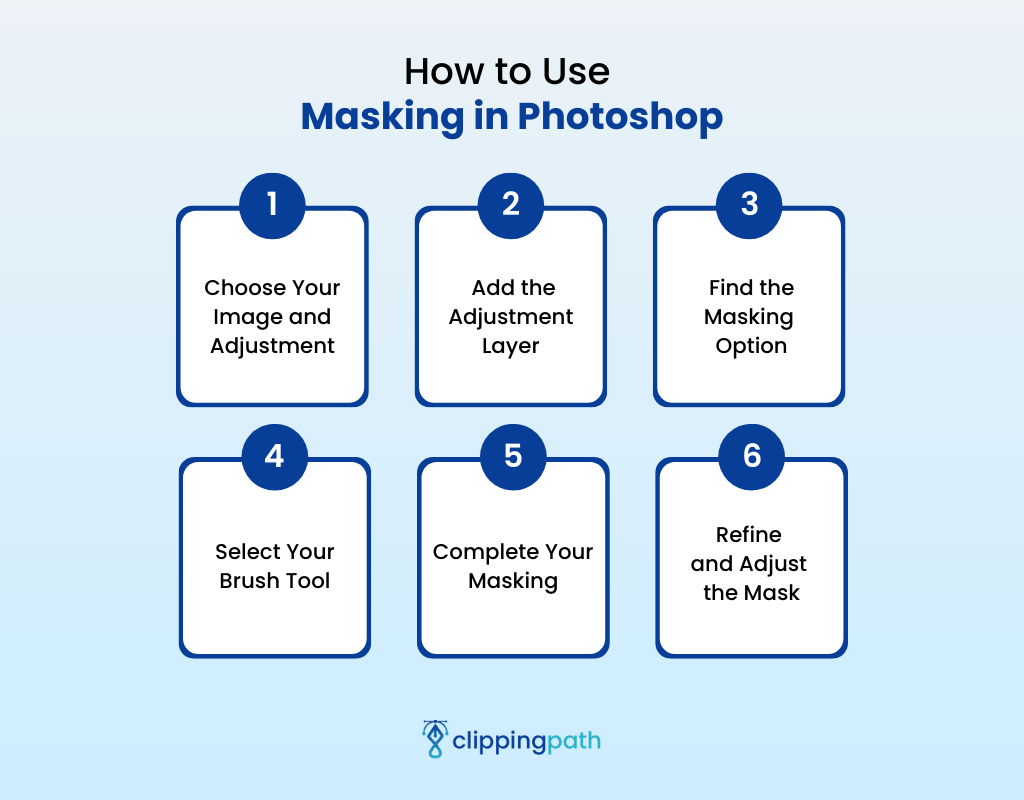
1. Choose Your Image and Adjustment
- Select the image you want to edit.
- Decide what features you want to adjust. Do you want to brighten a specific area or blur the background? You can also adjust the color of a particular object!
2. Add the Adjustment Layer
- Go to the “Layers” panel in your editing software.
- Click the “New Adjustment Layer” icon. It looks like a half-black and half-white circle.
- Choose the adjustment type based on your editing goal. You can change the brightness, contrast, blurriness, or a specific color!
3. Find the Masking Option
- Now, you have to find the masking option on the adjustment layer you just created. You can find the small mask thumbnail next to the layer thumbnail. It looks like a rectangle with another white rectangle inside.
- Click the mask thumbnail. This separates the adjustment from the entire image.
- Finally, start editing the mask itself!
4. Select Your Brush Tool
- Select the “Brush” tool from the toolbar.
- Adjust the brush size and hardness according to your needs. If you want to make broader adjustments, pick a larger brush with softer edges. Need some precise and intricate details? Use a smaller and harder brush!
5. Complete Your Masking
- Black to Hide, White to Reveal: Paint black on areas of the mask where you don’t want the adjustment to be applied. For the areas where you do want the adjustment, paint white!
- Grayscale for Gradual Transitions: Want to create a smooth transition between the adjusted and unadjusted areas? Use shades of gray on the mask! For instance, use a light gray for a gradual fade-out of the effect towards the edges.
6. Refine and Adjust the Mask
- Zoom in for precise control.
- Use the eraser tool to refine the mask. Make sure to remove any unwanted black or white areas you might have painted. The eraser should be a similar size and hardness to your brush.
- Don’t be afraid to experiment! You can always adjust the mask further or revert to the original state. Just click the mask thumbnail again and hit “Delete”!
What Are the Benefits of Using Masking?
Masking is more than just an editing technique. It can unleash a door of creativity! Here’s why you should try masking –
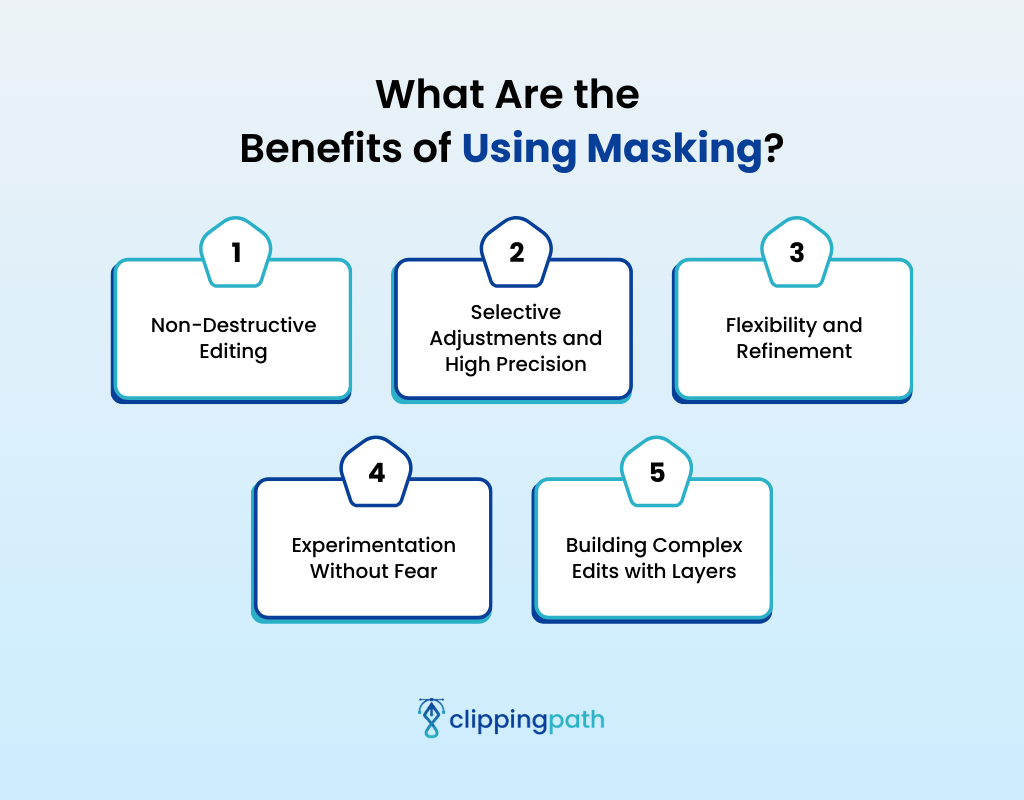
1. Non-Destructive Editing
When you use masking, the original image remains the same.
Think of it as creating a separate set of instructions layered on top of the original photo. These instructions tell the software how to modify the image without actually changing the underlying data.
You can experiment freely, knowing you can always revert to the original image if needed!
2. Selective Adjustments and High Precision
Traditional editing tools often lack precision. Applying adjustments to an entire image can affect unwanted areas.
Masking gives you the power of selective adjustments. You can choose exactly which parts of the image are affected by an adjustment!
Want to brighten a face in a shadowy portrait without affecting the background? Or blur a distracting object without softening the entire image? Masking makes it possible!
3. Flexibility and Refinement
Basic editing tools often don’t have enough options for refining adjustments. But masking provides incredible flexibility.
You can use brushes of various sizes and hardness to paint on the mask. Go ahead and define exactly where you want the adjustment!
Need to exclude flyaway hair from a brightening adjustment? Or gradually fade out a blur towards the edges? Masking gives you this level of precision!
Now you can create nuanced and natural-looking edits. If you want, you can even refine them pixel by pixel!
4. Experimentation Without Fear
Destructive editing can be scary. Every change feels permanent so you’re hesitant to explore. But masking lets you experiment fearlessly!
You can try different adjustments and refine your mask endlessly. So, explore your creativity! Don’t be afraid to push boundaries and try new things.
Masking gives you the safety net to experiment and discover unique editing styles.
5. Building Complex Edits with Layers
Basic editing software might struggle with complex edits and multiple adjustments. In masking, you can combine multiple masks and adjustments!
Imagine selectively brightening a face, blurring the background, and adding a subtle vignette – all within the same image!
Want to achieve professional-looking and multi-dimensional edits? You can layer adjustments and effects with masking!
Some Expert Tips for Masking Like a Pro
Want to explore some more advanced masking techniques for professional results? We have a list of expert tips for you –
Feathering
Use the “Feather” option within the brush settings. This will create a softer and more natural-looking transition between the adjusted and unadjusted areas.
Shift and Click for Toggling
Hold the “Shift” key while clicking on the mask thumbnail. Now you can quickly switch between viewing the mask and the adjusted image. This helps you visualize the impact of your edits!
Blending Mode
Want to control how the adjustment interacts with the underlying image? Use the blending mode. Explore different blending modes like “Multiply” or “Overlay” to create unique effects within your masked areas.
Final Words
So, to finally answer “Is masking non-destructive editing?”: yes, it is. If you want to edit an image without the fear of running the original, go for masking!
You can follow our beginner’s guide to successfully use masking in Photoshop. Layer masks, luminosity masks, gradient masks – figure out which works the best for you and explore!
Meta Clipping Path – A well-known one-stop photo editing service provider company with 5+ years of experience and 25+ highly skilled professionals.
Working with 20 reputed worldwide e-commerce companies and 200+ satisfied customers.