![You are currently viewing What is Masking in Photoshop? [A Comprehensive Guide]](https://metaclippingpath.com/wp-content/uploads/2024/08/What-is-Masking-in-Photoshop.png)
Have you ever marveled at the smooth and natural blending of two images? You can also create this using the image masking method in Photoshop, and surprisingly, it doesn’t take much time either!
But what is masking in Photoshop? Masking is a method that alone can do a lot of editing work. For example, you can swap the background, cut unnecessary objects, retouch images, blend photos together, merge images with shapes and so on!
Moreover, you also have multiple choices of masking, and each of them is used for different purposes. Interested to learn more about Photoshop masking? Dive into further discussion to get comprehensive knowledge about masking!
What is Masking in Photoshop?
Masking in Photoshop is a versatile photo editing technique. Through masking in photo editing, you can control the visibility of pixels within a layer without permanently changing the image data.
Simply put, you can reveal or hide a specific area in your photo by merging another image or shape. This can improve the quality of your own image, product photos, advertising photos, model pictures, and so on.
Even movie posters use image masking to create an appealing advertising poster. Moreover, Photoshop masking is also often used to remove background, especially for product and model photos.
Additionally, Photoshop masking can easily and effectively isolate the image into layers. So, it can be said that you can enjoy many benefits by mastering how to mask in photoshop!
Benefits of Photo Masking
Learning the masking steps not only makes it convenient to edit the photo but also helps you to make the photo look more visually appealing. Here are some benefits of photo masking:
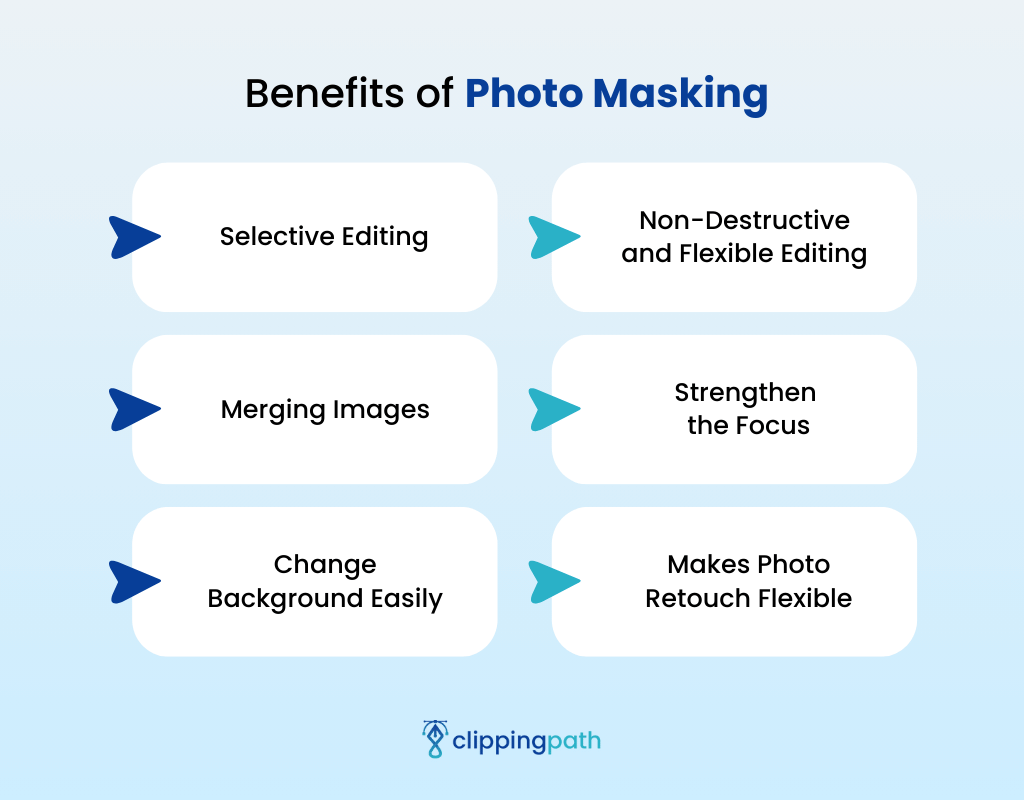
Selective Editing
This is one of the useful perks of image masking. Sometimes, you need to work on a specific area of an image.
For example, you can brighten eyes or beautify the smile of a model without impacting the entire portrait. This refined targeting brings out important attributes.
Non-Destructive and Flexible Editing
Since masks don’t alter or affect the original pixels of the image, you can easily work on editing the subject any way you want. Sometimes, we often think that if we had edited the picture in a different way, it would have looked better.
And it’s possible with photo masking — simply adjust the mask and reapply effects. No need to undo a lot of edits or start over everything!
Merging Images
Need to combine two images? You have to spend hours after hours cutting out the subjects from each photo and editing them together for blending. But why spend hours when you can merge images quickly?
When you merge images using Photoshop masking, the blend may appear more natural compared to hard cutouts.
Strengthen the Focus
If the photo has a busy background, it can distract the browsing eye from the main subject. But you can hole the main focus in the primary subject using image masking. This is why e-commerce product and model photos often use the image masking technique.
Change Background Easily
When you use the masking tools to separate the primary subject, the background in the mask layer is removed. Now, you can add the background according to your liking.
Makes Photo Retouch Flexible
Adding Photoshop effects to model photos and blurring the image for smooth skin affects the background. Consequently, the background may lose its quality and color.
However, if you create a mask layer for the model, you can only work on it, leaving the background intact. You can easily add blur and effects, retouch wrinkles, blemishes, and spots, and make the photo look more vibrant and professional.
Types of Image Masking Available in Photoshop
There are no alternative ways to photo masking methods, but you have several options for masking available in Photoshop. As a result, working with a photo mask offers you more flexibility. Here are some types of masking in Photoshop:
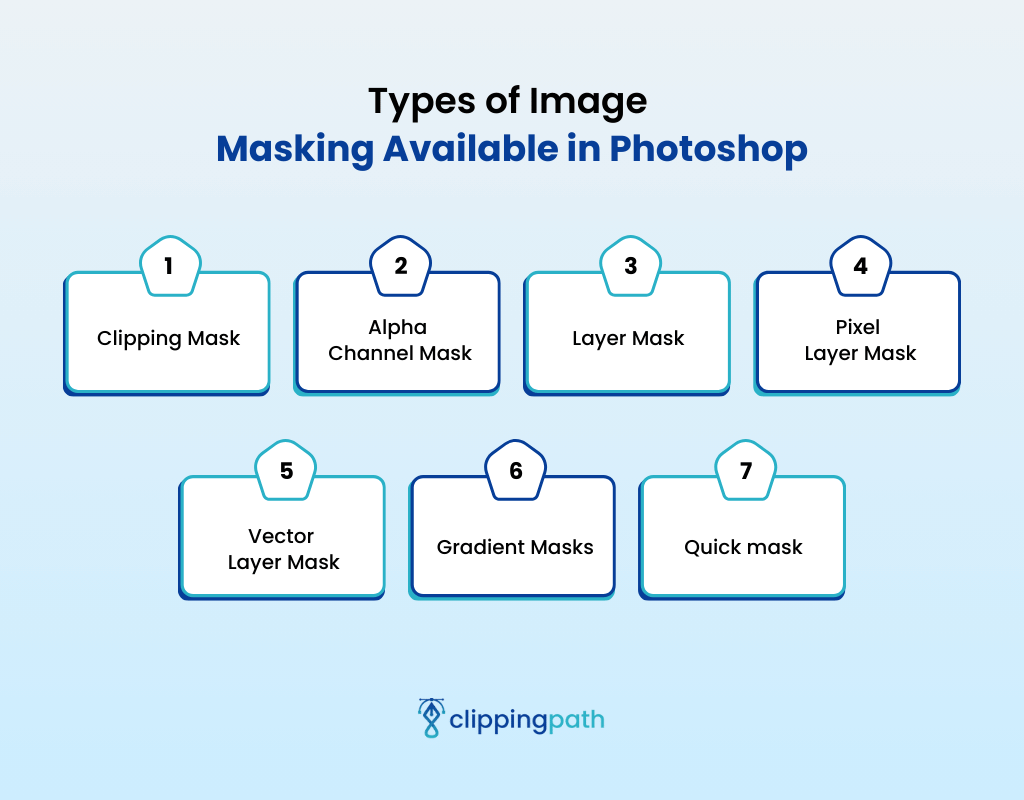
- Clipping Mask — This method merges an image into text or a shape while limiting its visibility.
- Alpha Channel Mask — The mask is created from image channels like Red, Green, Blue, and Black to isolate colors!
- Layer Mask — This mask is attached to layers to conceal pixels. It’s often used for compositing, adjustments, removing objects, etc.
- Pixel Layer Mask — Similar to the layer masks, but pixels are given density values between 0-100% opacity instead of just black or white. Editors often use this method to isolate human subjects and remove the background.
- Vector Layer Mask — It’s a path-based mask that allows precision selection of edges. Vector masking is often used for high-fidelity compositing and touch-ups.
- Gradient Masks — This mask is applied with smooth transitions as linear, radial, and angular gradients. You can use gradient masks for fading effects!
- Quick masks — Quick mask in Photoshop gives a live selection view showing areas to keep or delete from the selection in red overlay.
When Should You Use Photoshop Masking?
You now know what is masking photoshop, its benefits, and types. There are some specific times or situations when you can use Photoshop masking. Here’s when to use this method:
- When you need to cut the main subject, you can use image masking.
- Need to make some specific information invisible in the photo? Masking is your go-to solution!
- You can apply the masking method to improve the photo quality by retouching and adding Photoshop effects.
- Struggling to edit images with fine objects like hair, fur, and other intricate designs? Put the pen tool at rest and use the image mask for added convenience.
When Should You Not Use Photo Masking?
As we mentioned, you need to have a specific situation to use Photo Mask, which means you can’t use this method any time you want.
However, if the image has sharp edges and the background and subject colors are the same, you should not use photo masking. The masking edit results can be inaccurate in these situations.
4 Photoshop Masking Techniques
There are four effective Photoshop masking techniques, such as:
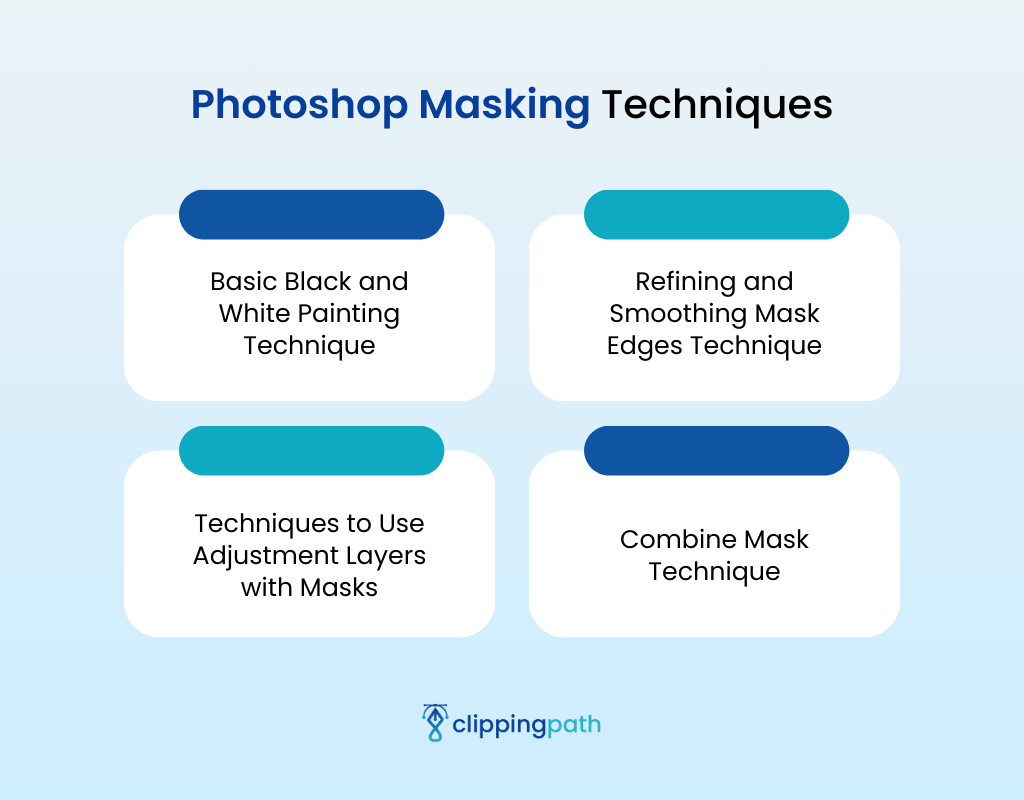
Basic Black and White Painting Technique
During the photo masking process, you’ll need to use the brush tool and paint for some specific purpose. Such as:
- Layer Mask Creation: First, you need to add the layer mask to the required layer. Then, you can create a grayscale overlay on the layer thumbnail by painting it.
- Black Reveals: Need to hide something without deleting any pixels? Paint the area black to erase the information!
- White Reveals: What if you only need to reveal some information? You should paint over those areas with white.
Refining and Smoothing Mask Edges Technique
After you make the mask, you may notice that the subject needs some refinement between the masked and unmasked areas. In this case, you can follow the below technique:
- Feathering and Smoothing: This softens the mask edges, creating a gradual transition! Adjust the feathering radius to control the smoothness. This will make the mask look more natural.
Techniques to Use Adjustment Layers with Masks
Want to modify image colors, contrast, and quality of your image? You can follow these techniques to modify affected areas in a non-destructive way:
- Clipping Masks: You can create a clipping mask to apply different layer effects of adjustment. It’ll make edits only on the layer below the masked layer.
- Mask the Adjustment Layer: Add a layer mask to the adjustment layer to target specific areas for modification!
Combine Mask Technique
Sometimes, combining masks for complex masking tasks offers the best result. For multiple masking, you can apply the following methods:
- Inverse Mask: This technique helps you to hide and reveal painted areas of your photo!
- Multiple Layer Masks: Create multiple layer masks on a single layer to isolate different areas for editing.
Conclusion
So, what is masking in Photoshop? With a Photoshop mask, you can easily edit pictures, increase picture quality, remove the background and unwanted objects, and merge images.
In simple words, you can do a lot of editing by learning just one method — Photoshop masking! However, make sure you don’t use excessively complex masks and focus on refining the edges.
Need professional assistance in image masking in Photoshop? You can contact us anytime at Meta Clipping Path!
Meta Clipping Path – A well-known one-stop photo editing service provider company with 5+ years of experience and 25+ highly skilled professionals.
Working with 20 reputed worldwide e-commerce companies and 200+ satisfied customers.
![Read more about the article How to Convert Clipping Mask to Shape Illustrator [Expert Photo-editing Tips for You]](https://metaclippingpath.com/wp-content/uploads/2024/06/How-to-Convert-Clipping-Mask-to-Shape-Illustrator-300x160.png)
![Read more about the article What is a Clipping Mask in Illustrator? [Type, How to Create, and More]](https://metaclippingpath.com/wp-content/uploads/2024/06/What-is-a-Clipping-Mask-in-Illustrator-300x160.png)