Photoshop offers a vast toolbox for image editing. And some features seem intimidating for beginners such as creating a clipping mask in Photoshop. So, how do you create a clipping mask in Photoshop?
Open Photoshop on your PC and upload the shape and image file. Then, position the shape layer beneath the image. Next, select the layer you want to clip. From the layer menu, select “Create Clipping Mask.”
However, clipping masks might sound complex, but with proper guidance, you can do it perfectly. We’ll show you how simple it is.
What is The Clipping Mask Tool?
A clipping mask is a tool in image editing and graphic design software. It allows you to cut out a specific shape from one object and apply it to another.
When you create a clipping mask, the image is only visible through the transparent areas of the mask. Everything outside the mask is hidden. This is a non-destructive way to edit the image because the original data remains intact.
Type of Clipping Masking Techniques in Photoshop
There are different types of clipping masking techniques used in Photoshop. Here are the most common ones:
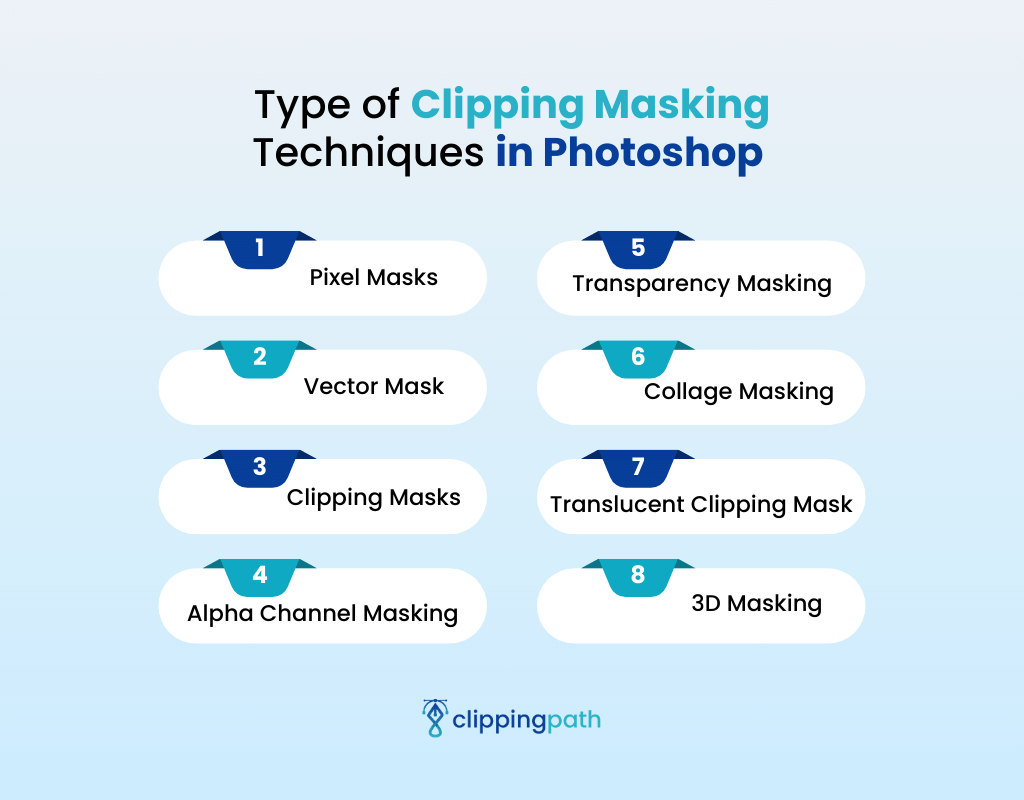
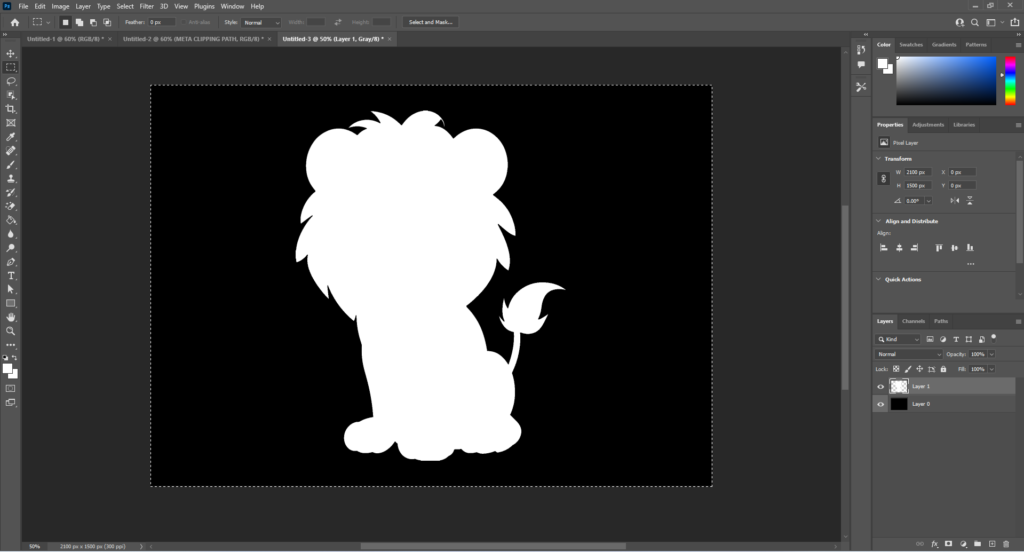
1. Pixel Masks
These masks use grayscale values to determine opacity on a pixel-by-pixel basis. White areas in the mask correspond to full opacity, while black regions are fully transparent.
2. Vector Mask
Unlike pixel masks, vector masks rely on paths to define the mask shape. This allows for much cleaner lines and smoother curves (squares, circles, or custom outlines).
3. Clipping Masks
Clipping masks use the shape of one layer to define the visibility of another layer (the image being clipped).
4. Alpha Channel Masking
Using alpha channels lets you create smooth transparency and precise selections. It controls the image clarity ranging from zero to 100%.
By using alpha channel masking, you can remove the background of an image entirely. You can also achieve a soft blur around the edges.
5. Transparency Masking
With this technique, you’re able to blur any part of the image selectively. It’s like using a special eraser to choose which areas get blurry.
You can use different tools, such as fades, brushes, or selections, to create a mask for your layer. This method lets you adjust how much it hides and how smooth the edges are to make it look natural.
6. Collage Masking
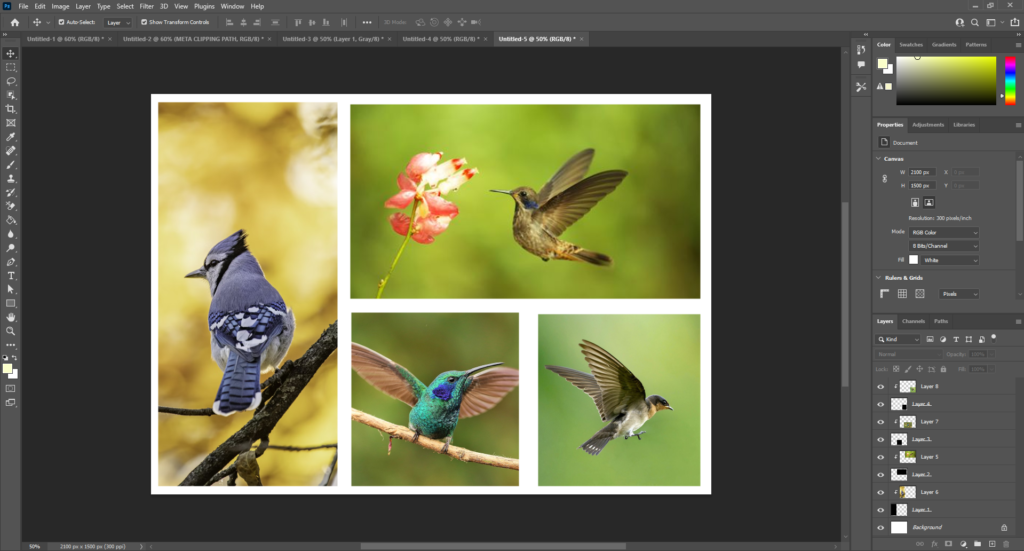
It’s a technique for linking multiple images into one. You can use it to create promotional materials, photo albums, and even digital artwork.
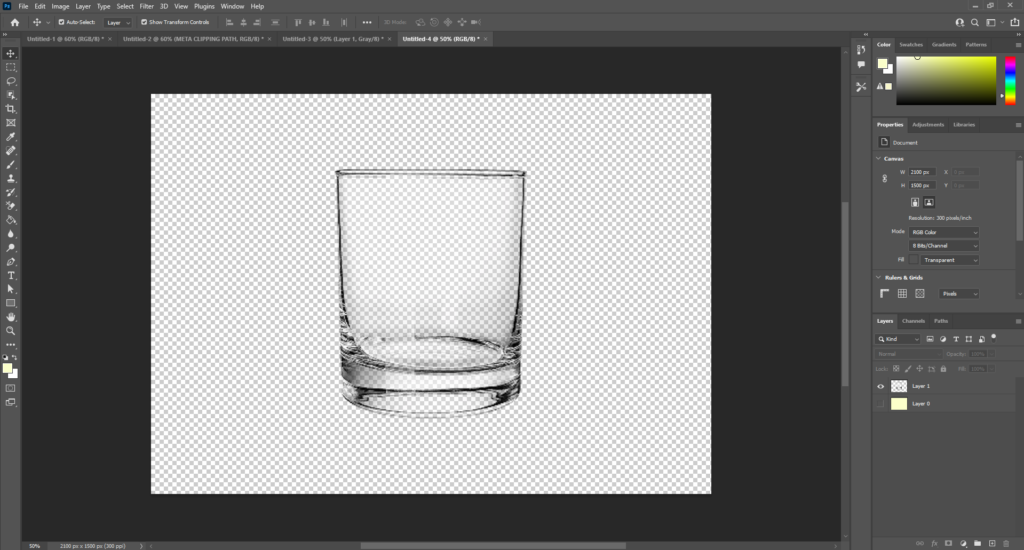
7. Translucent Clipping Mask
When you need to create a transparent background, a translucent mask is the right technique for you. This is great for product photos and graphics. Because it lets you easily place them in different backgrounds.
8. 3D Masking
3D masking lets you use a black-and-white image like a stencil. Paint black on the image to hide parts of the 3D object and white to show them. This is great for creating complex 3D models.
How to Create a Clipping Mask in Photoshop
There are three main ways to create a clipping mask in Photoshop:
Method 1: Advanced Technique
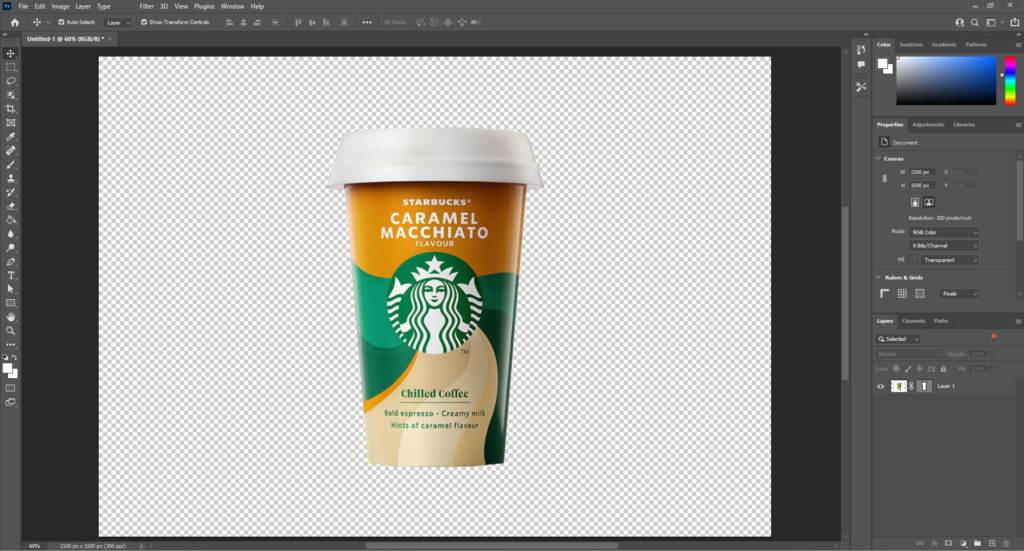
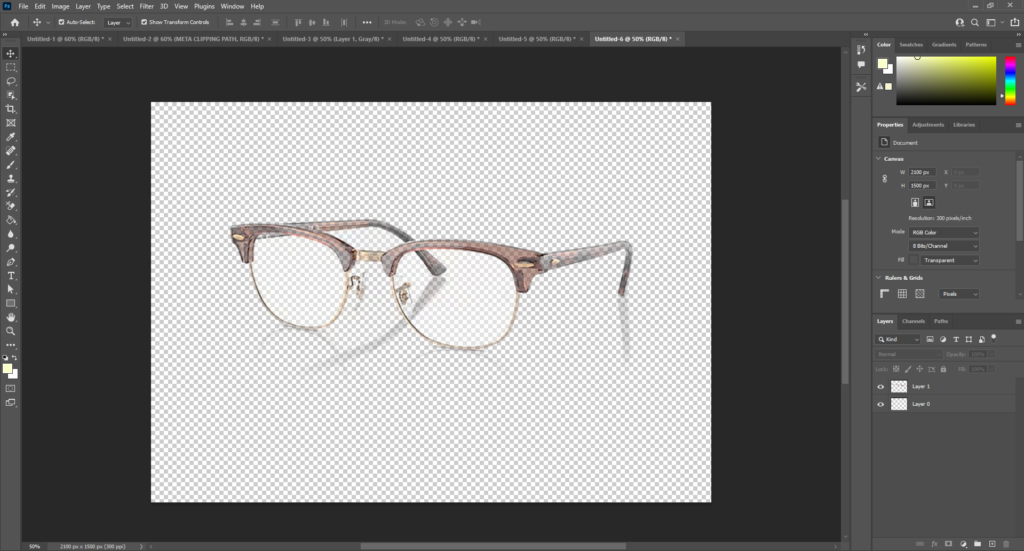
Step 1: Import your image and desired shape file into Photoshop.
Step 2: Use the shape tools to create a new shape layer.
Step 3: Customize the shape layer’s size, style, and position.
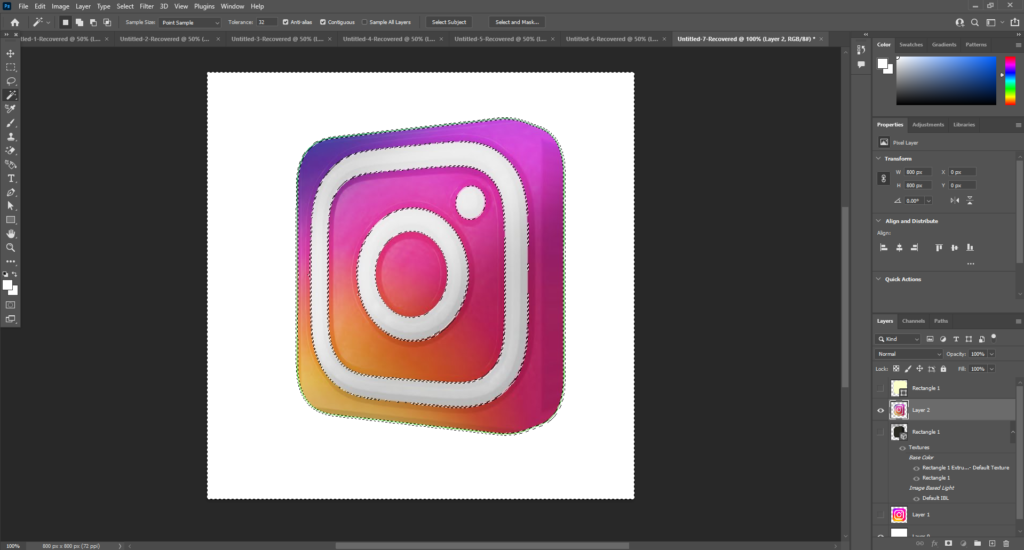
Step 4: Right-click on the photo layer. Then, from the context menu, choose “Create Clipping Mask”.
Keyboard Shortcut (Hold down the Ctrl+Alt+G key. Now select “Create Clipping Mask”).
Method 2: Basic Technique
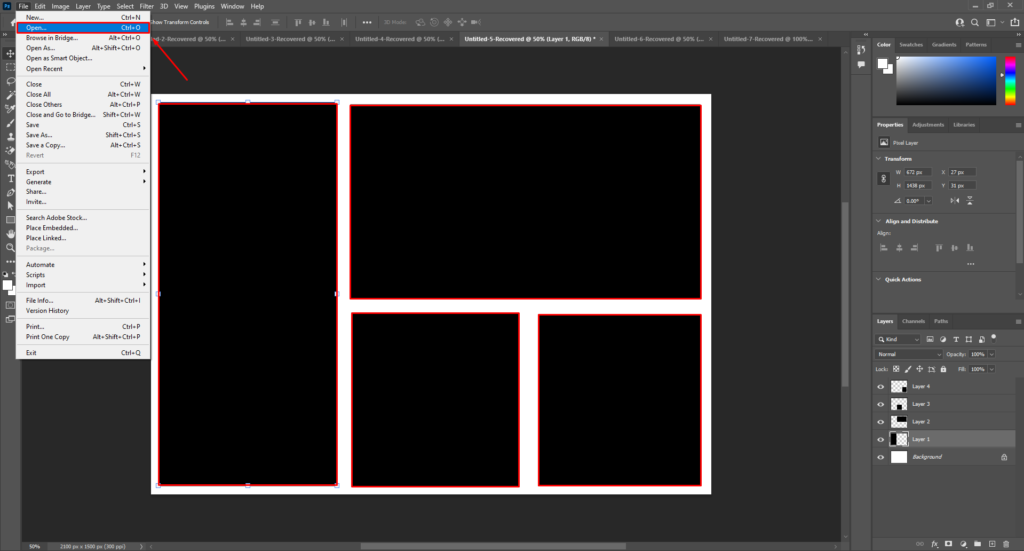
Step 1: Go to Photoshop.
Step 2: Now upload the photo and desired shape files.
Step 3: Now position them accordingly. (The shape layer should always be beneath the photo layer)
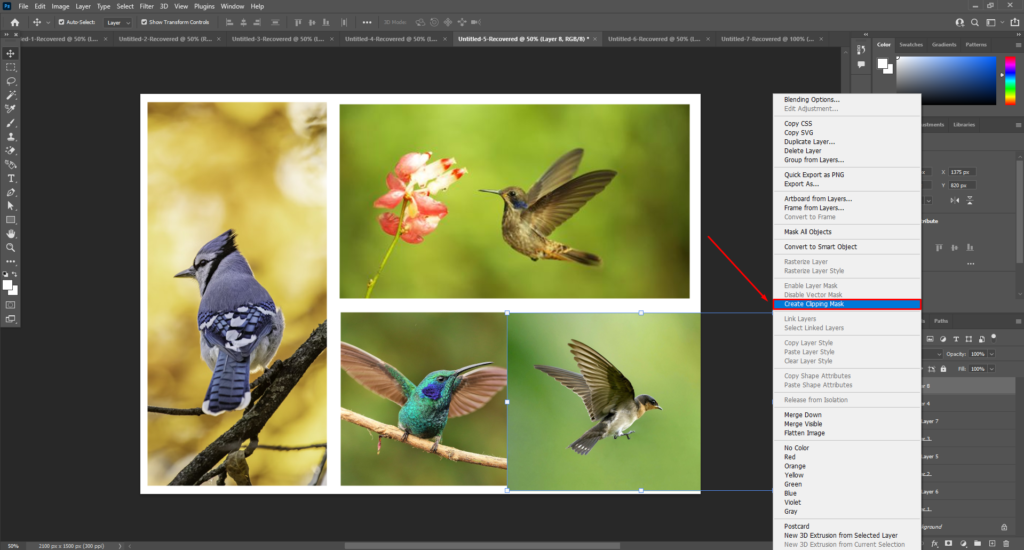
Step 4: Click on the image layer in the “Layers” panel to make it active.
Step 5: Go to the “Layer” menu at the top of the screen and choose “Create Clipping Mask”.
Press the keyboard shortcut for your operating system:
- Windows: Ctrl + Alt + G
- Mac: Cmd + Option + G
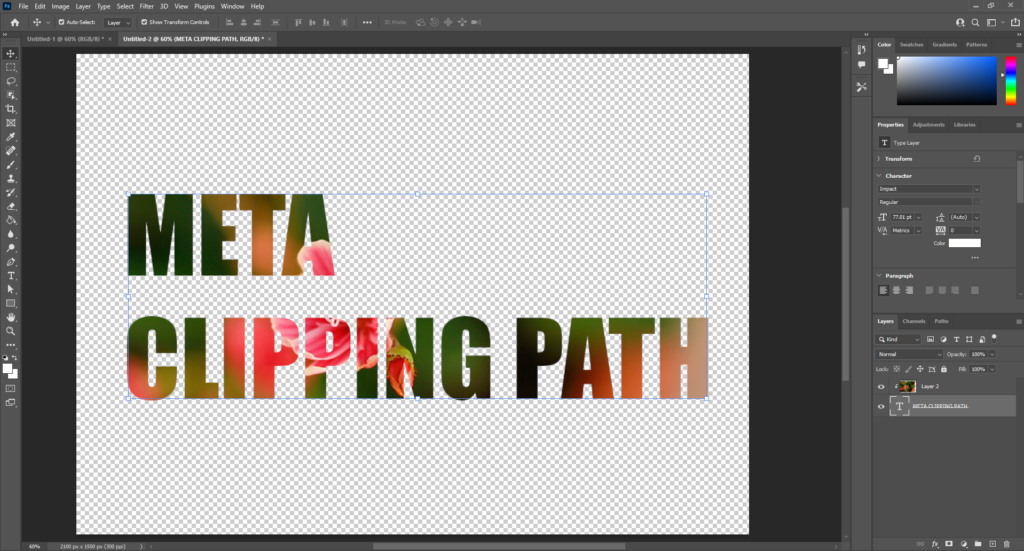
Method 3: Masking with Text
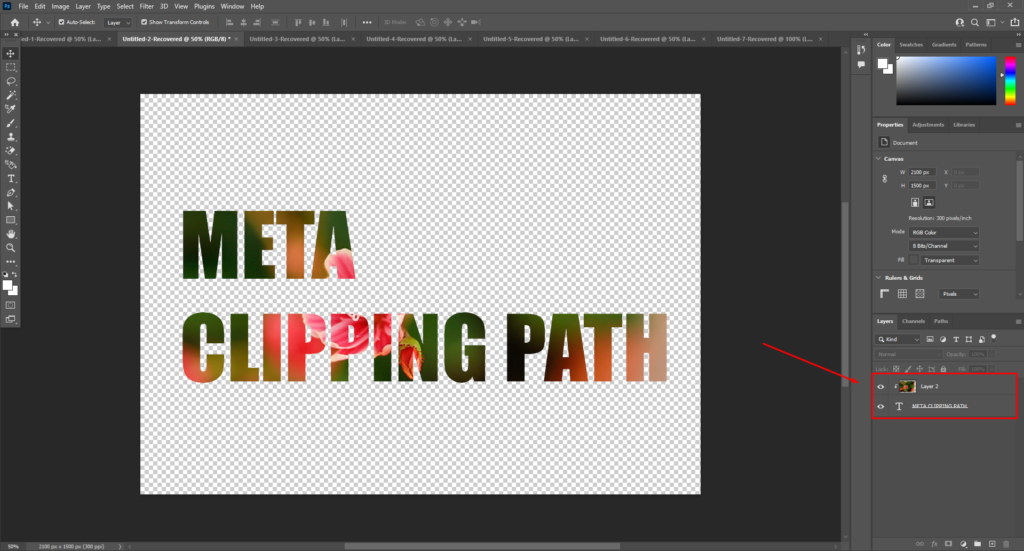
Step 1: Upload the image in Photoshop. Then, create a text layer.
Step 2: Make sure the text layer is positioned beneath the image layer.
Step 3: Follow either method 1 or 2 mentioned previously to create the clipping mask.
Step 4: Edit the text size, text effects, and fonts to achieve the perfect style you’re looking for.
Note: You can watch this Photoshop clipping mask tutorial for a better understanding.
How Do I Remove a Clipping Mask in Photoshop?
To remove a clipping mask, follow the method given below:
- Press and hold the Alt key (Windows) or Option key (Mac). Move your cursor between the two layers within the group. You’ll see a spot where the line separates them into two distinct circles. Click on it.
- Select the layer you want to remove from the layers panel. Then, choose the option Layer. Now select the option Release Clipping Mask.
- Click, hold, and drag the chosen layer downwards in the Layers panel. Release it beneath the base layer of the group.
How Do I Reverse a Clipping Mask?
To make a reverse clipping mask, you can follow these steps:
Step 1: Make sure you have the two layers involved in the clipping mask. (Top layer and base layer)
Step 2: Go to the Window menu at the top and select Pathfinder. Or use the keyboard shortcut: Shift + Ctrl/Command + F9.
Step 3: In the Layers panel, hold down Shift and click on both the mask layer and the image layer to select them together.
How to Move an Object Within a Clipping Mask?
Here’s how to move an object within a clipping mask in Photoshop, step by step:
Step 1: Select the object you want to move.
Step 2: Click on the Move tool icon in the Toolbar. Or Press the shortcut key “V” on your keyboard.
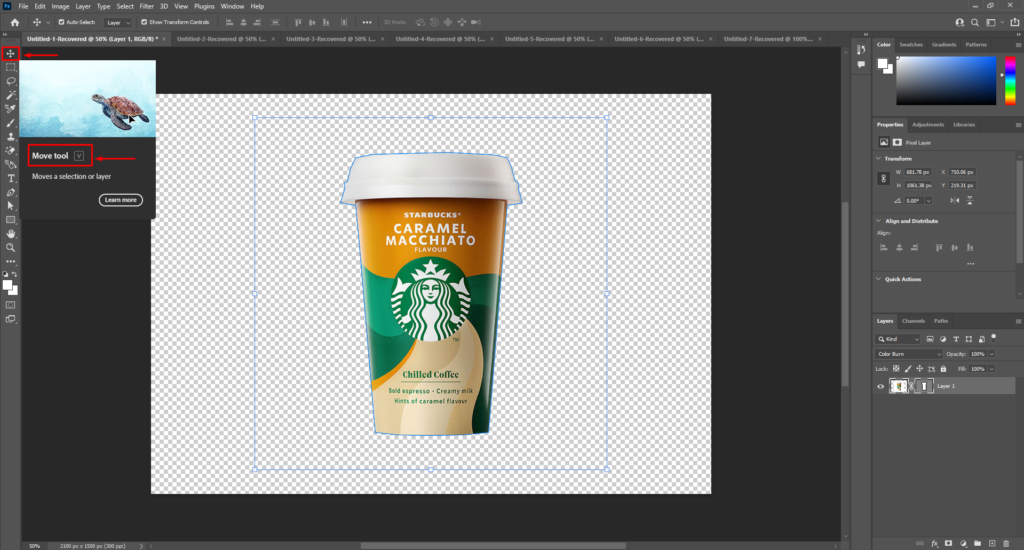
Sep 3: Now click and drag. Hold the mouse button and drag the object to your new position.
How Do I Resize a Layer Mask in Photoshop?
Here’s a step-by-step guide on resizing a photo within a clipping mask in Photoshop:
Step 1: Go to the top menu bar and select Edit > Transform > Free Transform.
Keyboard shortcut: Windows (Control+T), Mac (Command + T).
Step 2: A rectangular marquee will appear around the content within the clipping mask.
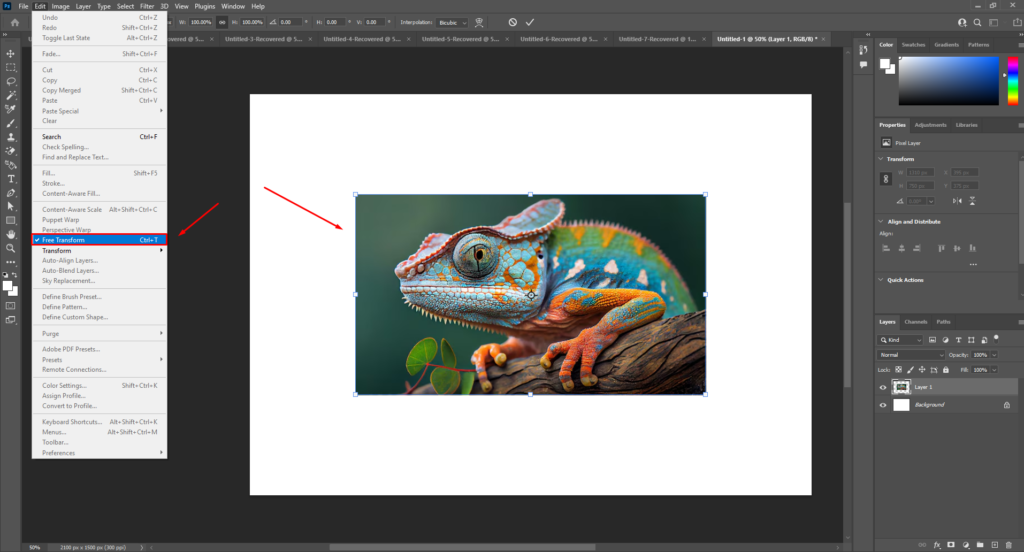
Step 3: Drag the corner handles of the marquee to resize the content proportionally.
Clipping Mask Not Working Photoshop
There can be a few reasons for this problem. Here are some troubleshooting steps to try:
Disable “Blend Clipped Layers as Group”
Creating a clipping mask using “Ctrl + G” might have accidentally enabled “Blend Clipped Layers as Group”.
- Double-click the clipped image layer thumbnail (it will have a chain icon).
- In the “Layer Style” window, go to “Blending Options.”
- Uncheck “Blend Clipped Layers as Group” if it’s enabled.
Reset Clipping Mask
If the clipping mask seems glitched, try removing and recreating it.
- Hold Alt/Option and click between the image and mask layer thumbnails in the Layers panel (cursor turns into two squares).
- Then, recreate the clipping mask using the desired method.
Verify Layer Order
Double-check that the layer you want to clip (the image) sits immediately above the layer defining the mask.
When to Use a Clipping Mask?
Here are some ideal scenarios for using a clipping mask:
- Constraining an Image to a Shape: Clipping masks limit an image to a specific form. This can be a shape you created with selection tools or a premade vector shape.
- Placing an Image Inside Text: Clipping masks allow you to integrate an image within your text layers easily.
- Applying Frames to Photos: It offers a non-destructive way to place a photo inside a decorative frame.
What is The Difference Between a Layer And a Mask in Photoshop?
Layers and masks are both fundamental tools, but they serve different purposes. Here is the difference between layer and mask:
| Features | Layer Mask | Clipping Mask |
| Layers Used | Single layer | Multiple layers |
| Mask Creation | Dedicated mask channel (grayscale image) | Shape layer or selection |
| Transparency Control | Controls the layer transparency | They take transparency from the below them |
| Ideal Use Cases | Fading edges of an image | Placing image inside text |
| Flexibility | More flexible for detailed masking and blending | Less flexible |
Expert Tips to Create a Clipping Mask in Photoshop
Getting good at masking images can boost your creative projects. Here are some cool tips to make masking easier and more accurate:
- Get a Wacom Tablet: There’s no better alternative to creating a flexible and precise mask than a Wacom tablet. It’s easy to handle and better controlled than the mouse.
- Quick Selection Tool: This tool helps you automatically select areas based on pattern and color, making mask creation faster.
- Feathering: Feathering makes the transition between masked and unmasked areas smoother, looking more natural.
- Masks with Adjustment Layers: Use adjustment layers to edit things like brightness or color and combine them with masks for precise control over specific areas.
- Group Similar Masks: If you have multiple layers using the same clipping mask, group them together for better organization.
- Refine It: Masks are editable. Use brushes, the eraser tool, or Refine Edge to perfect the clipped layer’s shape.
Conclusion
Clipping masks in Photoshop offers a powerful way to control the visibility of layers based on the content of another layer. We explored the different mask types in Photoshop and how to use them in various ways.
Now, you can easily confine photos within shapes, breathe life into text with textures, and frame images.
Remember, you can even manipulate multiple layers or target specific areas for adjustments. So, what’re you waiting for? Unleash your creativity.
However, Meta Clipping Path has experts to handle your image masking project. If you want professional help, we can help.
FAQs – Clipping Mask in Photoshop
Can I clip multiple layers to a single base layer in Photoshop?
Yes, you can clip multiple layers to a single base layer in photoshop. Just position the layers on top of the base layer. Then, select the layers you want to clip.
What are the advantages of using clipping masks in Photoshop compared to layer masks?
Clipping masks offer precise control (shapes), efficiency, and non-destructive editing. This makes it ideal for placing images within defined areas or adding textures to text.
Can clipping masks be used with adjustment layers in Photoshop?
Yes, clipping masks can be used with adjustment layers in Photoshop to target specific areas for adjustments.
Meta Clipping Path – A well-known one-stop photo editing service provider company with 5+ years of experience and 25+ highly skilled professionals.
Working with 20 reputed worldwide e-commerce companies and 200+ satisfied customers.
![Read more about the article What is Masking in Photoshop? [A Comprehensive Guide]](https://metaclippingpath.com/wp-content/uploads/2024/08/What-is-Masking-in-Photoshop-300x160.png)
![Read more about the article Clipping Mask Not Working Photoshop [The Causes And Solutions]](https://metaclippingpath.com/wp-content/uploads/2024/06/Clipping-Mask-Not-Working-Photoshop-300x160.png)