![You are currently viewing Real Estate Photography Tips [A Complete Guide]](https://metaclippingpath.com/wp-content/uploads/2024/08/Real-Estate-Photography-Tips.png)
Want to level up your real estate photography but are puzzled about how to start? Well, real estate photography is similar to service selling, and you need to take the best possible photos of it.
In this case, our real estate photography tips will help spice up your photography skills and take you to the expert level. You first need to take pre-preparation for the photograph, pick the best weather and time, prepare the photography area, and lastly, take the photos.
You can edit images yourself if you have skills in advanced photo editing tools. Keep reading to explore real estate photography tips from start to finish of the process.
Tips on How to Get Ready for Real Estate Photo Shooting?
Before we get into expert tips for how to take real estate photos, you need to understand how to prepare for the photography. If your starting is messy, you’ll face many hindrances to taking the best real estate photo.
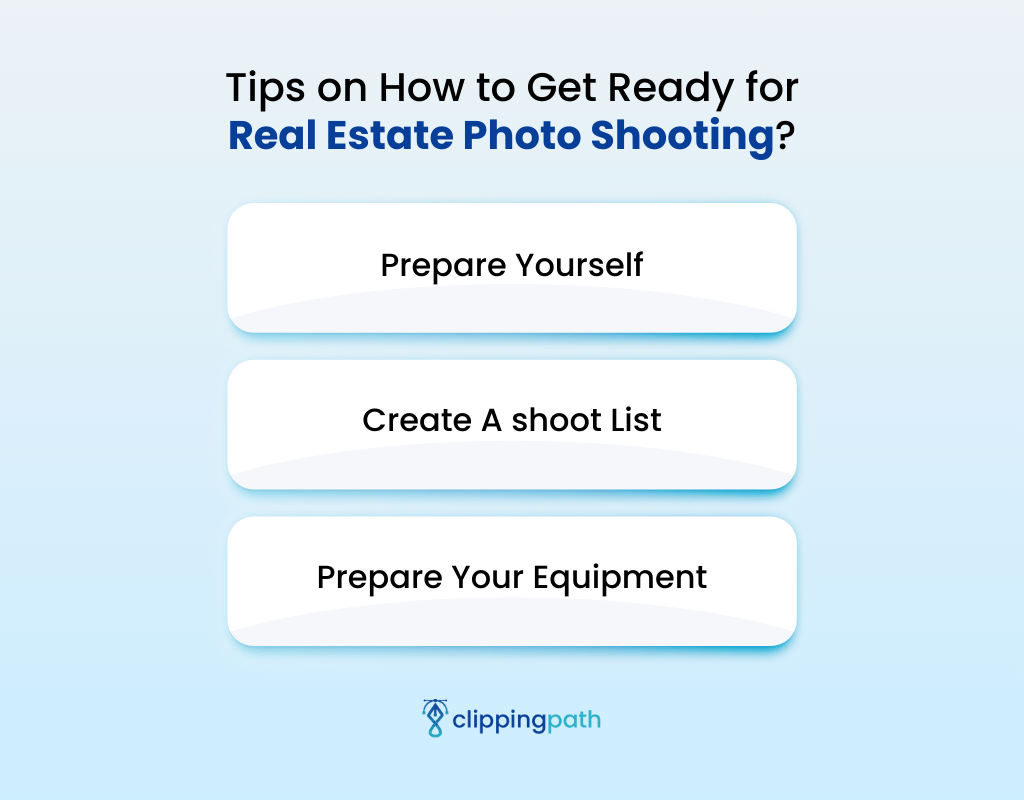
Here are some tips you can follow to get started:
Prepare Yourself
Before you prepare the area and set the camera, you need to prepare yourself. Self-preparation is the key to successfully clicking the best shots that will leave potential buyers in awe.
Visit the photography area before the scheduled day and look around the property. Take notes, short video clips, and pictures of unique selling points and property features on your phone.
Create A shoot List
Now, sort out the notes you took during the property walk to prepare yourself. Create a list of areas where you want to take pictures and your best camera settings and methods of taking the pictures.
You can probably remember your best camera angle and adjustment; still, include them in the list to make sure you cover everything. The shoot list will help save effort and time during the photo shoot.
Prepare Your Equipment
One of the game-changing tips for real estate photography is to prepare the right equipment. Check whether your photography gears are functioning properly and fully charged. Here’s a list of crucial photography gear:
- Professional Cameras: Real estate requires high-quality, high-resolution images, which means the camera needs to have high-end features. Therefore, invest in advanced DSLRs and mirrorless cameras.
- Quality Camera Lens: If you want flexibility during photography, you should spend on different lenses for better results.
- Include a wide-angle lens to maintain the proposition, high-optical quality, and low distortion for luxurious real estate photography.
- Carry a macro lens while real estate photography captures intricate details clearly and precisely.
- Sturdy Tripod: To capture a sharp image of property, you must ensure stability. Pack a tripod that can be expanded to your eye height.
- Additional Battery and SD Card: Always carry an extra battery (fully charged) and an SD card for backup storage. Make sure you check both the battery for charging and the SD card for storage space before packing.
- Extra Accessories: When preparing the camera for photography, include additional accessories like a remote shutter, reflectors, flashlights, and other necessary equipment.
- Drones (Optional): If you want to be a professional and offer exclusive service to your clients, you should invest in a drone to capture aerial perspectives and landscapes.
Note: Make sure you clean all your equipment before packing it to take to the photography spot. If possible, pack a soft cloth to clean the lenses again before taking the picture.
When is the Best Time for Real Estate Photography? [Weather Condition]
The real estate photos should look warm, bright, and welcoming to the potential buyers. But imagine if it rains on the day scheduled for your photography, your real estate photos will appear dull.
But you can use slightly cloudy weather to your convenience for exterior photography. You can create a visual aesthetic appearance in the photo.
Turn on all the lights inside and outside, then take the photo from outside. You can intensify the aesthetics during post-editing.
Therefore, you should pick a sunny and bright day for photography. The sunlight will provide enough light to help you capture appealing photos. But how will you know whether it’ll be a sunny or gloomy day?
Before you give your clients a final scheduled day, check the weather forecast. Consider changing the date if the weather doesn’t seem convenient for real estate photography.
Pick the golden hour (the first hour in the morning or the last hour before evening) for indoor and outdoor photography. It brings a warm and soft effect to the photo, making it appear more welcoming.
The Direction of The Sun
This tip for how to shoot real estate photography like professionals is important, especially for outdoor photography. Usually, you need to take pictures of a real estate house from multiple sides.
Therefore, direct sunlight over the property is necessary to prevent capturing shadowy sides.
Here’s a schedule of sunlight directions to help you understand when to take outdoor pictures from different sides.
- Early to mid-morning provides east-facing sunlight to the house.
- If you want to capture the north side of the house, take pictures between 10 a.m. and 2 p.m.
- In the afternoon, the house will get direct sunlight from the south.
- Take pictures of the west side of your property from late afternoon to sunset.
When is the Best Time for Real Estate Photography? [Daytime and Nighttime]
As we mentioned, the best weather for real estate photography is sunny and bright, so you may think you should take photos only in the daytime. Yes, daytime photography is the best time in natural light for indoor and outdoor.
However, you should also take pictures of the real estate house at night to give the buyer an idea of what it looks like from the outside. This way, you can be one step ahead in making the deal with your buyers.
Tips to Prepare the Property for Real Estate Photography
Now you know how to take pre-preparation and when to capture real estate pictures for the best result. It’s time to prepare the interior and exterior of the house for photography. Here are some tips on how to do real estate photography:
Set the Lights
Proper indoor lighting is the most effective and practical way of capturing professional real estate photos. You can use artificial and natural lights as a general lighting source.
Open the windows and remove the curtains to let natural light spread throughout the room. You can also use a white transparent curtain to add beauty and simplicity. If the room lights are not enough, use a softbox or flashlights.
Avoid taking pictures in harsh lights. Similarly, make sure there are plenty of lights outside when shooting real estate photos at night.
Clean the Area and Remove Unwanted Objects
Lighting isn’t enough to make your photo look clean and appealing. You must clean the room and remove all clutter before taking the real estate photo to avoid distractions. Here are some points you should focus on while cleaning —
- If there is furniture, clean the dust and organize it neatly.
- Remove all broken and old furniture for a defined appearance.
- Take out unnecessary items to make the room look spacious.
- Clean the windows for better pictures.
- When taking outdoor pictures, tidy up the corridors and yard.
Tips on Achieving the Best Photo Framing for Real Estate Photos
Whether outdoor or indoor, you must frame the objects in the picture to achieve the best shoot. You don’t need any advanced skills to get the perfect frame.
Usually, cameras show a grid to balance the right frame with other real estate photography focusing tips. If you’re taking indoor pictures, you need to use the panorama feature to collect as much information about the room as possible.
In this case, you should stand in a corner of a room and frame the entrance doors, windows, and the overall space. Simply put, start taking the picture from a corner and end in a corner.
The grid is divided into three vertical and horizontal lines. For the best result, align the panorama in horizontal lines.
The panorama feature also helps in clicking the aerial view easily. Keep the subject on one side or center of the vertical lines and center it horizontally. Make sure your photos capture information about both the sky and land.
Real Estate Photography Tips During The Shooting
Here are some effective real estate photography tips & tricks that you can follow to nail your photos:
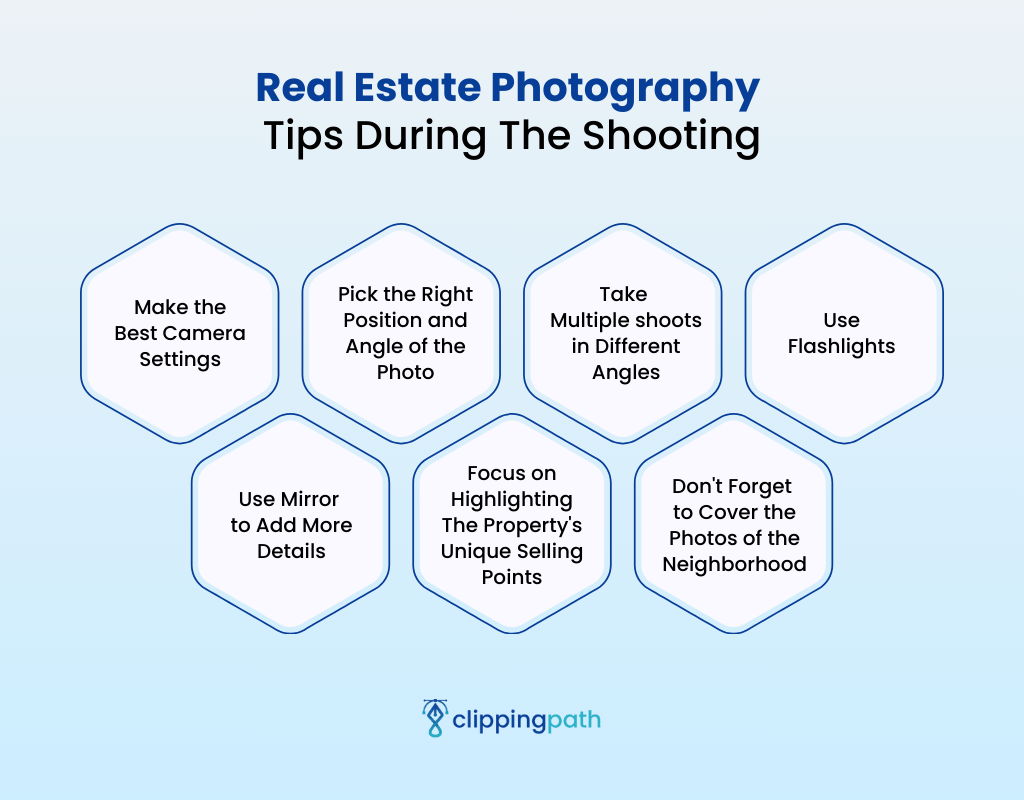
Make the Best Camera Settings
How to shoot real estate photography like an advanced photographer?
Till now, you have been learning how to get started and prepare for photography. But all of these alone can’t give you well-satisfied results.
You need to know about the camera settings and adjust them accordingly.
The best camera settings for real estate photography are to set the ISO, aperture, shutter speed, and exposure correctly according to the shooting situation. For example:
- When you take real estate photos during the day, you should keep the ISO low and aperture high to set the shutter speed to slow for sharp images.
- If you capture property photos at night, consider keeping the ISO high and the aperture low. It’ll make the shutter speed faster, and you’ll get your desired photos.
Pick the Right Position and Angle of the Photo
Highlighting the space of the room in photos can be challenging. That’s why mastering the right position and angle of the image is necessary. But how to find the right angle of photography?
First, set your camera to chest level, instead of eyes, with the tripod to prevent distortion. Then, take photos from a corner of the room, usually from the opposite corner of the door.
Use the panorama feature and keep the photo’s angle straight. You should stand at a 45-degree angle in the room for corner-to-corner shoots. This method is best for highlighting bedrooms, dining rooms, and living rooms.
On the other hand, straight shoots can be used to capture bathrooms, kitchens, doorways, windows, and stairs.
Take Multiple shoots in Different Angles
Don’t stick to a specific angle! Take pictures from several sides of the room and later pick the most appealing one.
While experimenting with different photography angles, make sure that you’re not blocking the lights and keeping all unwanted elements out of the camera frame. Besides, straight photo shots often fail to capture the space of the room and remove depth.
But is a corner shoot suitable for highlighting specific and small house details? You should take close-up shots to capture the details of certain areas, like the fireplace, kitchen counterpart, basin, etc. You can use your macro lens for detailed shoots.
Use Flashlights
If there aren’t enough lighting sources in the room, you can use a flashlight to improve the quality of your photo.
Using a flashlight, you can also prevent overexposing photos and balance good lighting in dark areas. When using the flashlight, you must use a light diffuser to prevent harsh lighting.
Use Mirror to Add More Details
Increase the beauty of the real estate property with a mirror as a reflector! Sometimes, capturing all the required details of a room in a picture becomes impossible. In this case, you can use a mirror to reflect the additional information you want to capture in an image.
Note: Make sure you or your camera reflection aren’t coming into the mirror reflection. Keep your distance to prevent getting unwanted reflections.
Focus on Highlighting The Property’s Unique Selling Points
To attract your potential buyers, you need to serve more than just property pictures. You need to discuss with the homeowner and find the unique selling point of the house. These unique selling points or luxurious areas can be —
- Fireplace
- Swimming pools
- Spa areas
- Kids space
- Additional storage area
- Large yards
- Outdoor space for barbeque or coffee
Nearby shopping malls, super shops, schools, hospitals, and parks are worth keeping as unique selling points for buyers’ added convenience.
Don’t Forget to Cover the Photos of the Neighborhood
Don’t overlook this tip like others. Be different! When a buyer thinks of buying a property, they’ll always have the thought of what the neighbors and surroundings will be like.
Therefore, if you can give them ideas about the surroundings, it’ll increase the chances of shaking hands. Take pictures of the community and nearby areas. You can use drones to capture an aerial view for better appealing visuals.
Real Estate Photography Post-Editing Tips
One of the real estate photography tips for beginners is to go for post-editing. Whether a beginner or professional, you must spend time on post-editing to make your photos look more appealing. Here are a few tips on photo editing:
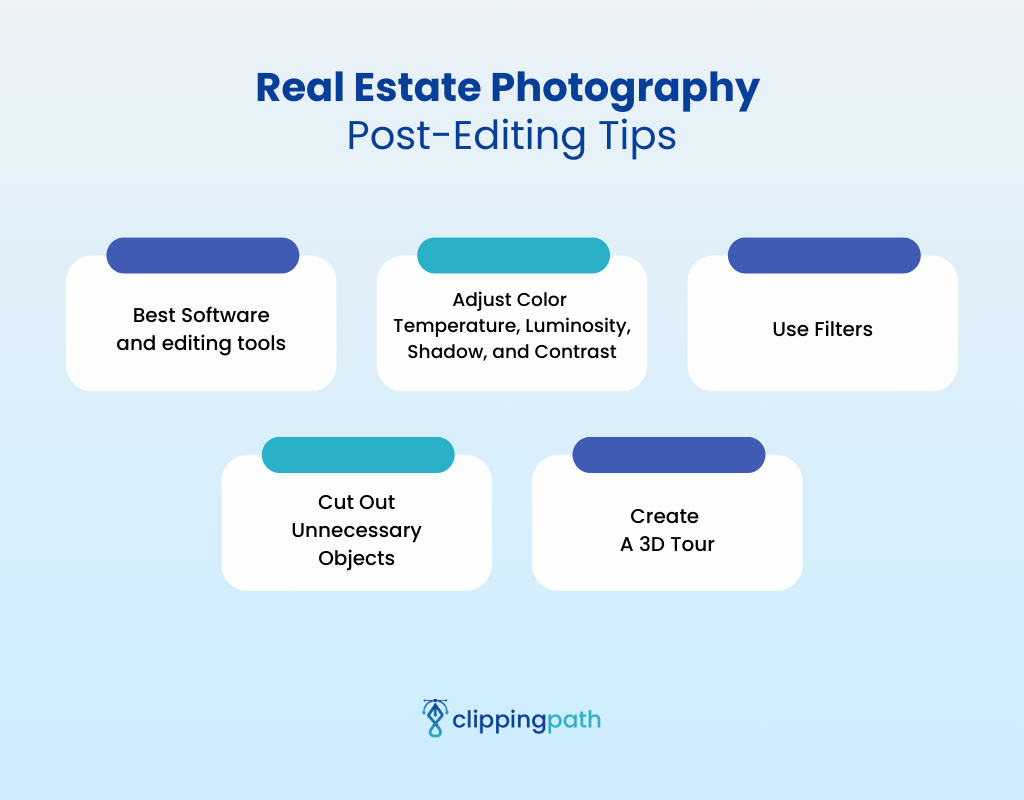
Best Software and editing tools
There are both premium and free tools available for editing your real estate photos. If you are a beginner, you can watch YouTube tutorials or hire professional editors to make your photos more worthy and appealing. Here are some software that you can use —
Adjust Color Temperature, Luminosity, Shadow, and Contrast
Where should you focus the most during editing? You should work on the color temperature, contrast, brightness, luminosity, highlight, etc., of the real estate photo. Through editing, you can give your photos a new appearance.
If the sky looks dull in outdoor real estate photography, you can change the color and add clouds. Similarly, work on the lawn area and reduce the appearance of the shadow in photos.
Use Filters
Photo filters can do the magic you may be unable to create in real life. For example, if you missed the golden hour, you can still bring a warm and cozy vibe to the photos by applying filters.
Make sure you don’t overuse the filter and keep the photo intensity low to maintain a realistic appearance.
Cut Out Unnecessary Objects
While picking the final real estate photo after shooting, you may find your favorite one, but there can be a distracting object. If it distracts your attention, it’ll distract buyers’ attention, too.
You can use Adobe Photoshop to edit and cut out unnecessary objects and fill out empty areas.
Create A 3D Tour
Want to stand out in the competition to ensure the deal? Opt for a 3D virtual tour! A 3D virtual tour will help buyers get neat ideas about the home space and the overall architectural design.
To create the 3D tour, you need to add multiple real estate images in the order of the home design. In addition to manual 3D creation, you can also use apps like CloudPano or Zillow 3D Home.
Tips to Avoid Common Post-Production Mistakes for Real Estate Photos
During the image post-editing, you need to follow some tips to avoid common mistakes. For example:
- Don’t over-edit colors — Keep photo tones realistic and balanced, as over-saturation looks fake.
- Edit consistently—Adjust all photos of the same property to the same color profile and white balance to prevent clashes between images.
- Avoid unnecessary cropping—Sometimes, we think that close shots look best. But this is different in real estate photos. Avoid heavy cropping unless you want to show intricate designs.
- Don’t over-sharpen images — Sharpening your real estate can offer clarity and precision. But over-sharpening your images will create artifacts in photos.
- Lens distortion — It can destroy the beautiful shape of the property! Use Photoshop to remove any distortion from the photo.
- Removing Shadows — Remove the shadow or reduce its appearance only where necessary. If you remove all the shadows, it’ll make the photo look counterfeit.
- Adding fake elements — Some people add elements to the photo to attract buyers that don’t exist in real life. Well, though it’s possible to get buyer’s attention, they’ll eventually turn down your offer for fabrication.
Conclusion
In conclusion, all these real estate photography tips can advance a novice photographer to the expert level. To summarize the tips in simple words, first, you need to prepare, set a suitable date, take the photo, and edit it.
To get the best real estate photos, you need to spend a few working days. Remember the tips for avoiding common mistakes, and don’t rush the editing process. However, you need to be patient and keep practicing following the tips. If you want any help with photo editing, we’re always ready to assist you at Meta Clipping Path!
Meta Clipping Path – A well-known one-stop photo editing service provider company with 5+ years of experience and 25+ highly skilled professionals.
Working with 20 reputed worldwide e-commerce companies and 200+ satisfied customers.
![Read more about the article Top 10 Real Estate Photography Focusing Tips [Learn to Edit Like a Pro]](https://metaclippingpath.com/wp-content/uploads/2024/08/Real-Estate-Photography-Focusing-Tips-300x160.png)