
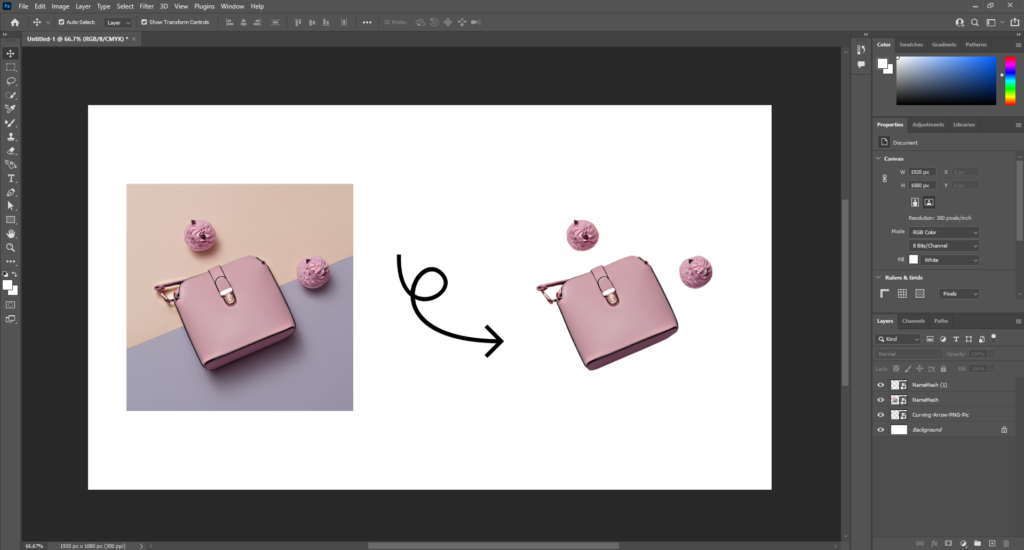
Have you ever wanted to remove the background from a photo to create a clean, professional image?
Perhaps you’d like to isolate a product for your online store or place a person from one picture into a completely different scene. In this case, the clipping path technique is your new assistant.
But what is clipping path and how do you use it? A clipping path is basically the process of isolating a particular object from a photo by cutting it out and removing the background. To use this process, you need compatible photo editing software and the right tools like pen tool, magic wand, etc.
Let’s go through the detailed discussion containing the types of clipping paths available, who needs this technique, and the benefits of using it.
What is a Clipping Path?
A clipping path is a way to cut out or isolate an object from its background in an image file. When a clipping path is applied to an image, everything outside that path is made transparent.
This allows removing the background and making just the subject part of the photo visible. Clipping paths are widely used in photography editing and e-commerce to remove backgrounds from product images so the items stand out clearly on websites.
They are also used for images that need backgrounds swapped or removed for design and printing purposes. Clipping paths help create precise selections around objects and get rid of unwanted background areas.
Types of Clipping Path
Clipping paths are like digital scissors, letting you cut out objects in an image. However, depending on the complexity of your image, there are a few types of clipping paths for your convenience. Such as:
Single/Basic Clipping Path
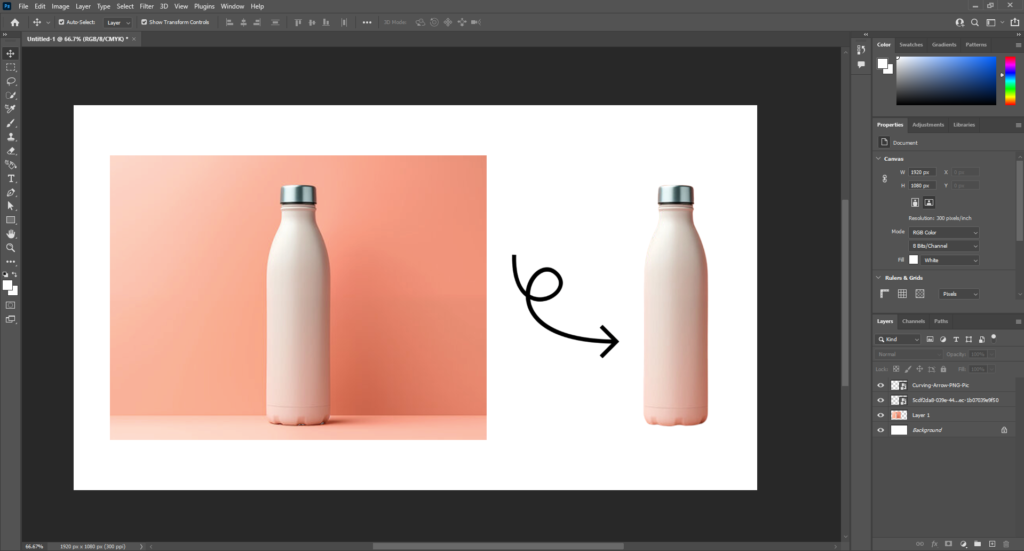
This is your starter scissor. With a basic clipping path, you can easily outline simple objects with smooth curves, like a ball, a bottle, or a book.
It uses a single path to trace the object’s outline and is ideal for changing or removing the background. Furthermore, a single clipping path is not ideal for editing critical objects.
Compound Clipping Path
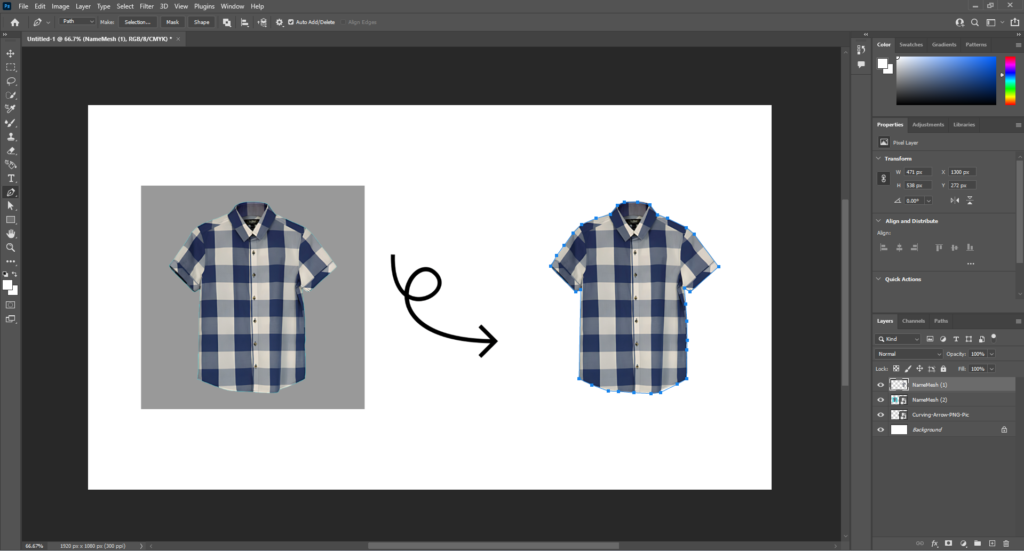
Just as its name implies, it combines multiple basic clipping paths, which work like a single scissor. A compound clipping path is generally ideal for intricate designs like a shirt or watch.
Complex Clipping Path
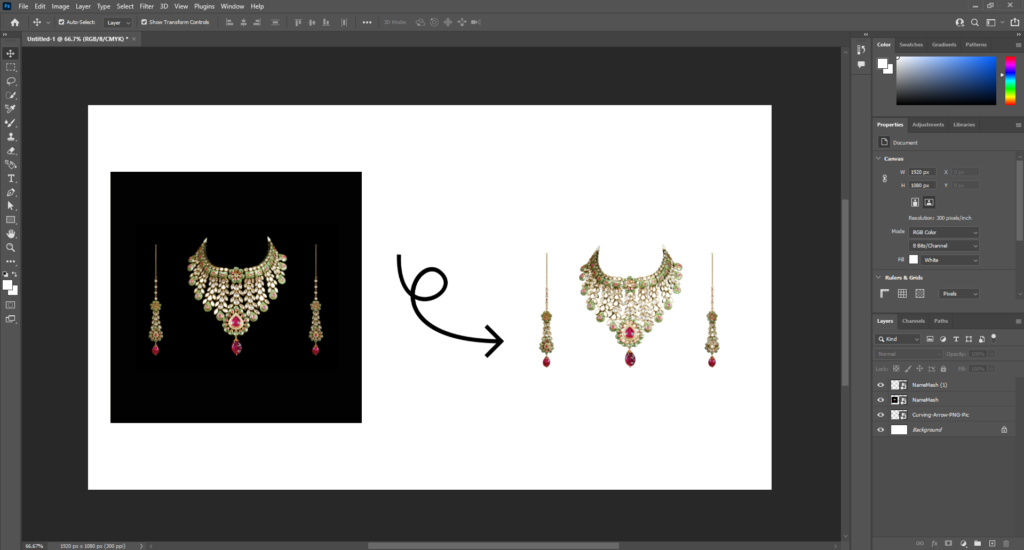
This is for delicate work. There are some intricate designs that require a precise path to capture all the tiny edges and curves, i.e., hair, jewelry, fur, etc. In that case, the complex clipping path comes in handy.
Multiple Clipping Paths
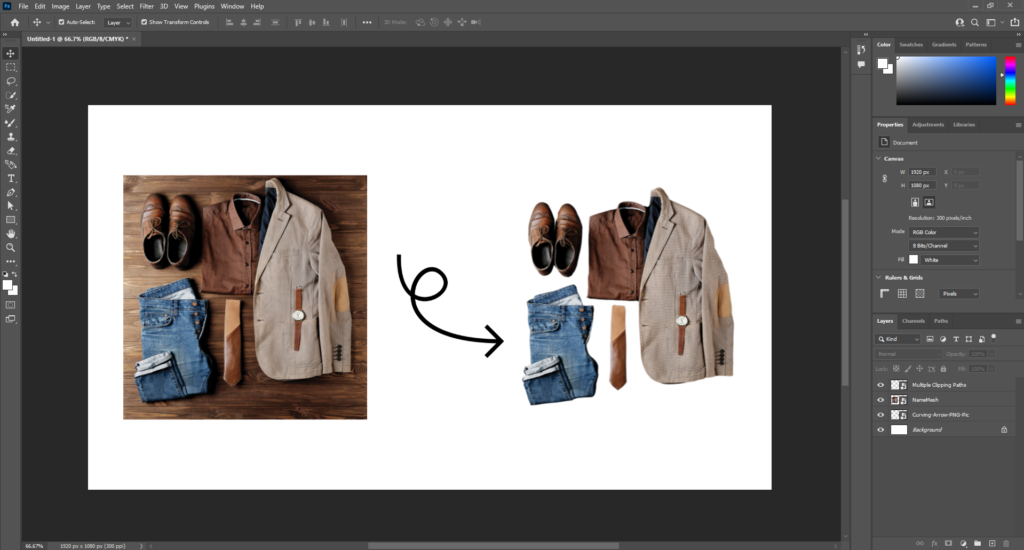
This is not similar to the compound clipping path. A multiple clipping path is a fancy scissor ideal for a clipping path image with several subjects in the photo.
It lets you cut out multiple objects in one image, using separate paths for each object. You use individual paths for each object you want to isolate.
Background Removing Clipping Path
This is like a special scissor that cuts without leaving a hole. It removes the background but keeps the object transparent, making it perfect for placing on any other background according to your choice.
How Does a Clipping Path Work?
Clipping Path works in a few steps with the support of an image editing app. You also need digital tools for the process. Here’s how a clipping path works:
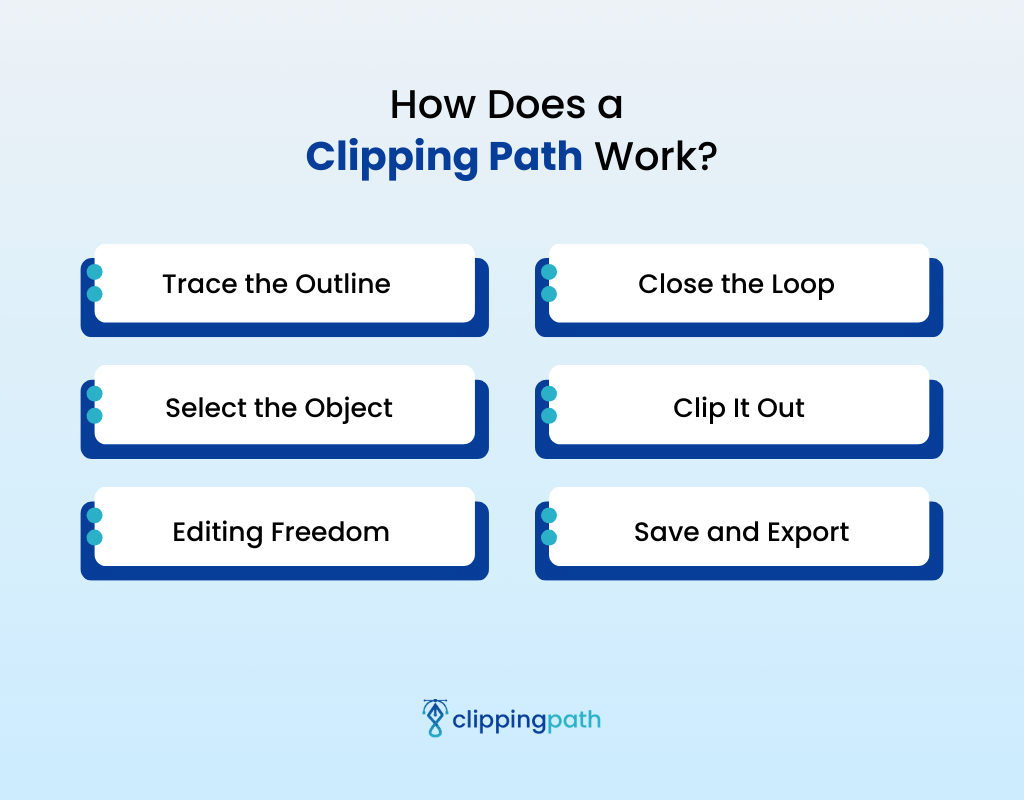
Trace the Outline
First, you need to grab your digital pen tool (like the “Pen Tool” in Photoshop) and carefully trace around the object you want to cut. Imagine you’re drawing a precise line that follows all the edges and curves of the object.
Close the Loop
You must connect the beginning and end of your traced line to create a closed loop to end the lining process. This closed loop is important because it indicates to the software exactly what part of the image to keep (everything inside the loop) and what to cut away (everything outside the loop).
Select the Object
Once you have your loop, most software lets you convert it into a selection. You can think of this selection as a special see-through mask that highlights the object you want to keep. Everything outside the mask will be hidden.
Clip It Out
With the selected area, you can apply the clipping path effect. This might involve different things depending on your software, but typically, it hides everything outside the selection (like cutting it away) or copies the selected object onto a new layer with a transparent background.
Editing Freedom
Now that your object is completely isolated, you can edit the object. Adjust its position on the image, or replace the background with something completely different.
Save and Export
Once you’re done with your edits, it’s time to save or export your final image. Choose a format that works for you, like PNG for transparency or any other format that suits your project.
What Tools Do You Need for Clipping Path?
With the right tool, the task of clipping paths will become easier. Here are a few mostly used clipping path tools:
Pen Tool
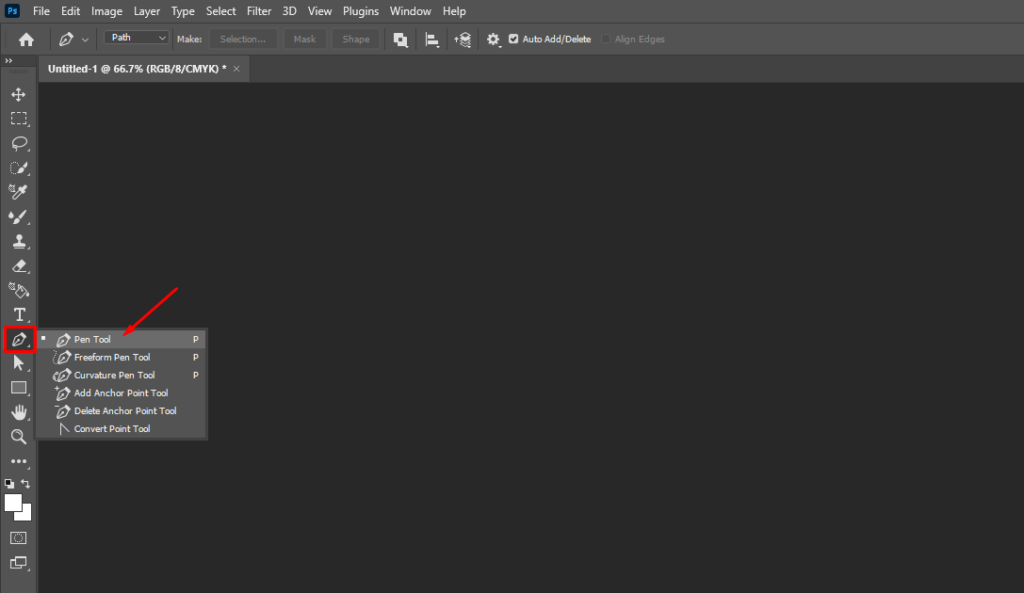
This is the first choice people have when it comes to clipping paths in Photoshop. Clipping paths rely on the Pen Tool for its precision.
Unlike automatic selections, the Pen Tool lets you meticulously trace any object’s outline, following curves and intricate details.
This precise control is especially important for complex shapes or objects with holes, which makes it the go-to tool for clean and professional cutouts.
Freeform Pen Tool
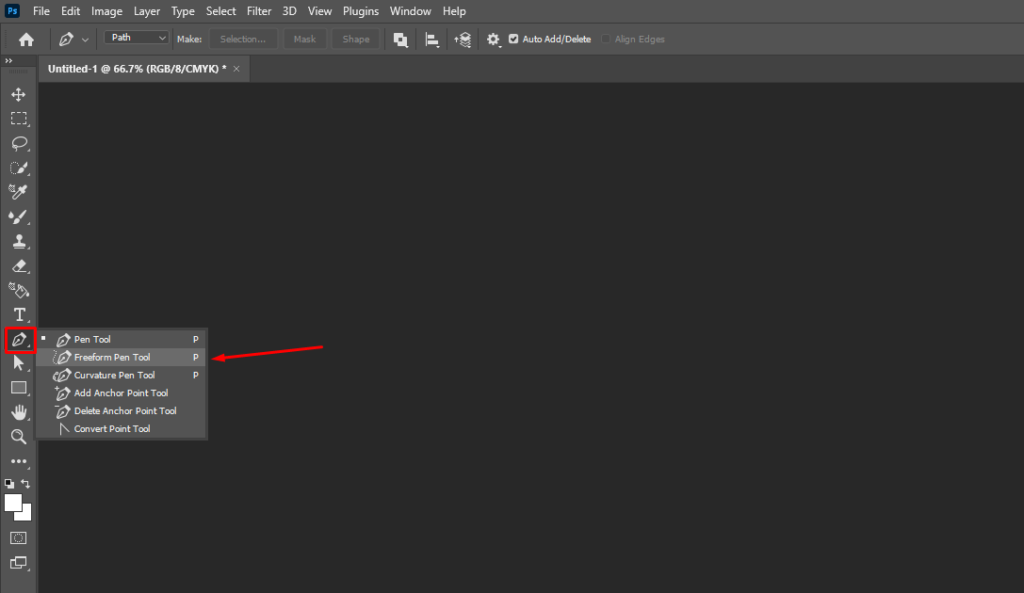
The freeform pen tool is similar to the pen tool, but it is quicker. With this tool, you can select simply by dragging and clicking on the mouse.
The freeform pen tool is ideal for selecting irregular shapes and curves; therefore, artists and designers are fond of this tool.
Furthermore, the selection can be edited using the pen tool to achieve perfection, making clipping masks work easily.
Magic Wand Tool
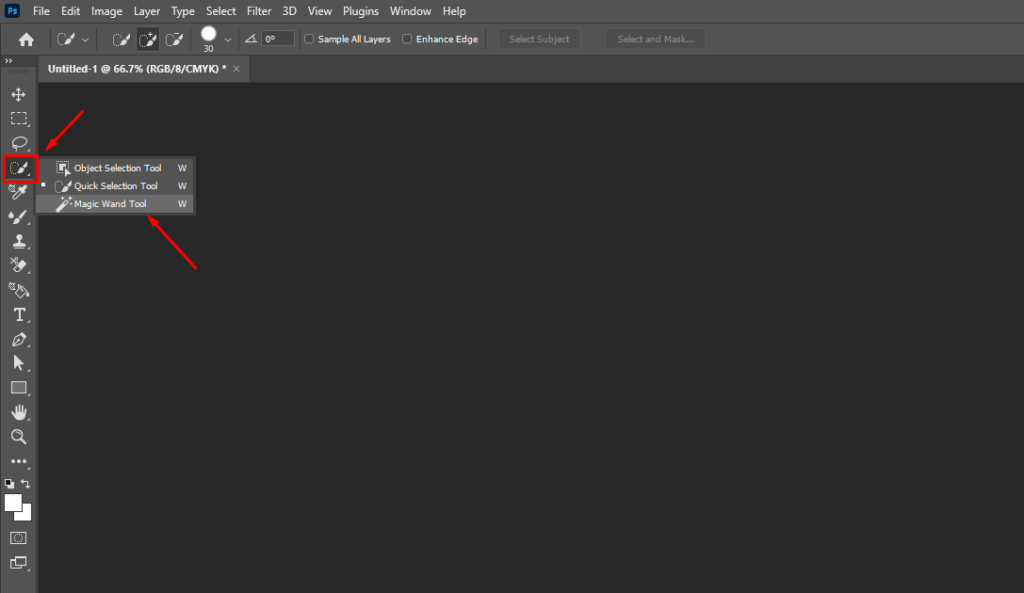
This tool makes selection on the basis of the object’s tone and colors. If the object you want to cut is of one color, less intricate, or has a large area, you can use this tool to quickly select.
However, the magic wand tool is not as popular as the Pen Tool.
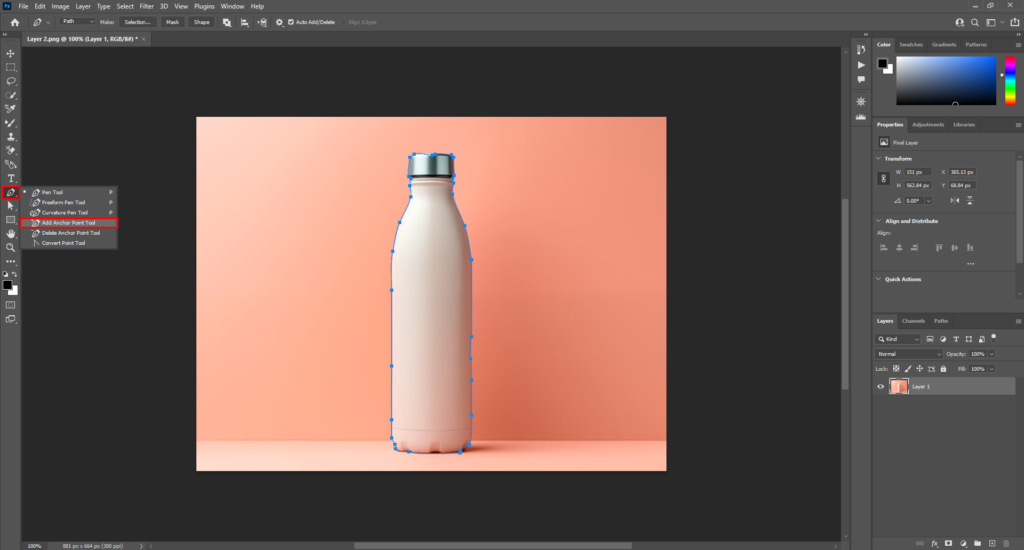
Anchor Point Tool
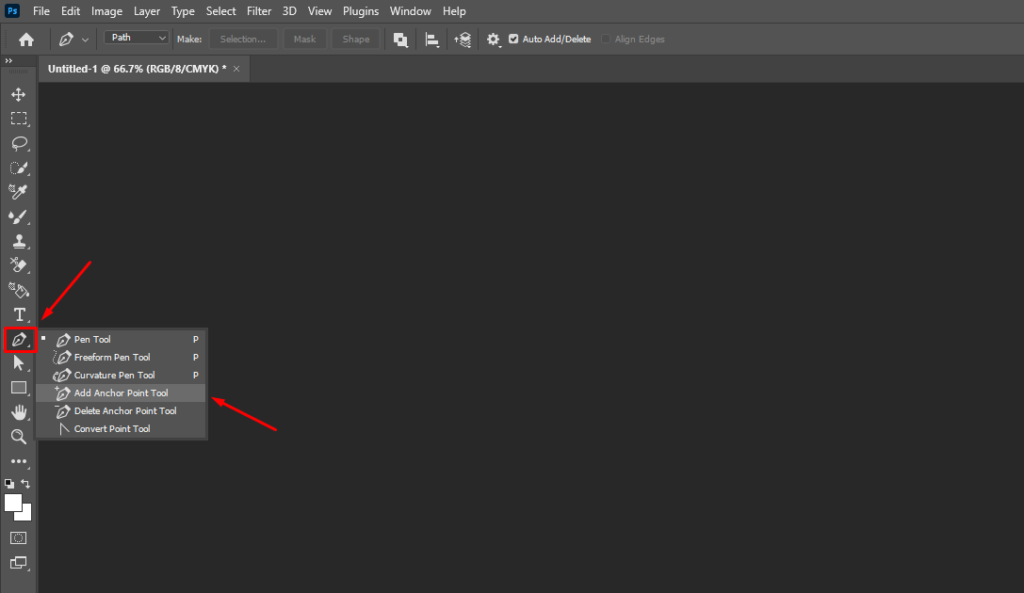
Imagine you’re drawing a path around an object, but it doesn’t quite capture all the curves and details. That’s where the Anchor Point tool comes in.
In Photoshop, this tool lets you add extra points to your path, like adding more detail to a sketch.
Lasso Tool
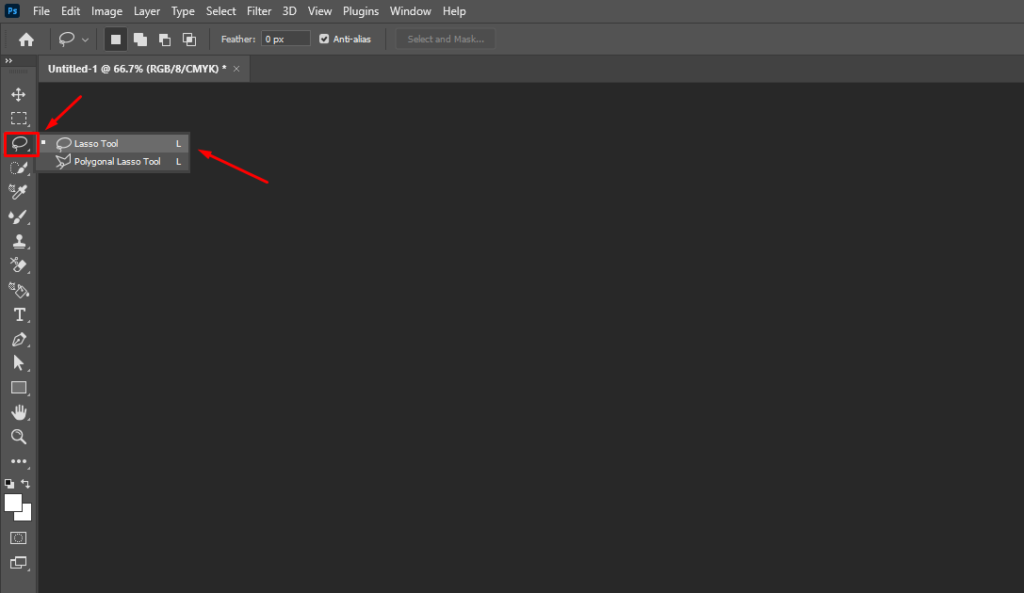
The Lasso tool is like a freehand pair of scissors in Photoshop. You can use it to draw a loose outline around any object, perfect for irregularly shaped things that don’t have clean edges.
Magnetic Lasso Tool
The Magnetic Lasso tool is a step up from the regular Lasso tool. It acts like smart scissors that try to stick to the edges of your object as you draw.
This makes it much easier to create precise selections, especially for objects with clear boundaries.
How to Do a Clipping Path in Photoshop?
Now that we know what a clipping path is and what tool it uses, let’s break down how to do a clipping path in Photoshop:
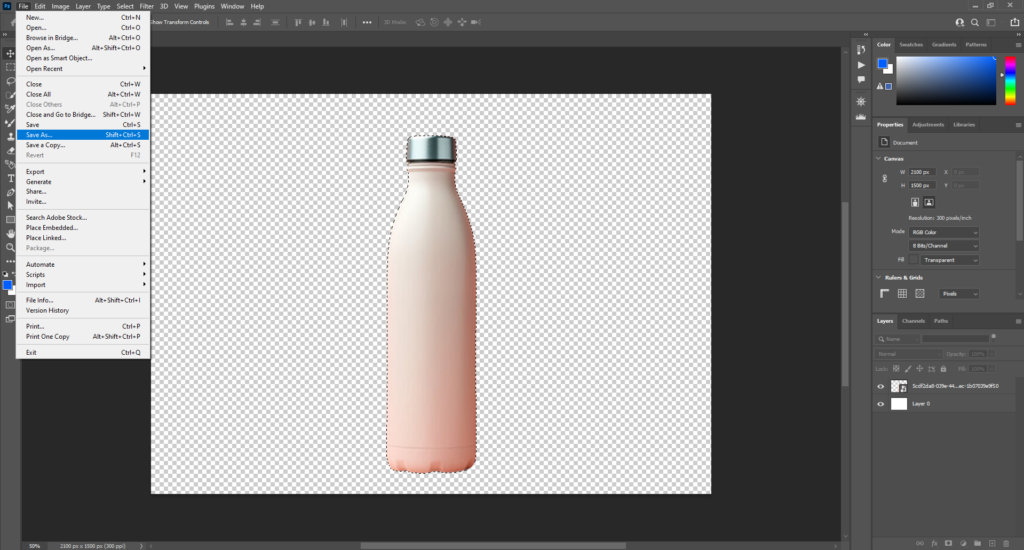
- First, open your Photoshop software and select the picture you want to clip.

- Pick your digital scissor tool to trace object outlines.

- Click around the object’s edges, creating a closed loop like a map.
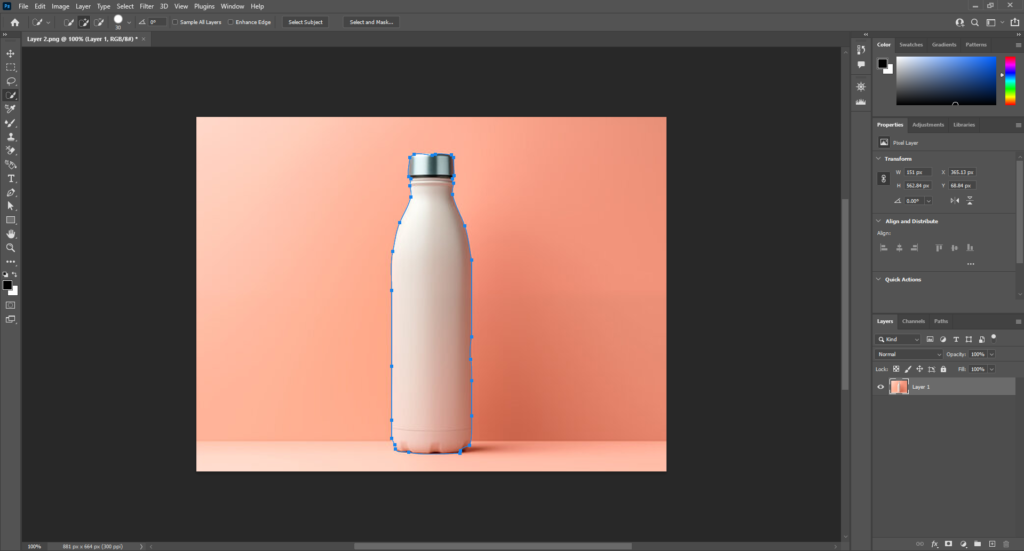
- Add or remove anchor points for extra control over the path.
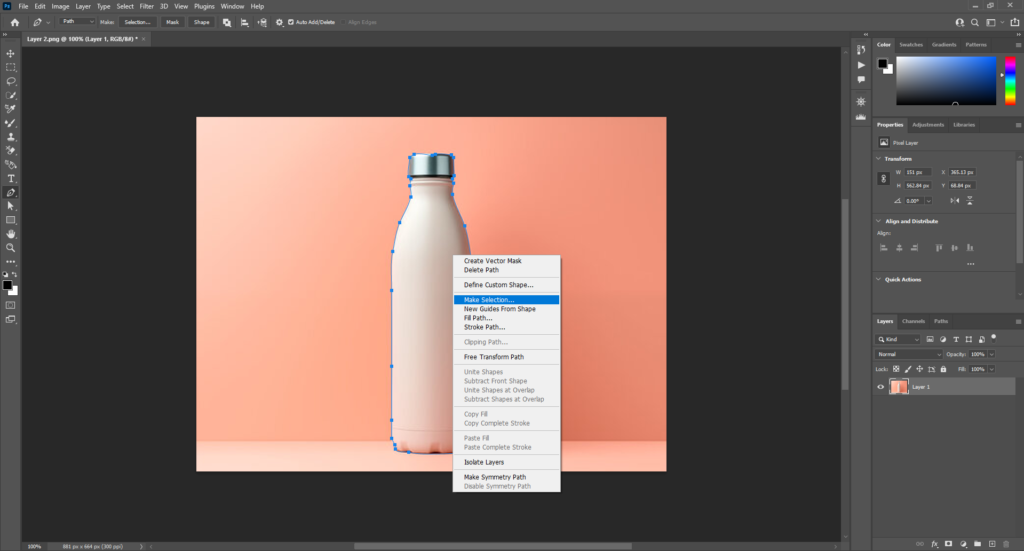
- Right-click your path and choose “Make Selection.”
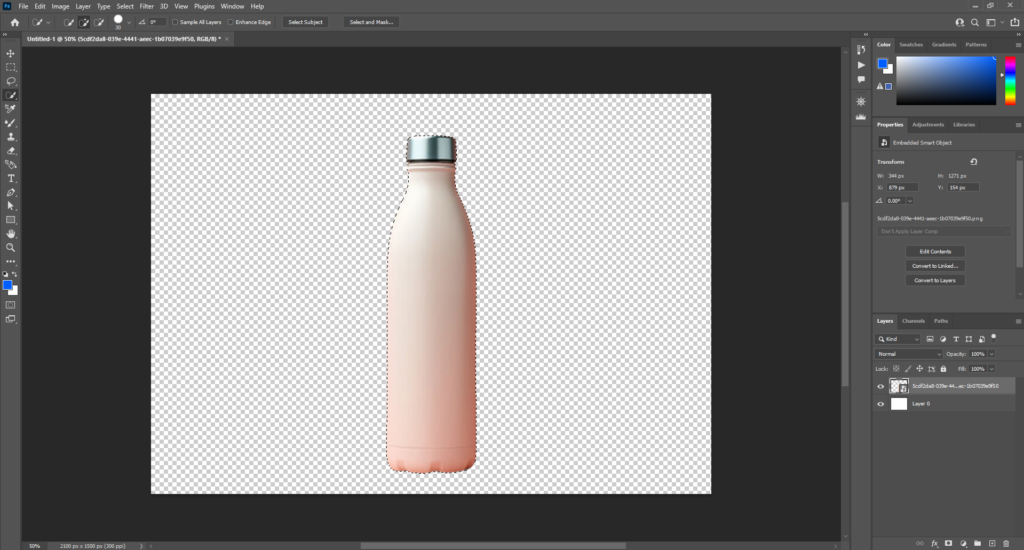
- Add a layer mask for clipping mask in Photoshop and hide everything outside the selection.
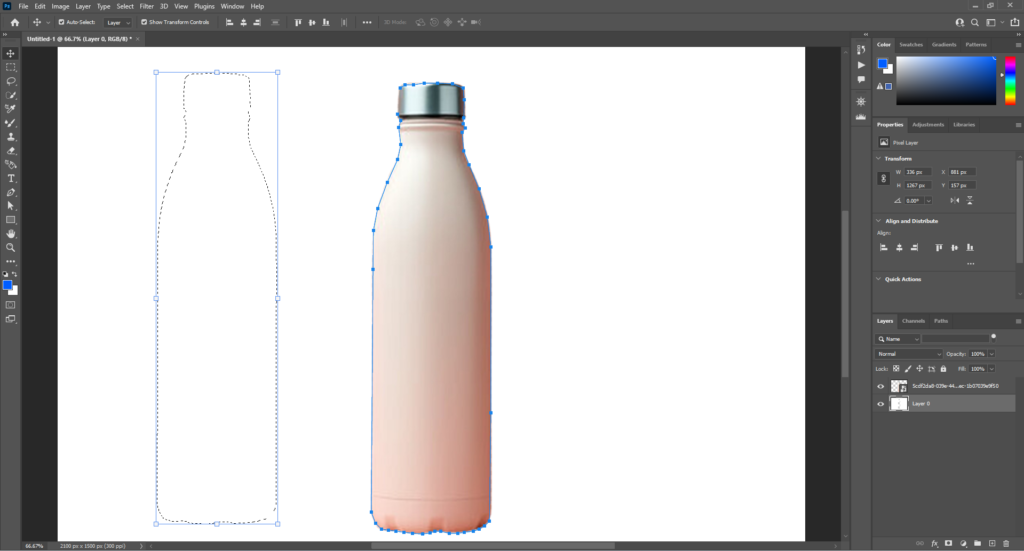
- Copy the selection and paste it onto a new layer for a transparent background.
- Edit your final selected object and complete the process by saving.
Is the Clipping Path Available in Illustrator?
Yes, clipping paths are available in Illustrator. In fact, Illustrator is a vector graphics editor specifically designed for working with paths and shapes, which makes it a suitable tool for creating clipped paths.
While the process might differ slightly from Photoshop, the core concept remains the same. You use a path to define the area you want to keep, and then use that path to isolate an object.
However, in Illustrator, the suitable tool for clipping paths is the pen tool, lasso tool, and scissor tool. For precise clipping paths, Illustrator’s vector tools offer more control than Photoshop’s raster capabilities.
Additionally, you can work on inverting a clipping mask in Illustrator.
How to Do a Clipping Path in Illustrator
Here’s a simple step-by-step guide on how to do a clipping path using Illustrator:
- First, set the workspace in your Illustrator and open the picture on which you want to use the clipping path.
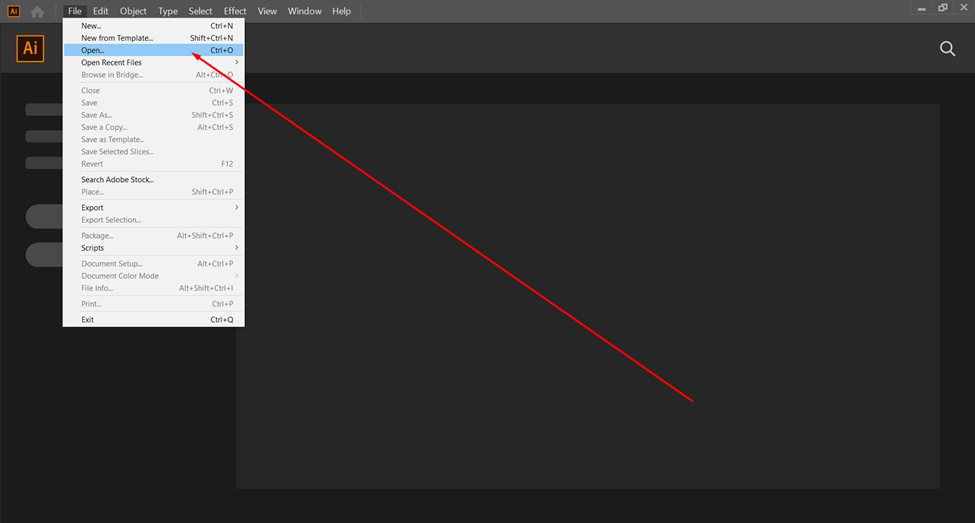
- Next, select the pen tool and start creating an outline. The outline should be completed in a closed loop, like in Photoshop.

- Then, once you have the selected object ready, you can zoom in on the picture to make sure you are not leaving out any pixels.
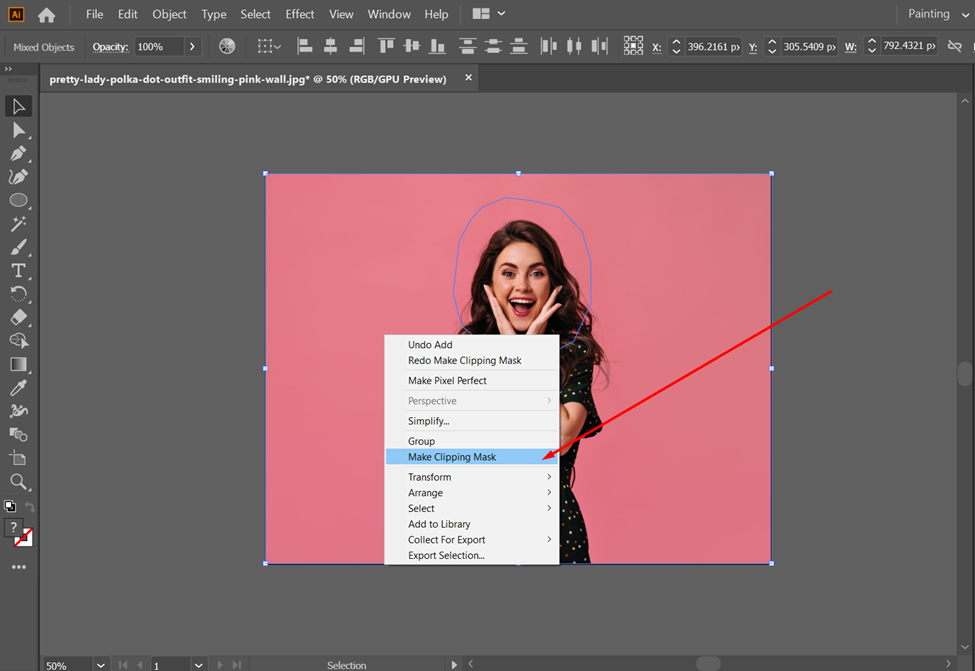
- Later, you can complete the desired task of removing the background or adding a new one with the selected object.
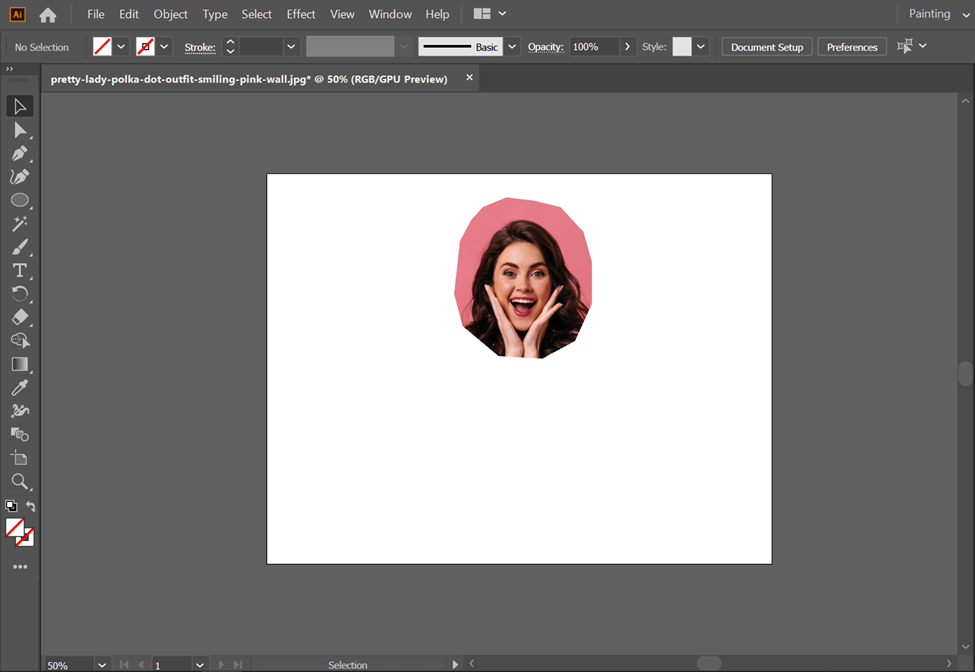
- Edit according to your needs, and save the final picture in a suitable file format.
Why is a Clipping Path Necessary? [Benefits of Clipping Path]
By using the best clipping path service, you can enjoy some additional benefits. Such as:
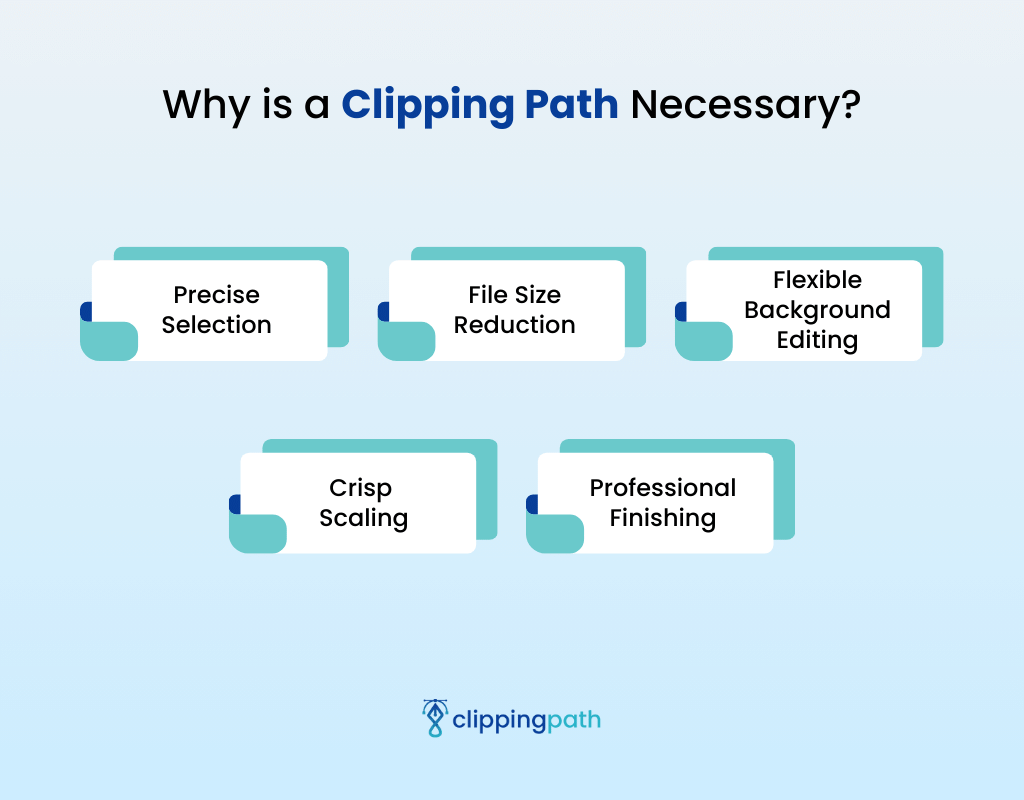
Precise Selection
Clipping paths allow for precise isolation of objects and subjects from complex and detailed backgrounds. The edge of the path can closely follow intricate outlines and cutouts, resulting in a clean selection of items without any of the background clinging to the edges.
File Size Reduction
Removing all background pixels through a clipping path greatly reduces the file size of images. Only the isolated subject remains; thus, it reduces image weight and loading times online or in files. Lighter file sizes improve performance.
Flexible Background Editing
Backgrounds can be easily swapped, added, or replaced for images that have had their subject extracted using clipping paths. This gives designers and editors the flexibility to experiment with different backgrounds for photos.
Crisp Scaling
Objects cut out via a path can be scaled both up and down in size without quality loss or fuzzy edges. The path information means the item preserves a crystal clear definition at any resolution.
Professional Finishing
Taking the time to apply a clipping path produces a polished and refined look for marketing and publishing materials. It completes the visual by smoothly eliminating distracting backgrounds.
Who Needs Clipping Path Tool?
Here are some of the key professionals and industries that benefit from clipping path tools:
- e-Commerce Sellers: Removing backgrounds from product photos sells items more effectively online. Background removal increases conversion rates by focusing on products.
- Graphic Designers: Precise pathing allows swapping stock photos into designs seamlessly. Clipping paths provide flexibility to experiment with layouts without quality loss.
- Photographers: They need to highlight the subject matter of the photo to showcase their talent. Thus, they need seamless editing for improved portraits. A clipping path, in this case, can be your ideal choice.
- Publishers: Isolated text, maps, and charts integrate smoothly into layouts for printed materials and books, which are essential for publishers. Achieving this goal is easy with the clipping path service.
- App and Game Makers: Clipping paths is beneficial for them to isolate the main character or subject flawlessly into animations and scenes. It keeps the asset vivid at any scale and produces crisp images at any output size.
- Marketing Agencies: Products and branding elements need to draw attention in campaigns, social posts, and promotions on a particular subject. The clipping path can expertly handle the subject matter to stand out smoothly.
Use Cases of Clipping Path
Now, let’s look at what the clipping path used for. Though the discussion on clipping path benefits shed some light on this matter, we will narrow down the uses for your added convenience:
- The clipping path helps in attaining a plain background for e-commerce photos.
- Through this service, you can color-correct and retouch a photo.
- Removing the background and unwanted elements of a picture is easy if you know how to use the right tool.
- Using the clipping path service, you can create your perfect 3D model.
- In the magazine sector, clipping is mostly used to highlight the model or a particular object in the magazine.
FAQs Related to Clipping Path
Are clipping paths and image masking the same?
Clipping paths use vector paths to isolate subjects. Masking involves selecting areas for adjustment and applies pixel-based effects rather than complete removal like paths do.
What file formats support clipping paths?
The main formats that support clipping paths natively are Photoshop PSD, TIFF, and EPS. JPEG and PNG don’t support paths, but the clipped object can be saved or exported.
How accurate do clipping paths need to be?
For most applications, paths should closely follow the object’s edges with minimal extra or missing pixels. Tighter paths are better for tasks like image retouching compared to looser selections.
What’s the best tool for manual pathing: pen, freeform, or auto?
The pen tool is preferred for its precision, but Freeform can work for simple shapes. Auto Trace is good for basic selections, but manual pathing gives most control over intricate edges.
Conclusion
So, you now know what a clipping path is, how it works, and when to use this technique.
Generally, a clipping path is an ideal way of removing the background and isolating something in a picture. Creating a perfect cutout from intricate pictures requires an expert hand.
Try zooming in on the picture to collect precise details, invest time, and be patient with the process. Overall, mastering the task of clipping paths is a must to effective visual communication.
Hence, promotional activities, retailers, and marketing agents are the key users of the clipping path.
Meta Clipping Path – A well-known one-stop photo editing service provider company with 5+ years of experience and 25+ highly skilled professionals.
Working with 20 reputed worldwide e-commerce companies and 200+ satisfied customers.
![Read more about the article What is a Clipping Mask in Illustrator? [Type, How to Create, and More]](https://metaclippingpath.com/wp-content/uploads/2024/06/What-is-a-Clipping-Mask-in-Illustrator-300x160.png)
![Read more about the article How Do Clipping Masks Work? [Step-by-Step Guide]](https://metaclippingpath.com/wp-content/uploads/2024/05/How-Do-Clipping-Masks-Work-300x160.png)