Becoming a professional photographer in New York City is, while not easy, also not quite as
hard as people think. There are a myriad number of fields and specializations within NYC’s
massive and ever-changing photography market that the average individual doesn’t know exists.
These jobs and assignments pay well, are fairly non-demanding, and don’t have anywhere near
the ferocious level of competition one may encounter when, say, trying to get their images
published in a magazine. As one working in the NYC industry full-time as a photographer for
over ten years, I can share with you two types of photography jobs that pay well and are more of
the industry’s low-hanging fruit.
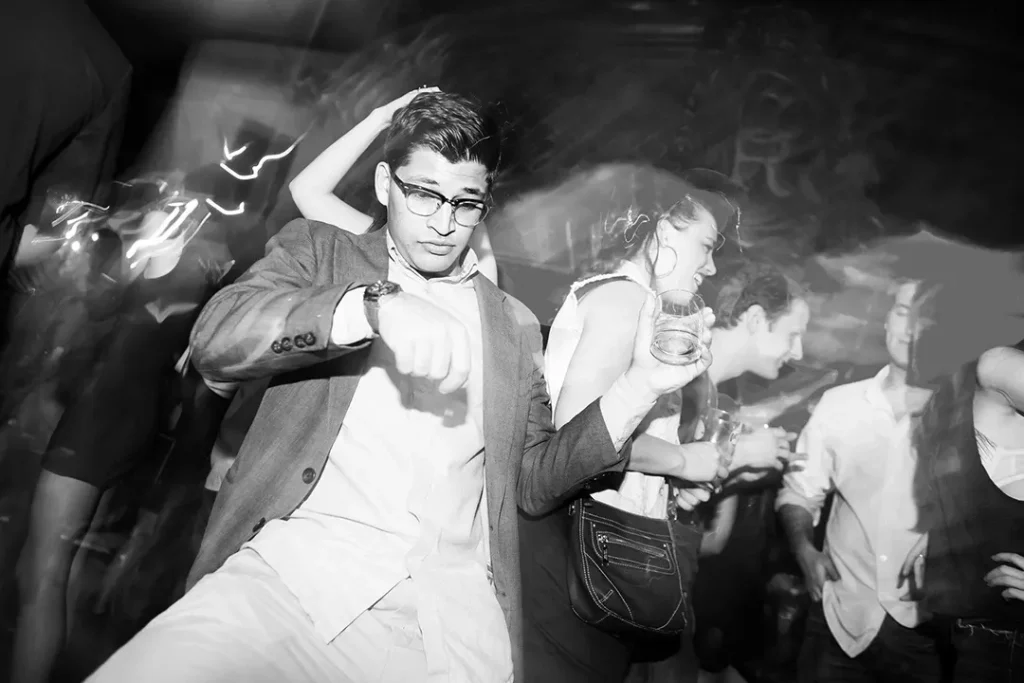
Event Work is not exclusive to just weddings
An entry-level event photographer in New York City starts at $100/hr. To the newly initiated, this may seem outrageous ($100/hr is spectacular pay anywhere you go), but keep in mind that you won’t for one be typically working
forty hours a week in this capacity. As well, editing and processing need to be taken into
account (essentially halving your hourly rate for longer shoots that require more thorough image
processing and color grading).
This being said, there are a few different types of events you can photograph in New York, but
the easiest to aim for initially are easily any one of the dozens (if not hundreds) of private parties
and events going on in NYC on any given night. Birthday parties, company mixers,
anniversaries, etc are perfect places to start off and populate the city in ample amounts and at
mostly all hours. Parties are especially easy to grab, as young professionals with healthy
budgets and low expectations (they really just want photos of themselves dancing and looking
good) always invariably need a photographer.
Events like these are a great place to start off as well because client expectations are usually
not quite as high as in other areas of photography and, once again, the pay is good (a three
hour party in NYC can easily net you $600+).
If you don’t find yourself with the portfolio or experience needed to get that initial hire, you can
always offer a couple freebies in the beginning (really no one is going to decline you shooting
their event for free). Find a party or two to attend, either through friends or social meetup sites,
and you can show up get some of the necessary images under your belt. You’re absolutely
going to need a speedlight if you do plan on documenting nightlife, and using it effectively will
set you apart from other photographers (that’s an entirely different article altogether).
Once you have one or two of these under your belt, your priority should be putting up a decent
portfolio online so that people can view your work and you can segue that into hirings. I
originally used a wordpress portfolio for this purpose though later on migrated to squarespace
(where I remain to this day).
As far as finding the work is concerned (which is always the hardest part), there is an extremely
healthy number of sites on the internet that are gig oriented (I’ve used upwork, thumbtack,
gigsalad, and even taskrabbit in the past when starting out), while you slowly build a client list.
Best place to find these sites? Simply run a search on google for event photographers and go
as far back as the fifth page – you’ll come across site after site looking to source photographers
for events, and you can sign up to any one of them.
If you have any questions or need examples, my own portfolio resides below.
New York City – Event Photographer
Non-Actor Headshots
Everyone is familiar with acting headshots, and they’re part of the reason why I got into the
industry in the first place. Prior to becoming a photographer, the idea of spending an hour with
someone and then having them pay you in excess of $800 seemed pretty good to me; moreover
given the wide creative berth actor headshots afford the creator. There are a number of ways to
light a headshot and truly create legitimate art with someone, and so I was drawn to the field
almost immediately. I learned very quickly, however, that the field is brutally competitive.
Corporate and professional headshots, on the other hand, are not so competitive
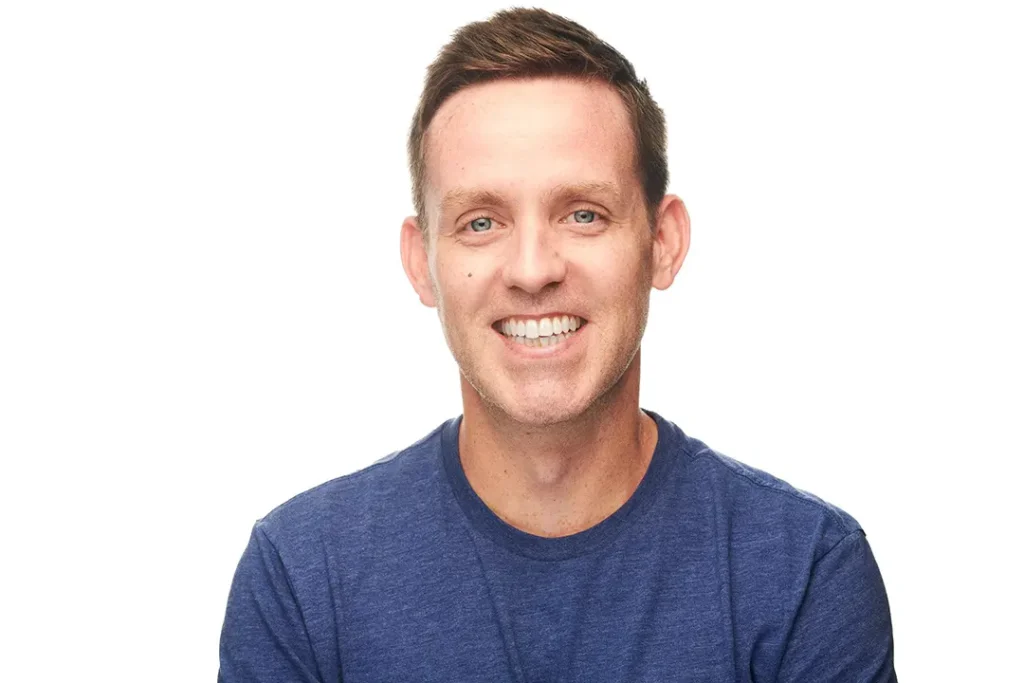
Corporate headshots are, for the most part, fairly non-demanding assignments that pay well and
were a bread and butter job for me for a very long time. Pricing expectations for corporate
headshots can be all across the board, and I’m not entirely sure how many times I’ve heard a
young professional say ‘I mean this is just for Linkedin.’ Typically my inward response is ‘you
mean so this is just for the photo that everyone in the world is essentially going to know you by,’
though I keep my tongue in check.
Yes, you likely won’t get $800-$1000 for a corporate headshot, but you can still charge a
200-$300, and that’ll go a long way towards being a livable wage for you when starting out.
One thing I will say is that people in the corporate world don’t have the most prior exposure to
professional photography and because of this they can be a little more prone to sticker shock
than, say, an actor, and you’re more likely to encounter someone in disbelief that you’re
charging them for something they do every day with their phone.
This being said, if you get a company willing to hire you for their headshots, that can make for
an extremely nice rate. Typically for companies I’ve traditionally priced per person, and with
some companies having 30 individuals, $80/subject makes for a not so bad day rate ($2400
USD).
Law offices typically made for good assignments, as lawyers especially always need headshots
and sometimes firms can get quite large. This being said, I’ve also done work for Architectural
firms, as well as PR and Marketing firms. Real Estate Agents also are in perpetual need of
headshots.
If you don’t have a huge budget to work with, you can pick up a couple speedlights and a couple
shoot through umbrellas for $200 (and name brand ones at that, if used) and you’ll already be
ahead of 90% of the other headshot photographers out there.
If you do want to get into Actor Headshots
Actor headshots are much more competitive to get into, as the top NYC photographers in that
field command rates in excess of two thousand dollars for one session as of this writing, but that
doesn’t mean you shouldn’t pursue them. Once again, focus on off camera lighting (two light
stands, two speedlights, and two softboxes are really all you need to get a headshot thats better
than 90% of the others out there) and you’ll be all set. I advertised on backstage and actors
connection for a long time and got decent business out of it.
There absolutely is a market for actors that want decent work but don’t have huge budgets.
When starting out, do not price yourself at a certain rate just because you see others in the field
doing the same. If you see someone charging $1000 for headshots, they’ve probably been
doing them for a very, very long time. In the beginning, I charged anywhere from $200-$400 and
didn’t concern myself with what others were getting. I priced myself out on my availability and
experience, and 10 years later, am still here, have my own studio, and work with quite a few
agencies.
In summary, if you want to become a photographer but have no idea where to start, the above
fields are fairly easy to get into and support you early on, while you figure out what to do.
Image Editing Tips and Tricks
Frequency separation is your friend
Frequency separation is going to be your best friend for headshots and portraits, and in higher
volume headshot commissions (say a law firm hires you for headshots and needs 30 people
shot) will reduce your editing time by literally 90%. Do not overdo it, however, as it’s very easy to
get carried away and go too far – making your client look like a mannequin.
Typically what I will do with frequency separation is run it as an action on one of my headshots.
I’ll go ahead and then lasso the main areas of the face (you don’t have to be precise with this,
just general areas will do), and then run one gaussian blur on the color layer.
If the skin texture needs a little finessing, I’ll select the clone stamp tool, reduce the opacity to
around 5%, and then simply gently brush over the texture layer. This will smooth out any rough
areas on the texture layer while retaining the image’s integrity.
Trace with the Pen Tool
Oftentimes, when people first start out, they’ll create a selection (marching ants) using the lasso
tools. This is time consuming and, as well, unforgiving, as the wrong button click often times
means you’ll have to start all over again. Get good at creating your selections with the pen tool
by creating paths and then using those to create a selection. Additionally, you can tweak the
nodes if you feel like a curve or corner needs adjusted.
Focus and recompose for less cropping later on (technically this is an on camera
tip/trick)
Focus and recompose for less cropping later on (technically this is on camera tip/trick)
Focus and recompose is an event photographer’s best friend. In event photography, often times
you only have a moment or two to take a photo before the scene passes. In the event your
focus point (I use one focus point only and at all times) is not in the ideal spot for your
composition, you can move it to the correct focus point, lock that focus point, and then
recompose your image and ultimately spend less time cropping.
Portraiture Editing
When shooting fashion or editorial, I spend more time editing my raw files than I do in
photoshop. Many people that are new to fashion and editorial photography make the
assumption that the bulk of your work flow should be spent in Photoshop, but in reality, I spend
far more time in Capture One and Lightroom for stylized work. The latitude you’re afforded when
adjusting the contrast on a RAW image versus adjusting the contract on a JPEG is night and
day; and so lighting, contrast, and color grading should be done outside of photoshop.
Learn batch editing and automated process via the actions in your library
I’ve been hired tons of times by dozens of companies to provide headshots for their employees.
Sometimes, companies can be extremely large ( I once did 75 in one sitting ). With numbers that
large, even the simplest actions add up in the amount of time spent editing. Because of this, I’ll
create an action on, say, the first headshot and then batch-run that action in the directory
containing the main JPEGs I’ll be editing.
For instance, let’s say I have a corporate headshot that I want a completely white background
on. I may have, on shooting day, occasionally gotten an off-white or semi-grey background
(maybe I was shooting too fast for the flash’s recycle time, for instance). I could go in and
manually run the subject selection function in photoshop for each and every photo that remains
to be retouched – or, I could simply turn that series of steps into an action and then have that
action batch applied to the folder.
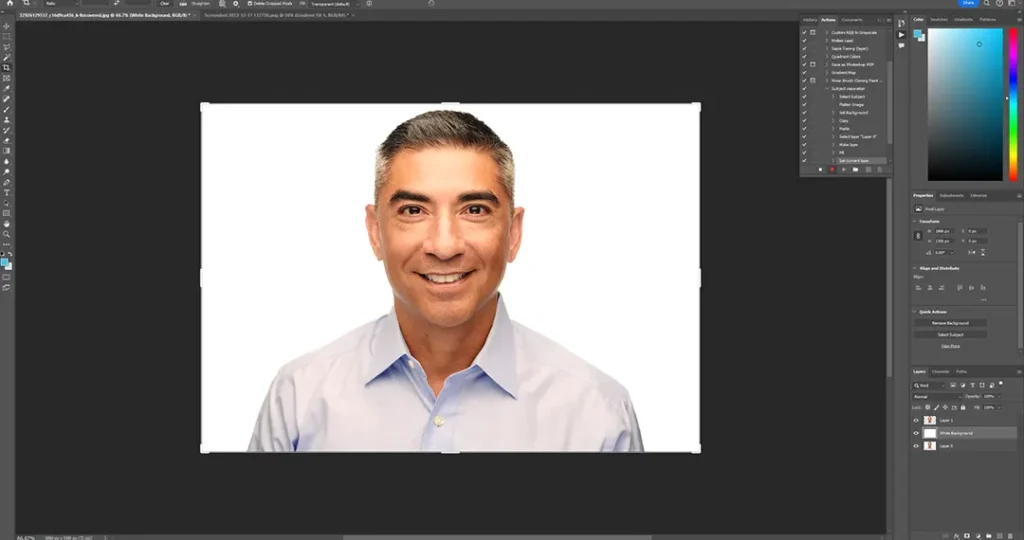
My process for this is, for example, as follows:
- Open the image
- Create an action entitled ‘Subject separation’ and start recording the action.
- Go into the Select menu and click on ‘subject’
- After photoshop has created a selection around the subject, I will duplicate the subject
And then paste him/her onto a new layer - I will select the background layer, create a layer on top of it, and fill it with a white
background. - I will save the file and stop the recording.
After that, I will batch run that action on every image in the folder, and then each and every
image waiting to be retouched will, when opened, have a clean white background.
Conclusion
Becoming a full time photographer isn’t easy, but neither is starting a business. Using the above
mentioned jobs and opportunities, you can start getting paid in areas of the photo world that
aren’t quite as competitive as others and, as well, gain some confidence and know-how along
the way.
The tips and tricks will help you with your workflow and as well hopefully cut down on post after
your shoot. If you do editing in extremely high volume, consider outsourcing as well, as the
amount of time you’ll cut out of your workflow will easily pay for itself x times over.
Meta Clipping Path – A well-known one-stop photo editing service provider company with 5+ years of experience and 25+ highly skilled professionals.
Working with 20 reputed worldwide e-commerce companies and 200+ satisfied customers.