![You are currently viewing 7 Best Drop Shadow Settings Illustrator [Add Shadows Easily in Adobe Illustrator]](https://metaclippingpath.com/wp-content/uploads/2024/08/Drop-Shadow-Settings-Illustrator.png)
Drop shadows add depth, dimension, and a sense of realism to your vector artwork. However, you need to know about the drop shadow settings to edit like a pro!
Some of the best drop shadow settings in Illustrator are opacity, blur, color, angle, etc. You can customize your drop shadows as you want and make them look natural using these settings. Feel free to adjust and experiment to achieve the perfect shadow for your needs!
Apart from the best drop shadow effects, we’ve also listed some easy tips for pro-editing. Keep reading to transform your drop shadows in Illustrator!
Importance of Drop own Shadow Settings
Drop shadows are essential tools for creating better images. They let you add depth, clarity, and even an artistic touch!
Here’s why you should add drop shadow settings in Illustrator –
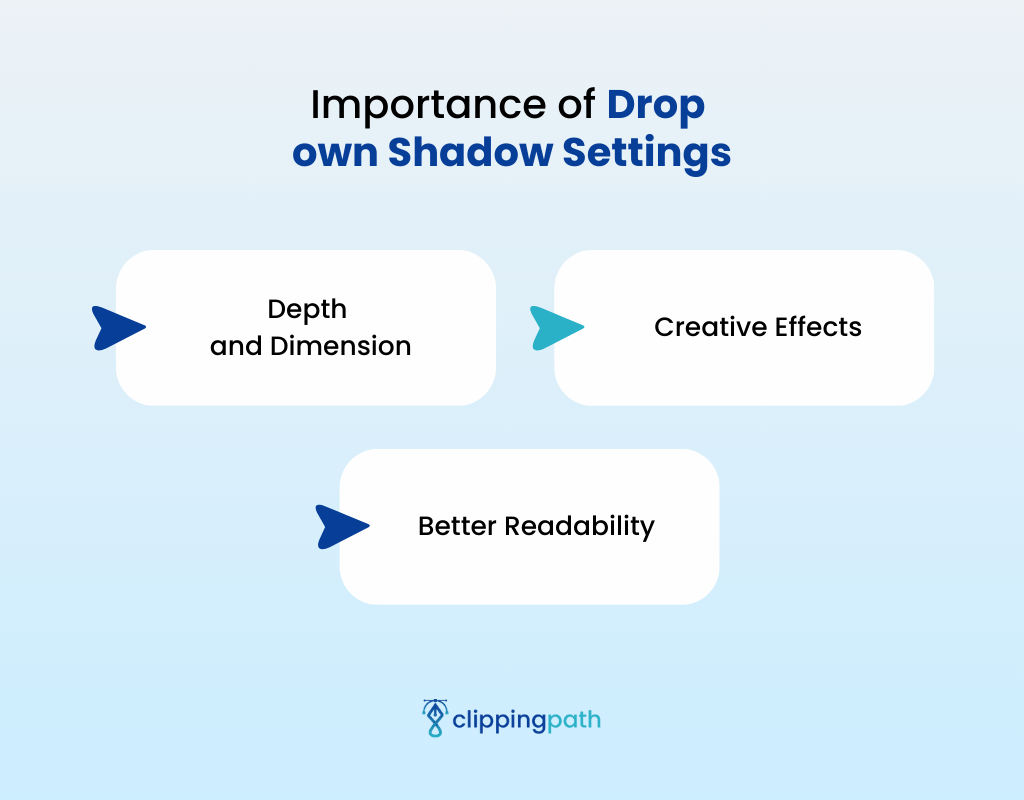
Depth and Dimension
If you choose your drop shadow effect wisely, you can add depth and dimension to your artwork. A subtle drop shadow creates the illusion of a three-dimensional object!
Creative Effects
Drop shadows aren’t limited to creating realistic lighting. You can experiment with settings like color, opacity, and blur. This helps you create unique and artistic effects.
Better Readability
Drop shadows can improve readability, especially for text elements. Are you a Photoshop user? No worries, you can add shadow to a text there too!
Top 7 Drop Shadow Settings in Illustrator
Most people know how to add drop shadows to images. But how well you use the drop shadow settings can bring a picture to life!
Here are the seven best drop shadow settings in Illustrator that you should check out –
- Opacity
You can control the darkness of the shadow with opacity. A higher opacity creates a stronger and more prominent shadow. If you want a subtle effect, choose a lower opacity!
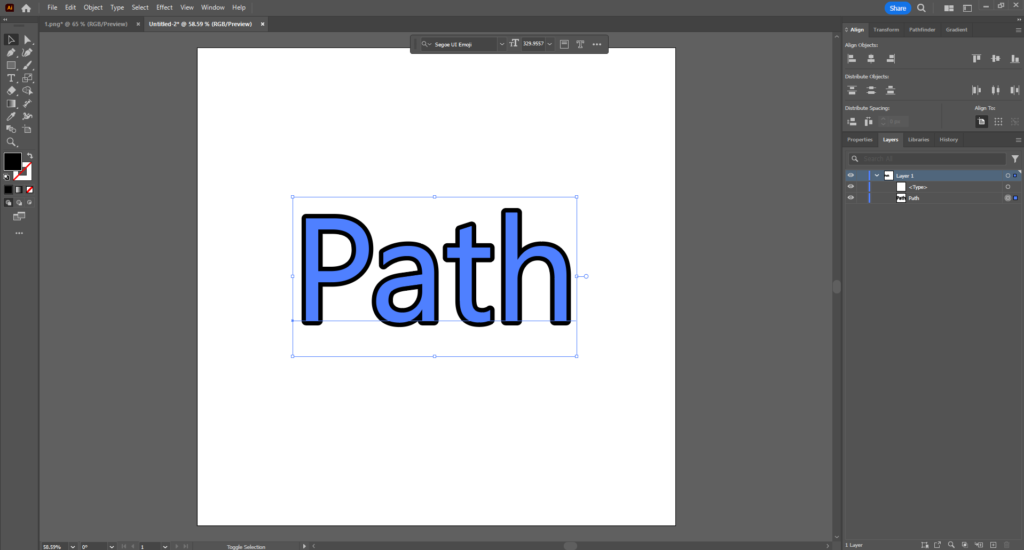
- Blur
This setting sets the softness or crispness of the shadow’s edges. A high blur value creates a soft and diffused shadow. You can create a sharp and defined edge with a low blur.
- X Offset
You can use this to adjust the horizontal distance of the shadow from the object. A positive value moves the shadow to the right. If you want to shift it to the left, choose a negative value.
- Y Offset
This controls the vertical distance of the shadow from the object. If the light source is above the object, you need to create a shadow under it. Use a positive value in this case. If you want to position the drop shadow upwards, add a negative value!
- Angle
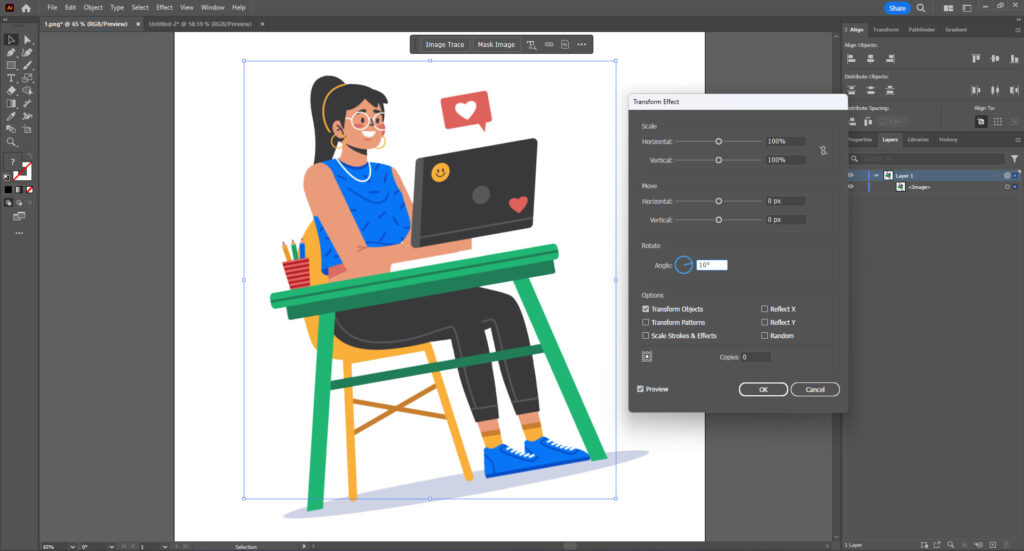
The angle helps to define the direction of the light source casting the shadow. Experiment with different angles to achieve realistic lighting effects. You can even create a more dramatic look with this!
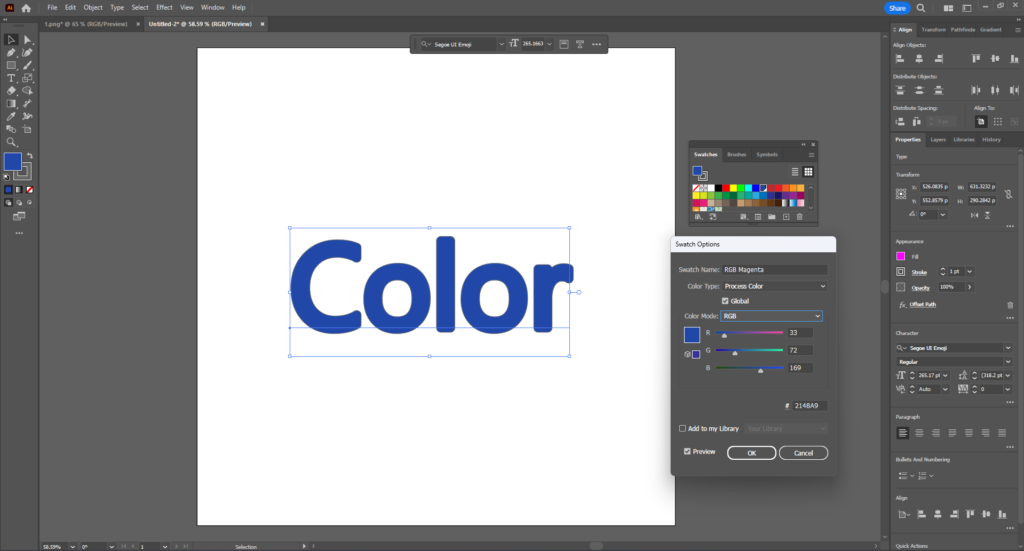
- Color
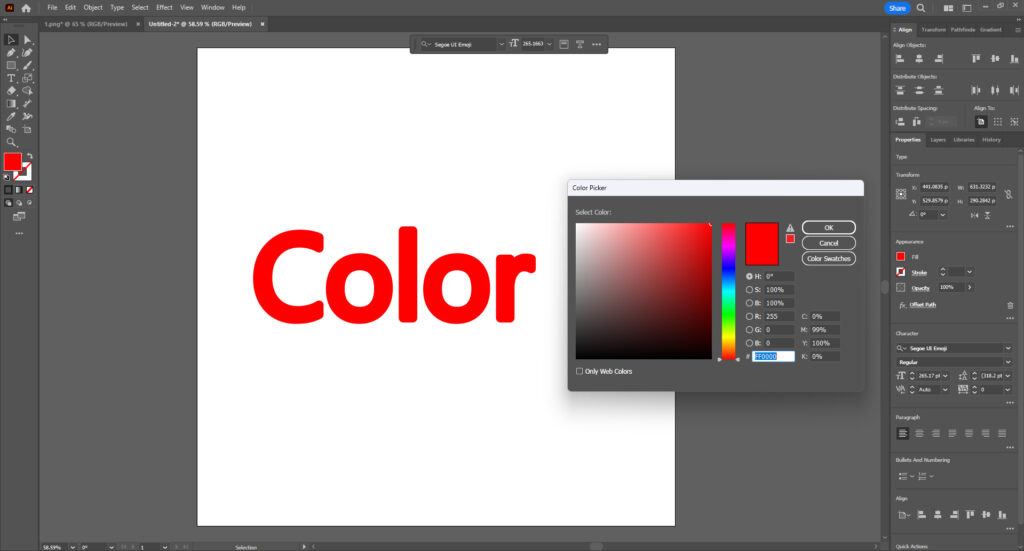
Usually, black is the most common choice for shadows. However, creativity has no bounds! Explore using different colors and shades!
A blue shadow can give you a sense of coolness or technology. If you want to imply sunshine or warmth, use warm yellow!
- Global Light
You can simulate a global light source affecting all objects in your artwork with this option. If you want to maintain consistency in lighting across your design, global light works best!
Not satisfied with your shadow settings? You can remove the drop shadow in Illustrator easily and start over!
How to Use Drop Shadow Settings Effectively in Illustrator
Drop shadows are the best way of adding life and realism to your images. However, using the shadow settings effectively might be tricky for many.
Here are some common challenges you might face and solutions to help you overcome them:
Challenge: Unrealistic Shadows
Sometimes, your shadows can look unnatural or out of place. You can solve this issue in three easy steps!
Solution
- Check Lighting Consistency: Make sure your drop shadow settings (angle, blur, offset) align with the overall lighting concept in your illustration.
- Mimic Real-World Lighting: Remember, natural light often creates shadows slightly below and to the right. Adjust your settings accordingly!
- Consider Multiple Light Sources: If your artwork has a complex lighting setup, create separate drop shadows. You can use different angles for each light source.
Challenge: Overly Dark Shadows
What if your shadows overpower your artwork and obscure details? Here’s how to deal with it –
Solution
- Reduce Opacity: Lower the opacity of the drop shadow to make it less prominent. A good starting point is around 30-50% for a subtle and realistic effect.
- Increase Blur: A higher blur value creates a softer shadow edge. This makes it look less harsh and intense.
- Light Shadow Color: Instead of pure black, explore using lighter shades of gray. This will give you a more subtle approach. Now, you can maintain the shadow effect without overwhelming the artwork!
Challenge: Inconsistent Shadows
As a beginner, it’s difficult to maintain consistency in the shadows across different objects in your artwork. But we have the easiest solution for you!
Solution
- Apply Consistent Settings: When you’re working on multiple objects, use the same drop shadow settings. You can use a specific reason for variation to exist. This creates a cohesive visual style and avoids a chaotic look.
- Use the Eyedropper Tool: Copy the settings from a shadow you like and apply them to other objects using the Eyedropper tool. This makes sure that there’s consistency across your artwork.
Challenge: Difficulty Visualizing Shadows
Are you struggling to visualize how different settings impact the shadow’s appearance? We’re here to help!
Solution
- Experiment with Live Preview: The “Live Preview” option in the Drop Shadow panel lets you adjust settings and see the results instantly. Now, you can visualize the impact of changes before applying them definitively!
- Use the “Shift” Key: Hold the “Shift” key while dragging the sliders to constrain adjustments. This maintains the shadow’s overall shape while changing its size or intensity.
Challenge: Difficulty Refining Shadow Edges
Sometimes, the shadow edges appear too sharp or blocky. Here’s how you can fix it –
Solution
- Increase Blur: A higher blur value creates a softer and more natural-looking shadow edge.
- Use Layer Masks: Create a layer mask on your drop shadow layer and paint it black to hide unwanted areas. Then you can refine the shadow shape accurately. This offers more control over the shadow’s edge compared to simply increasing blur.
The Bottom Line
Drop shadow settings are highly useful for beginners. These seemingly simple settings can transform your artwork from flat to fantastic. The best drop shadow settings in Illustrator include opacity, blur, angle, color, etc.
Are you aiming for subtle realism or a bold artistic statement? Drop shadow settings can help you achieve both! Remember, the key lies in practice. Observe real-world lighting for inspiration. Don’t be afraid to break the rules for a creative twist!
Need any help with adding drop shadows in Illustrator? Contact Meta Clipping Path today!
Meta Clipping Path – A well-known one-stop photo editing service provider company with 5+ years of experience and 25+ highly skilled professionals.
Working with 20 reputed worldwide e-commerce companies and 200+ satisfied customers.
![Read more about the article How to Create Natural Shadow in Photoshop [10 Easy Steps]](https://metaclippingpath.com/wp-content/uploads/2024/08/Create-Natural-Shadow-in-Photoshop-300x160.png)

![Read more about the article How to Add Drop Shadow to Image [A Step-By-Step Guide]](https://metaclippingpath.com/wp-content/uploads/2024/07/Add-Drop-Shadow-to-Image-300x160.png)