![You are currently viewing How to Add Shadow to Text in Photoshop in 2 Easy Methods [From Beginner Level to Pro]](https://metaclippingpath.com/wp-content/uploads/2024/08/How-to-Add-Shadow-to-Text-in-Photoshop.png)
Text in Photoshop can be more than just words on a screen. You can transform a flat text into a dynamic element with shadows. But how to add a shadow to text in Photoshop?
You can add shadows to texts using two methods. If you don’t want to spend too much time or effort, use the built-in drop shadow tool.
Looking for a more creative approach? No worries! You can also start from scratch and create your own shadow using the layers panel.
Besides these two methods, we also have some expert tips to make your texts come alive! Keep reading to learn more about the text shadows and their uses.
Why Add Shadows to Texts?
Text shadows add depth and dimension, making flat text pop. They can also improve readability, especially on busy backgrounds. If you want to turn your ordinary texts into extraordinary elements – text shadows are your best friend!
A text shadow simulates the effect of that light. It can also create a subtle or dramatic darkening behind the letters. In Photoshop, you can easily allow drop shadows or customized shadows to your texts!
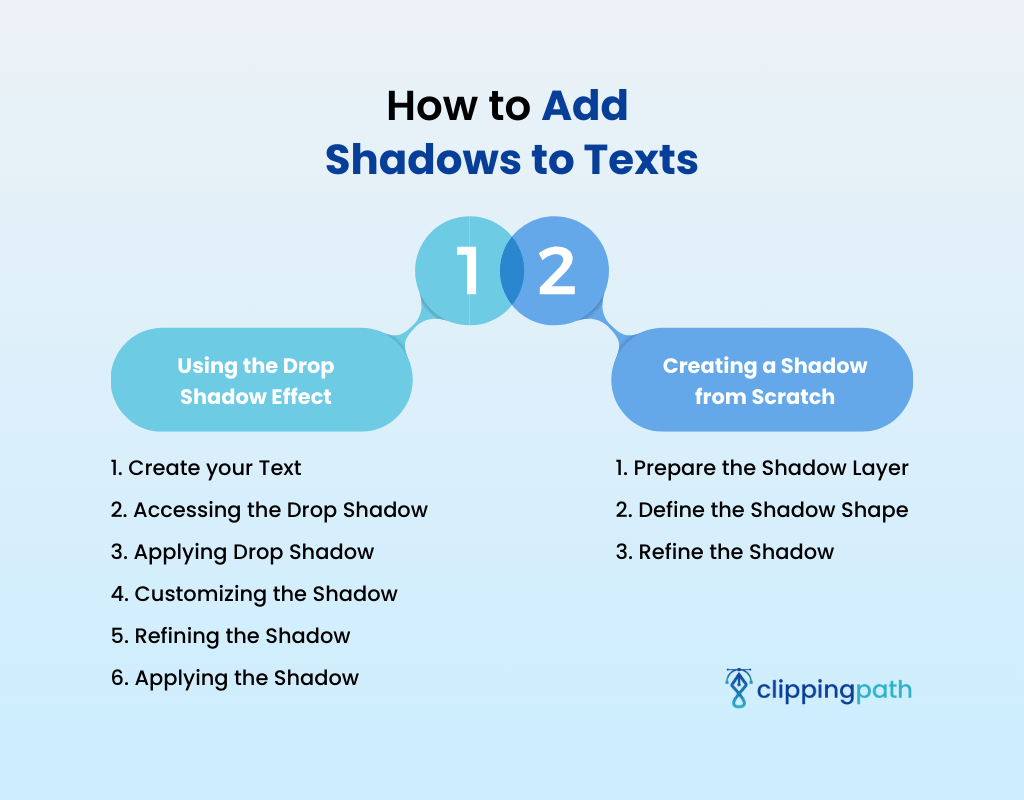
1. Using the Drop Shadow Effect
This built-in tool lets you adjust shadow direction, distance, and blur for a quick and easy effect. Here you can follow these six easy steps to add a shadow in Photoshop in no time!
Step 1: Create your Text
Firstly, open your Photoshop document and use the Text Tool to create your desired text. You can make it however you want, horizontal or vertical!
Step 2: Accessing the Drop Shadow
- Locate the Layers panel. You can find it on the right side of the workspace.
- Find the text layer you just created. It’s usually named “Text”.
- At the bottom of the Layers panel, click the “fx” icon. It looks like a blend mode symbol. This opens the blending options menu.
Step 3: Applying Drop Shadow
From the list of options, select “Drop Shadow.” This activates the Drop Shadow style window.
Step 4: Customizing the Shadow
The Drop Shadow window provides several sliders to adjust the shadow’s appearance:
- Opacity: You can control the transparency of the shadow with this. A lower opacity creates a faint shadow. If you want to make it more prominent, choose a higher value.
- Angle: This is how you define the direction of the light source casting the shadow. Experiment with different angles for a natural look.
- Distance: In this step, figure out how far the shadow appears from the text. A larger distance creates a softer and more subtle effect.
- Spread: Want to control the blurriness of the shadow’s edges? Use a higher spread for a softer and more diffused shadow.
- Size: Here, you can define the overall size of the shadow. A larger size creates a more noticeable shadow effect.
Step 5: Refining the Shadow
- Click the black color box next to “Color” to choose a different shadow color if you want. Experiment with subtle variations for a more subtle effect.
- Explore the “Contour” and “Noise” options for advanced shadow customization. You’ll get to know more about it in the next part!
Step 6: Applying the Shadow
Once satisfied with your adjustments, click “OK” to apply the drop shadow effect to your text.
2. Creating a Shadow from Scratch
If you want more control and customization, follow this method! Here you can prepare your own layer of shadow and refine it –
Step 1: Prepare the Shadow Layer
Go to the Layers panel and click the “Create a new layer” icon. Make sure that the text layer is selected. This creates a new layer specifically for your shadow.
Step 2: Define the Shadow Shape
Choose a dark gray or black for your foreground color.
Select a tool to define the shadow shape on the newly created layer. Popular options include:
- Brush Tool: This offers flexibility for freehand shadow creation. Adjust the brush size and opacity for precise control.
- Shape Tools: You can use shape tools to create specific shapes like rectangles or ellipses. This will give you a more defined shadow.
- Pen Tool: This will give you the most control for crafting intricate shadow shapes with smooth curves.
Step 3: Refine the Shadow
- Use the Eraser Tool with a soft brush to refine the shadow’s edges. This creates a natural feathering effect.
- Adjust the shadow’s position and rotation using the Free Transform Tool (Ctrl/Cmd + T).
How to Add Shadows to Texts Like a Pro
Now that you know how to add shadows to texts, let’s move on to the advanced techniques. You can use these to improve your designs and grab attention with impactful text elements.
Remember, practice and experimentation are key!
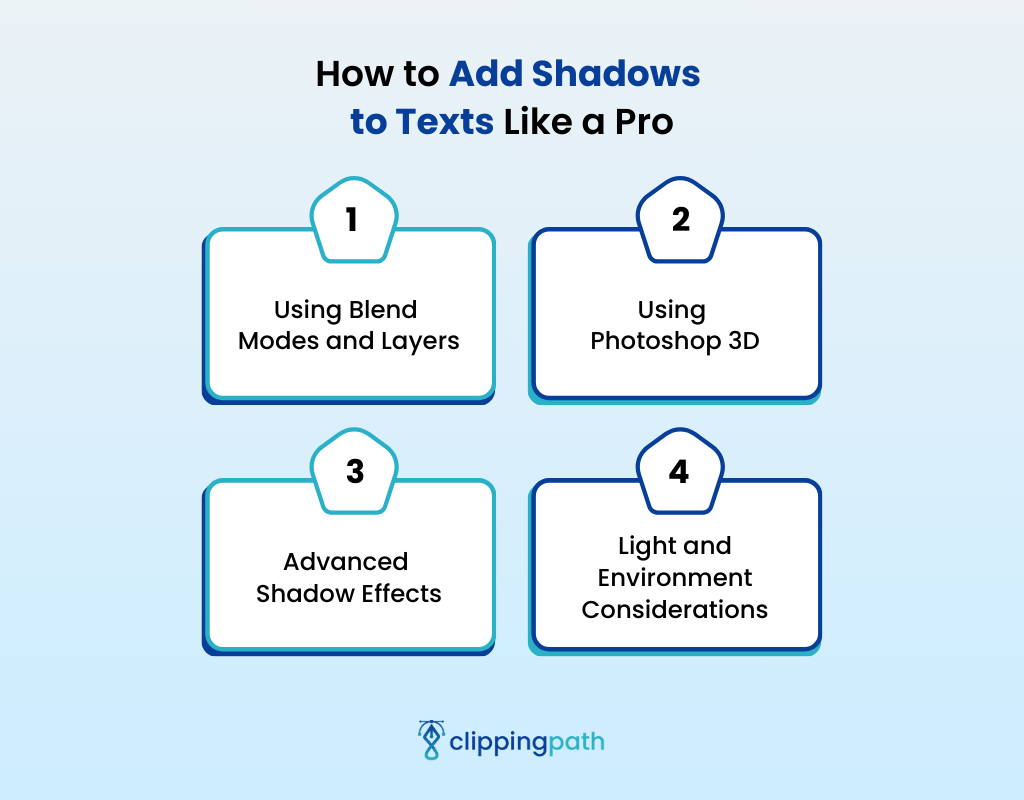
1. Using Blend Modes and Layers
The first way is using the different blend modes and layers. You can get creative as you want!
- Multiply Blend Mode
Change the shadow layer’s blend mode to “Multiply” for a realistic darkening effect. Here the shadow will overlap the text. This creates a natural-looking shadow that integrates seamlessly with the text.
- Gradient Overlays
Create a new layer above your shadow layer and fill it with a black-to-transparent gradient.
Adjust the opacity of this layer to control the intensity of the shadow in different areas. This technique creates subtle variations in shadow strength. Now, you can even mimic the falloff of light.
- Multiple Shadow Layers
What if you have a complex text with multiple light sources or uneven surfaces? Create separate shadow layers for each shadow direction or area!
This grants more precise control over the shadow’s shape, depth, and interaction with the text elements.
2. Using Photoshop 3D
3D tools work best when you’re trying to make an object stand out in an image. Here’s how you can do it –
- 3D Plane for Shadows
Instead of drawing the shadow from scratch, create a 3D plane object in Photoshop. Position and rotate it according to your light source to cast a realistic shadow on your text.
This is particularly useful for creating shadows on curved or warped text styles.
- Advanced Shadow Control
The 3D workspace in Photoshop lets you fine-tune shadow properties beyond the Drop Shadow effect. You can adjust blur, spread, and even simulate light falloff for a more natural look. These adjustments are accessible within the 3D panel.
3. Advanced Shadow Effects
Like the drop shadow settings in Illustrator, you can also find some advanced shadow effects in Photoshop!
- Noise for Texture
Add subtle noise to your shadow layer using the Filter > Noise > Add Noise filter. This can create a more textured look. So, you can mimic shadows on rough surfaces or uneven lighting conditions.
- Displacement Maps
If you have highly textured backgrounds, use a displacement map to distort your shadow slightly. This creates a realistic interaction with the texture. It makes the shadow appear to conform to the background details.
4. Light and Environment Considerations
Finally, here comes the most important aspect of shadows. You have to understand the interaction of light and the environment. Use color temperature and ambient light to edit like a pro –
- Color Temperature
Natural light has a color temperature. You can subtly adjust the hue or saturation of your shadow to match the environment’s light source.
For example, use warmer shadows for sunlight and cooler tones for shade.
- Ambient Light
Shadows aren’t always completely black. You can have a low-opacity layer filled with a neutral gray. This can simulate ambient light bouncing into the shadows. Now you have a more natural look, especially in brightly lit environments!
Final Words
Wondering how to add shadows to texts in Photoshop? Use the built-in drop shadow tool or create your own shadow. You can follow the advanced techniques for professional results!
Reference real-life lighting and draw inspiration from existing designs. Combine these techniques and explore different color palettes. You can also play with the direction and intensity of your shadows.
Feel free to contact Meta Clipping Path for more information!
Meta Clipping Path – A well-known one-stop photo editing service provider company with 5+ years of experience and 25+ highly skilled professionals.
Working with 20 reputed worldwide e-commerce companies and 200+ satisfied customers.

![Read more about the article 7 Best Drop Shadow Settings Illustrator [Add Shadows Easily in Adobe Illustrator]](https://metaclippingpath.com/wp-content/uploads/2024/08/Drop-Shadow-Settings-Illustrator-300x160.png)