Are splits end, flyaways, and gaps in the hair ruining your photo?
Hair has the power to make a photo look outstanding, but again, it can ruin the beauty of the photo.
Want to retouch the hair in your photo? Photoshop is your ideal software for perfect hair retouching.
But how to retouch hair in Photoshop perfectly? You can fix hair in Photoshop using three methods, depending on the areas that require retouching. Such as:
- If you want to work on the hair over the skin and hair surface, make selections > select Spot Healing tool > fix the hair in duplicate layers > final retouch.
- In case you want to erase flyaways over the background, select working areas > select Clone Stamp tool > erase and fill the background.
- To fill gaps between hairs, you need to select and copy a filled hair area using the lasso tool, set hair in the gap, and edit and retouch for a natural look.
Interested to know the detailed steps of these hair retouching methods? Keep reading to learn the comprehensive details in four easy steps!
How to Touch Up Hair in Photoshop Over Hair Surface and Skin
Whether you want to retouch skin or hair flyaway, Photoshop is the go-to editing software. You can make your hair look smooth by eliminating split ends and create a fresh and defined look by retouching hair over the skin.
Here’s a step-by-step process on how to smooth hair in Photoshop and remove hair from the face and forehead:
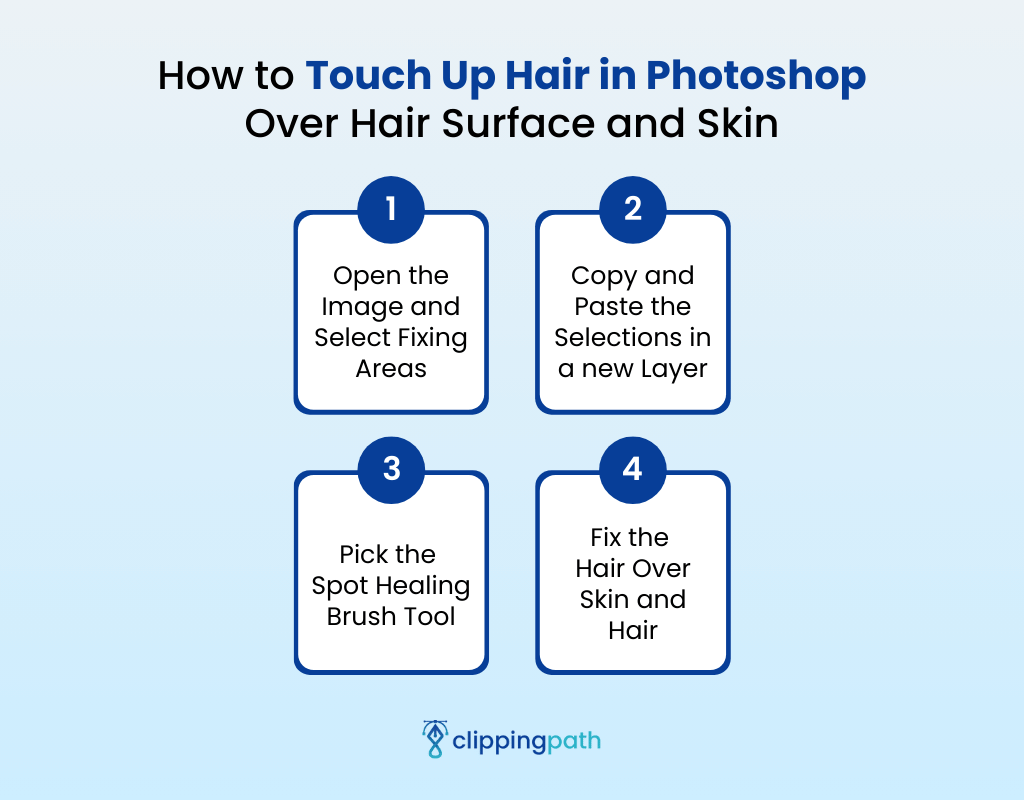
Step 1: Open the Image and Select Fixing Areas
First, import the picture in Adobe Photoshop and select the areas over the hair surface and skin where you want to work. Zoom in on the picture to access the hair edges while making selections.
Step 2: Copy and Paste the Selections in a new Layer
Once you’re done selecting the areas, duplicate the selected area over the selection by pressing “Ctrl/Cmd + J.” This way, you will have multiple layers for the selected areas. If you make a mistake over one selection, you can delete that layer instead of the entire image.
Step 3: Pick the Spot Healing Brush Tool
To fix hair Photoshop, you need to pick one of the retouching tools. Here, you can use the Spot Healing Brush tool to work over hair. You can simply press ‘J’ to activate the tool.
Now set the tool from the option bar following these settings —
- Set the brush size 1 px larger for over hair and 2 px larger for over skin than the actual hair thickness.
- Keep the spacing distance at 1%.
- Set the Hardness between 90 to 95% for working over hair and set it to 80% for working over skin
- Select brush type to “Content-Aware” and mode to “Normal.”
- Click the “Sample All Layers.”
Step 4: Fix the Hair Over Skin and Hair
After setting the tool for retouching hair, select one of the selection layers to start painting over the hair. You should brush the area from the direction of the hair. The brushing strokes may not be perfect initially, and you’ll need to repeat the stroke a few times. Adjust the tool settings if needed.
Work on each layer following this process, and you’ll eventually find the hair retouch meaning and smooth hair result. You can use other Photoshop retouch tips to get a more polished look for hair.
How to Retouch Flyaway Hair in Photoshop Over the Background
If you know how to remove stray hairs in Lightroom, the steps will be more straightforward. But we suggest Photoshop for retouching because it’s easier.
You can easily retouch hair flyaways over the background in PS. Here are the steps on how to fix hair in Photoshop:
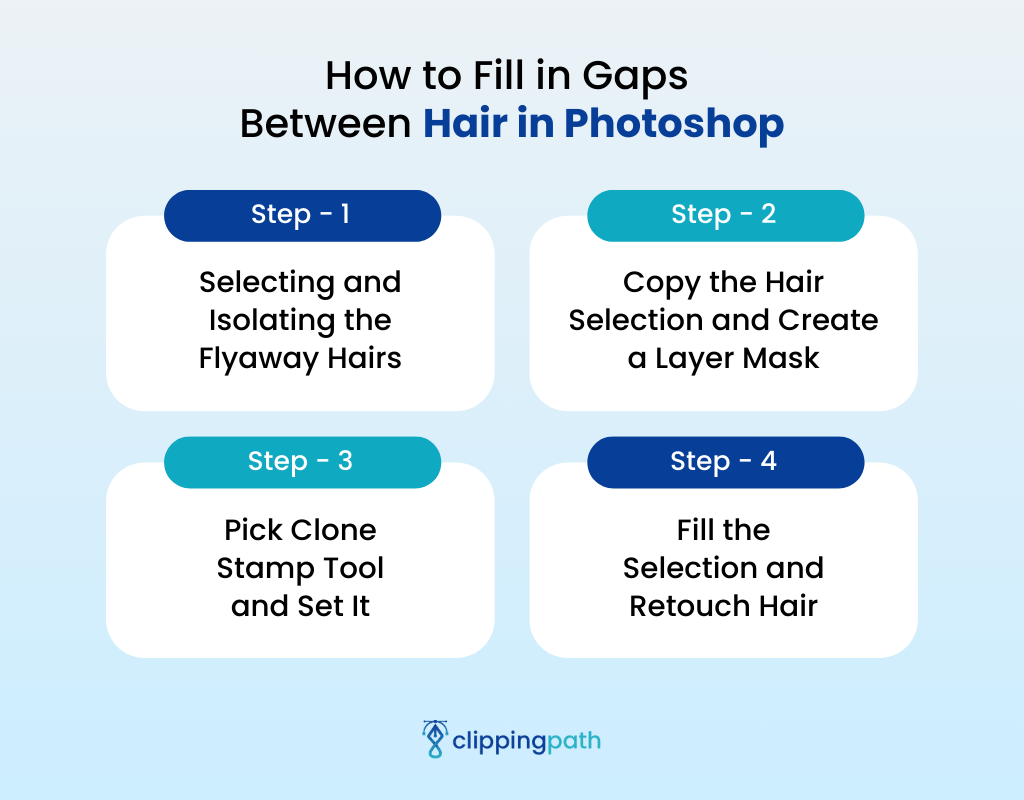
Step 1: Selecting and Isolating the Flyaway Hairs
After you open the image in Photoshop, you need to find the areas over the background with hair flyaways. In this step, you mostly focus on the flyaways on your hair strands against the background.
Now, pick a selection tool, mark around the flyaways, and isolate those places. Zoom in your image so that you can see the hair pixels clearly so that you can make accurate selections.
Step 2: Copy the Hair Selection and Create a Layer Mask
Create a new layer above the existing layers to keep the main background layer intact. Click the “Layer Mask” icon to add a layer mask, then paste the selection onto the layer mask by pressing “Ctrl/Cmd + V.”
Step 3: Pick Clone Stamp Tool and Set It
To retouch hair, you need to fill the flyaway areas with other pixels. Pick the Clone Stamp Tool from the toolbar. Click over the brush thumbnail in the option bar and choose the round brush for painting.
Now, set the brush size, hardness, flow, and opacity of the tool in the option bar. The settings of the tool should be —
- Set the brush size slightly larger than the hair’s thickness to effectively cover the hair pixels. You can set the size to 1 or 2 pixels larger, starting with a brush size of 8-10 pixels and adjusting it accordingly.
- Now, set the hardness of the tool between 90 to 95%.
- Keep the flow and opacity of the tool at 100%.
Step 4: Fill the Selection and Retouch Hair
Now, we’ll work on removing the flyaway. Select the Mask Layer and hold the Alt key, then click near your selection from where you want to pick the clone pixels to fix hair in Photoshop.
Release the Alt key and gradually paint over the flyway selection. If the clone pixel doesn’t match the background layer correctly, then you can pick the clone pixels again from a similar area.
Go with the hair direction for brush strokes to achieve a better result. Follow this hair retouching step for each flyaway hair selection.
How to Fill in Gaps Between Hair in Photoshop
Who prefers having separate hair in their photos? If the photo is taken for professional use, having gaps in hair is a big no-no. That’s why you should know how to fill in hair in Photoshop easily:
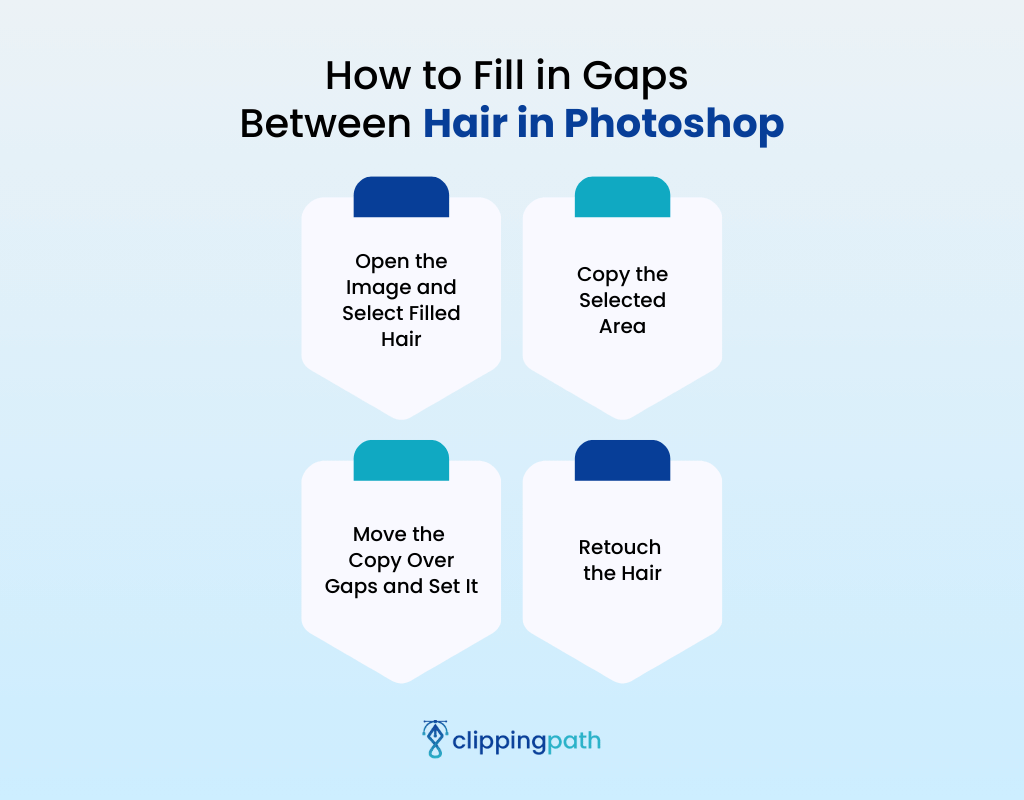
Step 1: Open the Image and Select Filled Hair
First, import the photo into Photoshop and use the Lasso tool to select areas. You can select the tool from the toolbar or press ‘L’ to activate it. Zoom in and select an area where hair has little to no gaps and a pattern similar to that of hair with gaps.
Step 2: Copy the Selected Area
After selection, hit “Ctrl/Cmd + J” to copy the selected area into a new layer. You’ll see that the copy of hair is created into a transparent background.
Step 3: Move the Copy Over Gaps and Set It
Now, change your lasso tool back into a move tool and move the copy of the selection over the hair gap. The copy may not fit the hair gap properly. So, what should you do in this situation?
Go to “Edit” and select “Puppet Warp” from the drop-down menu. This tool will make the copy hair flexible, allowing you to adjust the curve of the copy hair. You can now bend and extend the side of the hair to set it over the gap.
Step 4: Retouch the Hair
After you place the copy of hair over the gap, you’ll see the edges of the copy are visible. You have to blend it smoothly with hair to make the photo look natural. Create a layer mask for the copy hair layer from the bottom of the layer panel.
Now, you can use the layer mask to work on the hair opacity and blending. Press’ B’ to pick the “Brush Tool,” and you’ll see the color boxes in the toolbar are set to black and white.
The black color will help you blend and erase information from the hair edges smoothly. Set the opacity to 100%. The white color will help you bring information back into the place. Set the opacity to 50% when bringing data back.
You can adjust the brush size according to your editing convenience. Be patient with this step, as you may need to redo and undo your edits many times before getting a natural and realistic result.
Conclusion
Let’s summarize the process of how to retouch hair in Photoshop. The hair needs to look well-managed to get a good and defined look in the photo. You can work on fixing hair over skin and hair using the Spot Healing Brush.
To fix hair flyaways over the background, you can use the Clone Stamp tool to remove flyaways and fill the spots effectively. However, as hair strands are thin, fixing the entire hair can be time-consuming.
Lastly, filling in gaps is like a blessing to beautify the photo. You can work on fixing gaps with the lasso tool, bubble warp effect, and brush tool to create a natural hair filling.
Meta Clipping Path – A well-known one-stop photo editing service provider company with 5+ years of experience and 25+ highly skilled professionals.
Working with 20 reputed worldwide e-commerce companies and 200+ satisfied customers.
![Read more about the article Top 5 Retouch Photo Apps for Beginners and Pros [Everything You Need to Know]](https://metaclippingpath.com/wp-content/uploads/2024/07/Retouch-Photo-Apps-300x160.png)
![Read more about the article How to Retouch Skin in Photoshop [A Comprehensive Guide]](https://metaclippingpath.com/wp-content/uploads/2024/07/How-to-Retouch-Skin-in-Photoshop-300x160.png)