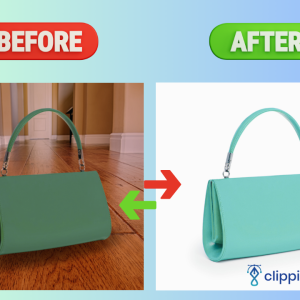
![You are currently viewing How to Change Background for Photography Editing [Edit Photos on Photoshop Like a Pro]](https://metaclippingpath.com/wp-content/uploads/2024/06/Background-for-Photography-Editing.png)
Choosing the right background can significantly increase the appeal of your photography. But what if you need to change the background images for editing?
You can easily change the background for photography editing in both Photoshop and Illustrator. The quick selection tool works best for beginners. But if you’re looking for a more advanced method, the channels panel and the pen tool are also available!
The possibilities for photography editing and background effects are endless in Photoshop. Keep reading!
How to Change Background in Illustrator for Photography Editing
Want to change the vector background in Illustrator? Your first step is finding an HD background for editing. Then follow these steps –
- Import Your Photo: Open your photo in Illustrator using “File” > “Place” or drag and drop it onto the artboard.
- Isolate Your Subject: If your photo requires isolating the subject before replacing the background, use the Pen Tool to meticulously draw a path around it. Thus, you can create a precise selection.
- Create a New Vector Background: This is where Illustrator shines. Use various tools like the Rectangle Tool, Ellipse Tool, or Pen Tool to design your new background. You can also combine shapes and use gradients, patterns, or even existing vector illustrations for a unique backdrop. There you have it – a new photo editing background!
- Position the Background: Arrange your newly created background object behind your photo on the Layers panel.
- Fine-tuning: Sometimes you might need to adjust the opacity of the background. You can also add a slight blur for a more natural integration with the photo. This depends on the complexity of your design.
How to Change Background in Photoshop for Photography Editing
If you have a full HD photo editing background, move to Photoshop! Here, you can change the background for editing in three simple ways –
Method 1: Quick Selection Tool
If you’re new to Photoshop, this method is for you! Here’s how you can use the quick selection tool for photo background change –
- Open Your Photo: Launch Photoshop and import your photo editing background.
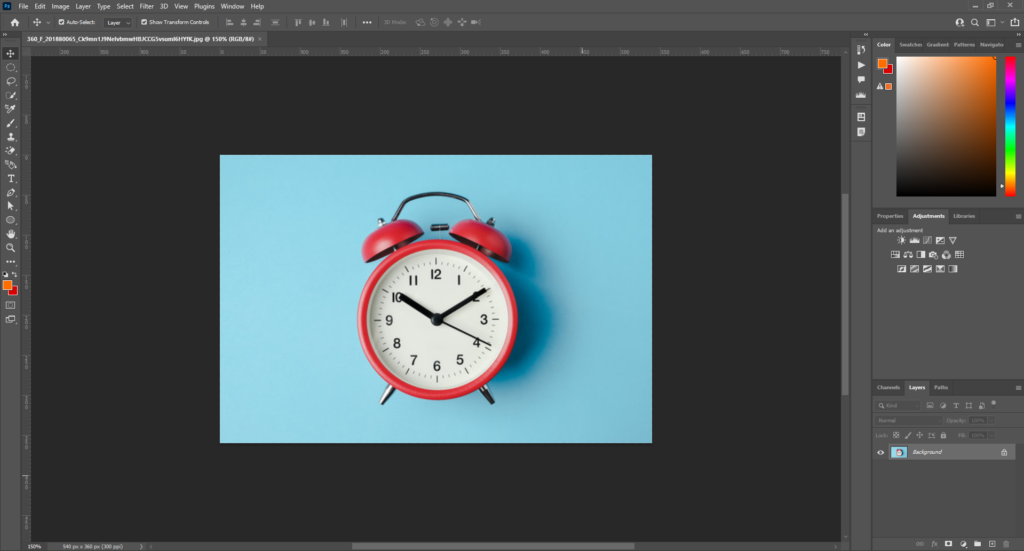
- Select Your Subject: Use the Quick Selection Tool to automatically select the foreground subject. This tool works well for subjects with clear contrast against the background.
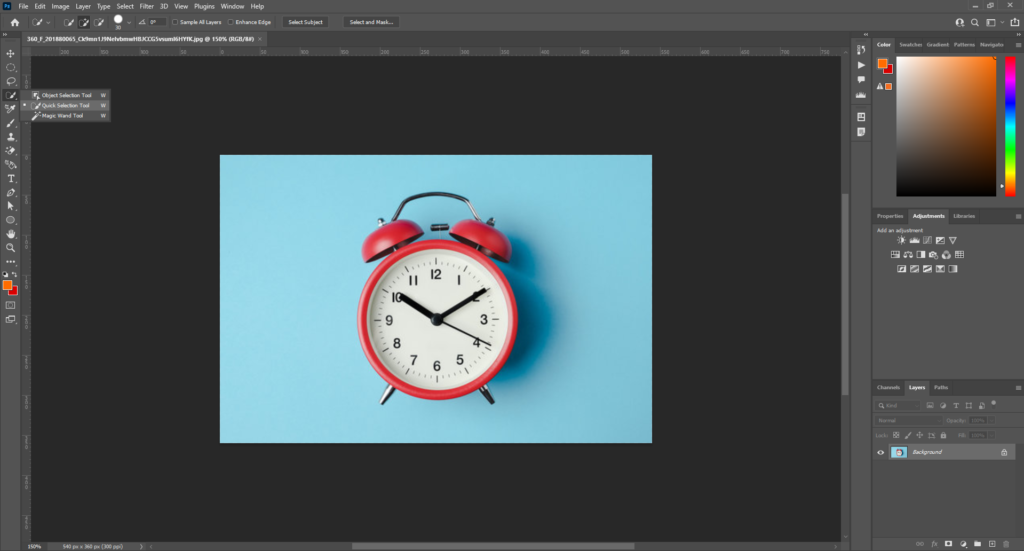
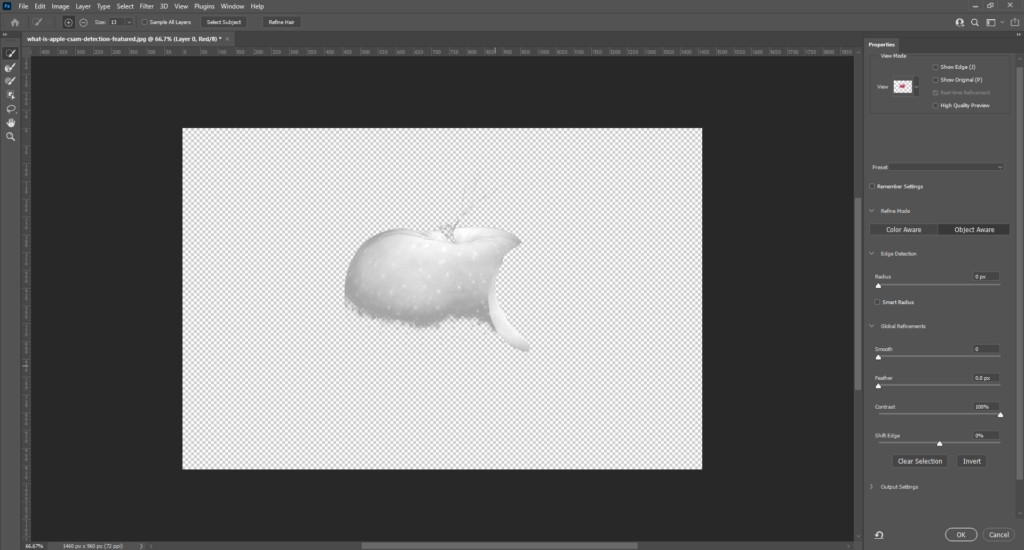
- Refine the Selection: The Quick Selection Tool might not always capture the edges perfectly. Use tools like the Refine Edge brush to refine the selection meticulously. This ensures a clean separation between your subject and the background.
- Remove the Background: Satisfied with the selection? Now you can remove the background using the “Delete” key or the “Fill” function with a transparent color.
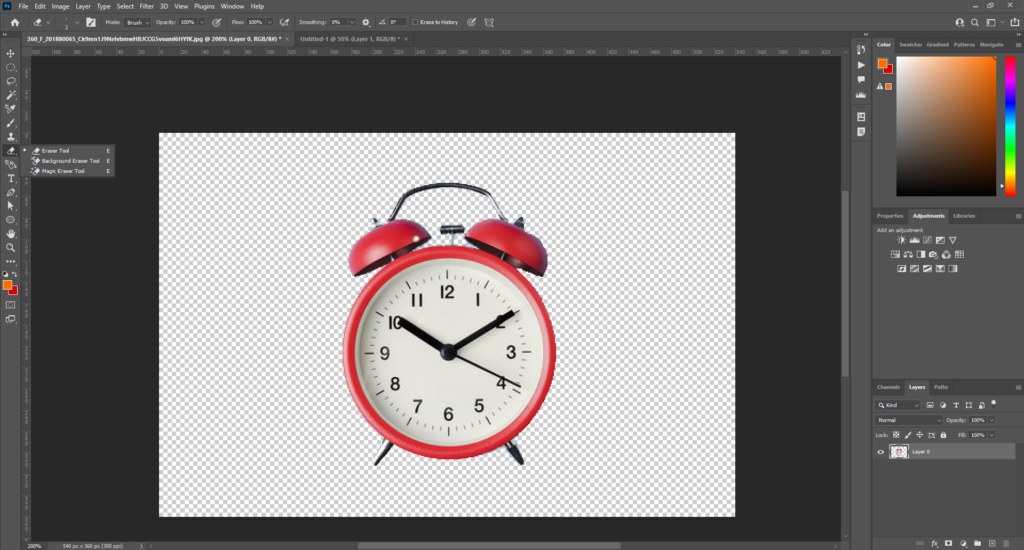
- Place Your New Background: Open your chosen background image in a separate window. Drag and drop it onto your photo document in Photoshop. Position the new background behind your subject on the Layers panel.
- Blending: You can use layer masks and blending modes for a seamless transition. Photoshop has many background effects for you to try out too!
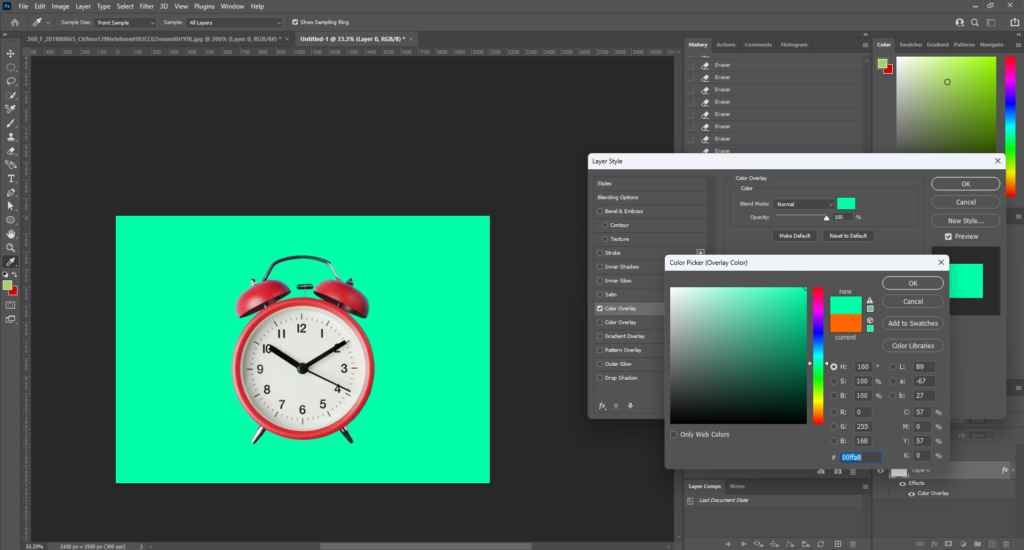
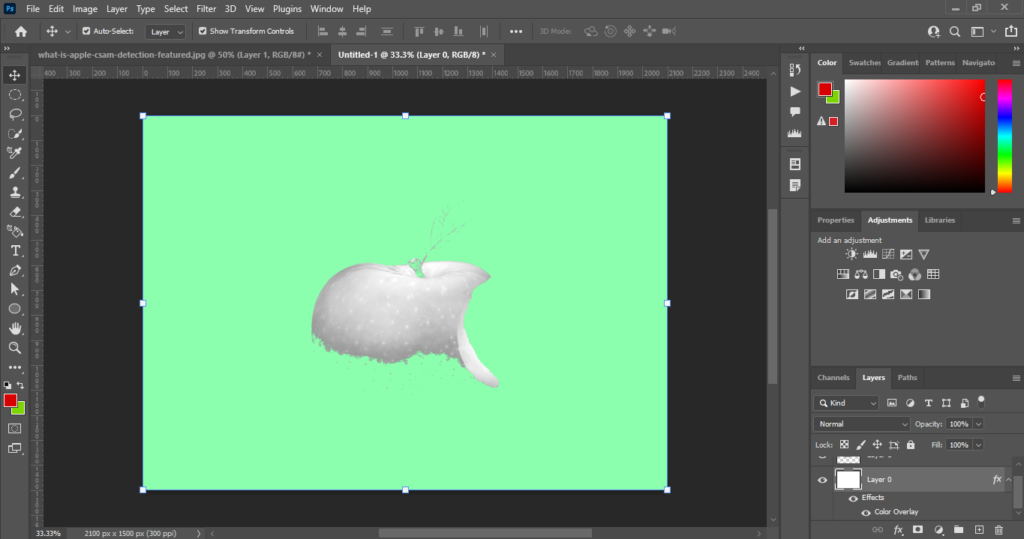
Method 2: Channels Panel
This method is for those who are a bit advanced at using Photoshop. Follow these steps –
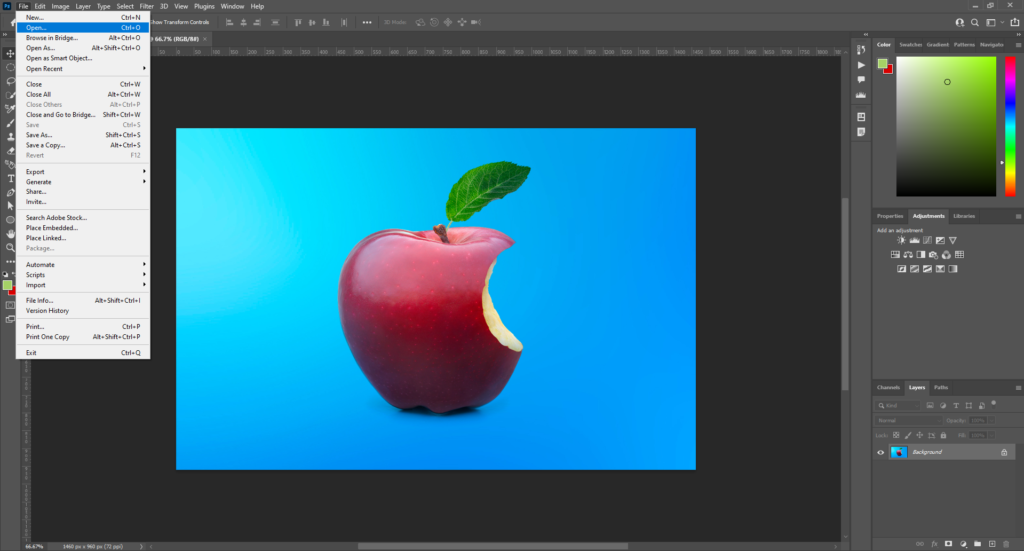
- Open Your Photo: Import your photo into Photoshop.
- Access the Channels Panel: Go to “Window” > “Channels” to open the Channels panel. This panel displays grayscale representations of the color channels (Red, Green, Blue) in your photo.
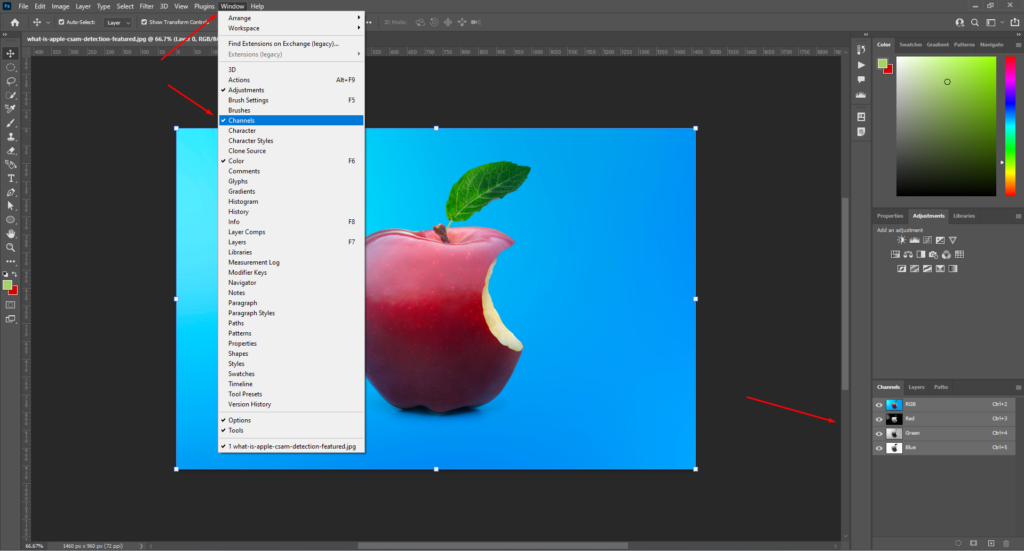
- Identify a High-Contrast Channel: Analyze the channels to find the one that offers the most contrast between your foreground subject and the background. Often, the red or blue channel provides the best separation.
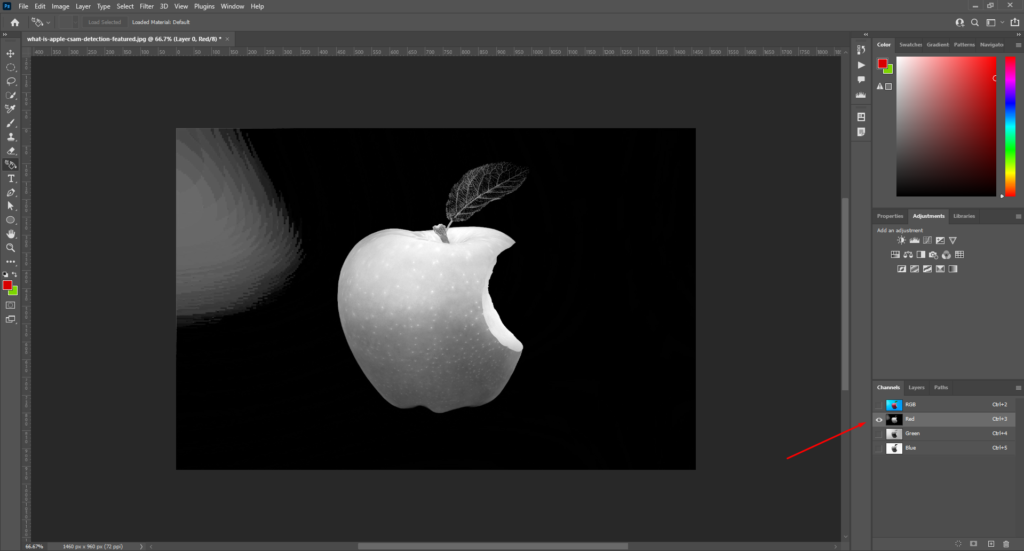
- Load the Channel as a Selection: Click on the desired channel to isolate it. Then, hold “Ctrl” and click on the channel thumbnail. This creates a selection based on the high-contrast areas in the chosen channel.

- Refine the Selection: What if your selection needs more refining? You can use tools like the Refine Edge brush or the Select and Mask workspace to ensure clean edges around your subject.

- Remove Background and Place New Background: You can remove the existing background using the “Delete” key or the “Fill” function with a transparent color. Then, import and position your chosen replacement background behind your subject on the Layers panel. You can also remove the background from the logo in Photoshop using this trick!
- Blending and Adjustments: You might need to adjust the color balance, lighting, or shadows of the new background better to match the light conditions in your original photo. Tools like Levels, Curves, and Selective Color adjustments can come in handy!
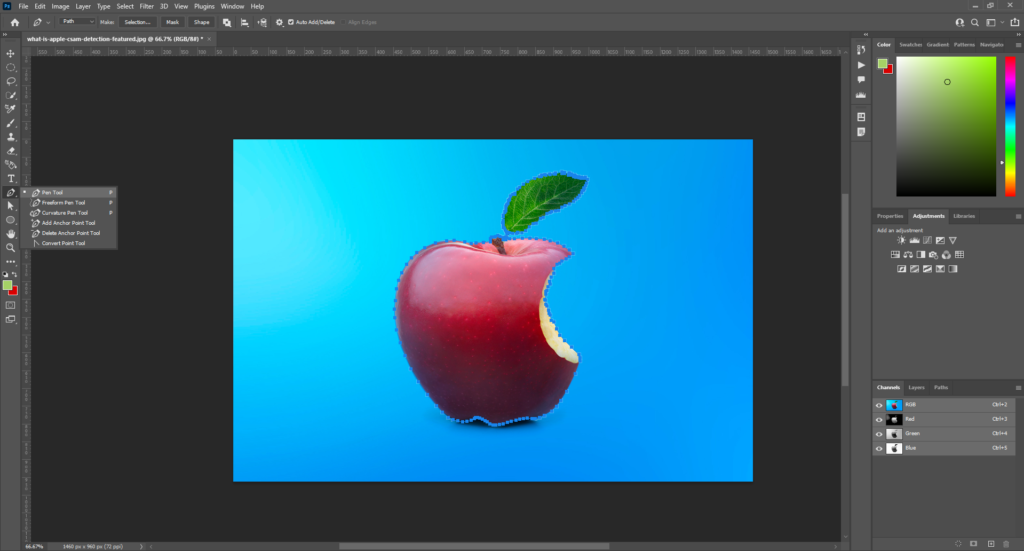
Method 3: Pen Tool
If you’re looking for an advanced and flexible method, try this –
- Open Your Photo: Import your photo into Photoshop.

- Precise Selection with the Pen Tool: The Pen Tool offers the most precise control over the selection of your subject. Use this tool to meticulously create a path around your subject You can outline its edges with anchor points.
- Convert Path to Selection: Once you’ve created the path around your subject, right-click on the path and choose “Make Selection” from the context menu. This creates a clean selection based on your Pen Tool path.
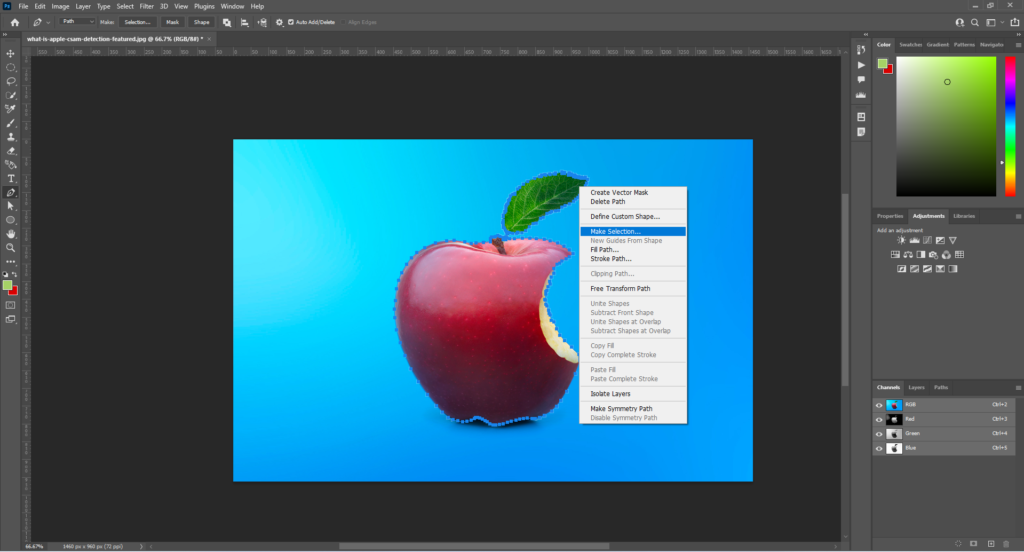
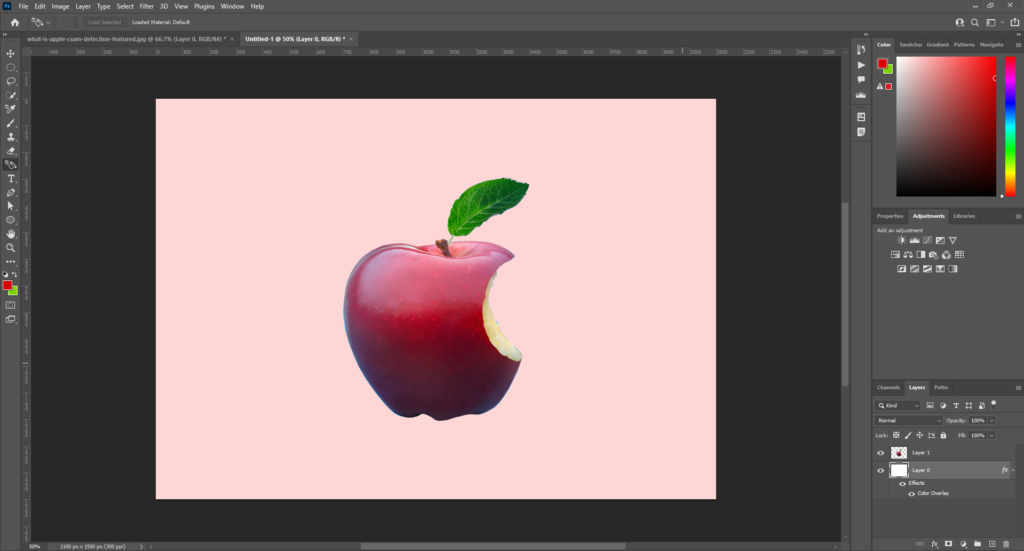
- Background Removal and New Placement: Similar to previous methods, remove the background and place your new background. Use blending modes and layer masks for seamless integration between the subject and the new backdrop.
If you’re facing difficulty with photography editing, Meta Clipping Path is here to help. We can even help you find creative backgrounds to showcase your products!
Expert Tips for Background in Photography Editing
Now that you know how to prepare the background for photography editing, let’s move on to some expert tips!
Experiment
Don’t limit yourself to realistic backgrounds. Consider using creative backdrops like textures, patterns, or abstract designs to add a unique touch to your photos.
Pay Attention to Shadows
Add realistic shadows for added depth and dimension to your subject while replacing the background. You can use tools like the Brush Tool or Shadow Overlays to create believable shadows.
Non-destructive Editing
Always strive for non-destructive editing workflows. This means working with adjustments and effects on separate layers. So, you can go back and make changes without impacting the original photo data.
Final Words
If you’re running a business, you might often need to change the background of a photo.
Photoshop and Illustrator are the easiest tools for a background change! Quick selection tool, channels panel, pen tool – choose whatever you’re comfortable with and start editing today.
Meta Clipping Path – A well-known one-stop photo editing service provider company with 5+ years of experience and 25+ highly skilled professionals.
Working with 20 reputed worldwide e-commerce companies and 200+ satisfied customers.
![Read more about the article Background for Product Photos [The Ultimate Guide]](https://metaclippingpath.com/wp-content/uploads/2024/06/Backgrounds-for-Product-Photos-300x160.png)