Does the person in the photo seem floaty and unreal? The best solution to fix this problem is to draw a shadow of that particular person to create a natural effect in the image.
But do you know how to draw a shadow of a person?
You can use either Adobe Photoshop or Illustrator to draw the shadow. First, you need to duplicate the person > create a shadow > realistically drop the shadow> and adjust and retouch the shadow.
However, there’s more to these steps. We’ll share a comprehensive step-by-step guide on how to draw the shadow easily and accurately.
So, let’s dive in!
How to Draw A Shadow of A Person in Photoshop
A shadow can make a person in the photo look more natural and grounded. You can easily create a natural shadow in Photoshop by following a few steps. Here’s how to draw shadow people in step-by-step:
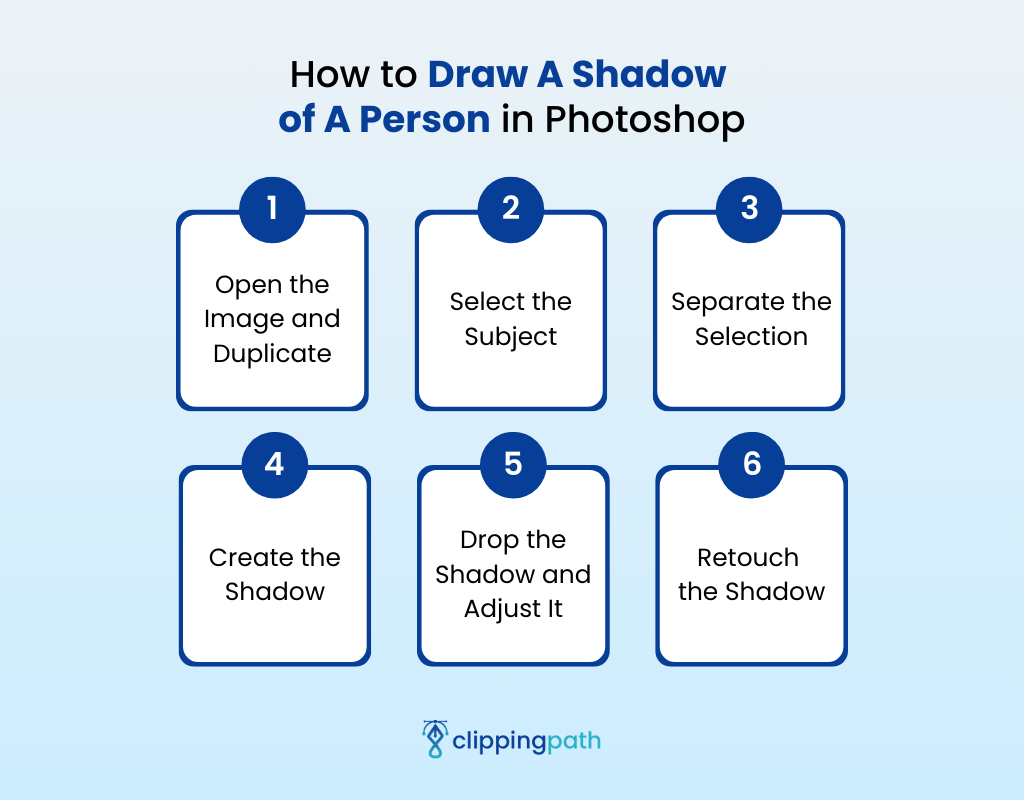
Step 1: Open the Image and Duplicate
First, open the image in Photoshop and duplicate the main image layer. This will keep the main layer of the image safe and intact as a backup.
Select the photo to duplicate the image layer and click “Ctrl + J” for Windows and “Cmd + J” for Mac.
You can now lock the main layer and turn off the eye icon if you want.
Step 2: Select the Subject
Now, you need to select the subject or person with whom you want to draw the shadow. Go to “Select” in the top option bar close to the screen edge and click “Select and Mask” from the drop-down options.
You can also use the keyboard shortcut “Alt + Ctrl + R” to select the subject. A new auto-select option bar will appear at the top of the option bar. Click on “Select Subject,” and it’ll automatically select the person in your photo.
Suppose the photo you want to work on has more than one person. In that case, you need to manually select the person using selection tools like the Lasso tool, Quick Selection Tool, or Pen tool.
Zoom in on the picture and work meticulously over the person’s edges for accurate selection.
Step 3: Separate the Selection
To make the shadow drawing easy, you need to separate the selection into a new layer. If you’re following the auto Subject Selection, you’ll find “Output To” on your right side, where the Layer Panel is usually located.
From the drop-down menu of “Output To”, click on the “New Layer” option and press “OK.” Your background should now be transparent.
And if you have created a selection through selection tools, right-click within the selection and choose “Copy Layer.” Then, create a new transparent layer and paste it.
Now, make another layer of the selection by pressing “Ctrl/Cmd + J,” then turn off its visibility.
Step 4: Create the Shadow
To create the body, hair, and face shadow drawing, activate the selection of the 2nd layer (the first selection layer you made in a transparent background). Press Ctrl and click on the 2nd layer.
Now, pick the brush tool from the toolbar and set the painting to fill color to black.
Drag the brush tool over the subject selection of the second layer until it becomes black. Once the painting is complete, drop the opacity of the layer to 50%. Your subject’s body and face shadows are ready!
Step 5: Drop the Shadow and Adjust It
Turn on the visibility of the copy of the subject selection layer, which should be the first layer. Now, go to “Edit” and select “Perspective Warp” from the drop-down menu.
Create a grid around the person using the “Perspective Warp” tool. Then select the “Warp” option in the option bar and drop it using the grid points.
Adjust the dropped shadow of a person drawing until you think the shadow-dropping position is correct.
Note: When dropping the shadow, make sure you inspect from where the light is reflecting on the person in the image. The shadow will drop at the light-reflecting angle.
Step 6: Retouch the Shadow
First, deselect the selection and go to “Filter,” then click on “Blur” and select “Gaussian Blur.” Set the blur radius size accordingly and go to Layers. Select the shadow layer and click “Mask” from the options below.
While selecting the mask layer, pick the “Gradient” tool and adjust the shadow color by dragging the gradient line over the shadow from head to bottom.
Now, you can see that the human shadow drawing easy, and it looks more realistic with retouching.
You can follow the same steps if you want to know how to draw shadows on a face. But instead of the person, you need to select the object for which you want to create a shadow on a face.
YouTube Tutorial on How to Draw A Shadow of A Person in Photoshop
Here’s a YouTube tutorial to check for a better understanding of how to add shadows of people in Adobe PS.
How To Make Realistic Shadows in Photoshop tutorial
How to Draw A Shadow of A Person in Illustrator
Illustrators have some of the best drop shadow settings to add a shadow of something in the photo. You can also add shadow to your raster photo without using drop shadow. Here’s how to add shadows in the step-by-step guide:
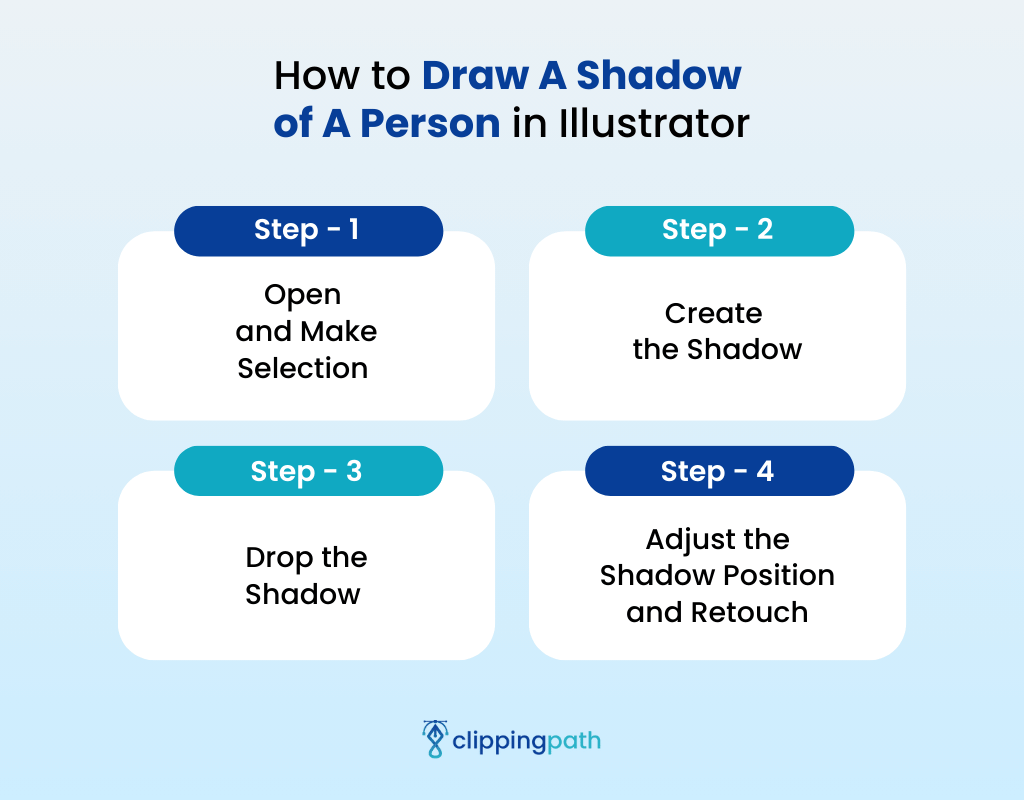
Step 1: Open and Make Selection
First, import the image in Illustrator. Now, make a selection of the person using the Pen tool or Shape too. Then, press “Ctrl + C” to copy the selection.
Go to “Edit” and click “Paste in Front” to paste the copy above the person’s image. Then, drag the copy of the selection to one side.
Step 2: Create the Shadow
Next, create a black shadow through the selection copy. Click “Image Trace” from the option bar and select “Silhouettes.” It’ll make the shadow automatically black, but some spots of the selection copy may remain white.
In this case, you need to fix the white spots. Click the “Image Trace Panel” (calendar-like icon) between the Preset and View. A new dialog box will appear on the screen.
Increase “Threshold” to make the white area black. Then, click “Expand” in the option bar to finish creating the shadow.
Step 3: Drop the Shadow
Drag the shadow above the picture of the person. Now, go to “Effect” and click “Distort & Transform.” A new dialog box of “Free Distort” will pop up on your screen, including a grid of the shadow.
You can drag and drop the top points of the grid to make the shadow fall on the ground. Adjust the shadow drop to your satisfaction level, then click “OK.”
Step 4: Adjust the Shadow Position and Retouch
After adjusting the drop shadow, right-click and select “Arrange.” Click “send backwards” from the drop-down menu to send the shadow behind the person.
Select the shadow copy above the person and pick the “Gradient” tool. Make a gradient line from the toe to the head of the person to change the color of the shadow.
Now, change the opacity to “Multiply” and adjust the opacity level of the shadow.
Go to “Effect” and add “Gaussian Blur” for final retouching. Adjust the blur radius and click “OK.”
That’s it! You can follow these simple steps to make creative shadow photography editing in Illustrator.
YouTube Tutorial on How to Draw A Shadow of A Person in Illustrator
We’re adding a similar YouTube video tutorial of Shadow PNG for your convenience. Watch the step-by-step tutorial from 2:35 to 4:50 minutes for adding a shadow in a PNG.
Conclusion
So, how to draw a shadow of a person? To draw the shadow correctly, you must first understand the direction of the light reflecting on the person. The process of drawing a shadow can be time-consuming and tricky at first, but you’ll get skilled in this task with practice.
When dropping the shadow, you need to make sure that it falls in the direction of the light reflecting direction. We’ve shared steps in Photoshop and Illustrator; you can choose the editing software you find easier to work with.
Meta Clipping Path – A well-known one-stop photo editing service provider company with 5+ years of experience and 25+ highly skilled professionals.
Working with 20 reputed worldwide e-commerce companies and 200+ satisfied customers.
![Read more about the article How to Create Natural Shadow in Photoshop [10 Easy Steps]](https://metaclippingpath.com/wp-content/uploads/2024/08/Create-Natural-Shadow-in-Photoshop-300x160.png)
![Read more about the article How to Add Shadow to Text in Photoshop in 2 Easy Methods [From Beginner Level to Pro]](https://metaclippingpath.com/wp-content/uploads/2024/08/How-to-Add-Shadow-to-Text-in-Photoshop-300x160.png)
![Read more about the article How to Add a Shadow in Photoshop in 5 Easy Steps [Create Realistic Photos like a Pro]](https://metaclippingpath.com/wp-content/uploads/2024/07/Add-a-Shadow-in-Photoshop-300x160.png)