![You are currently viewing How to Remove A Shadow in Photoshop [4 Simple and Quick Methods]](https://metaclippingpath.com/wp-content/uploads/2024/07/How-to-Remove-A-Shadow-in-Photoshop.png)
Is an unwanted shadow distracting and diminishing the beauty of your favorite photo? Or, maybe you want to keep a shadow on your photo, but you want to tone down its harsh appearance.
Fortunately, it’s possible to remove the shadow from your photo in Adobe Photoshop.
But how do you remove a shadow in Photoshop and decrease the appearance? Photoshop features tools like the Patch and Clone Stamp tools, which can remove the shadow completely. And if you want to reduce the shadow harshness, the Dodge tool and Adjustment Layers can do it effectively.
Interested in learning the steps to use these tools for respective tasks? The process can be time-consuming, but it will give a solid result. Keep reading to learn the step-by-step process of removing shadows using these tools.
Why Should You Remove A Shadow from Images?
You can either remove a shadow or add shadow with drop shadow in images using Photoshop. There are many reasons why you may need to remove shadows in Photoshop. Some common reasons are:
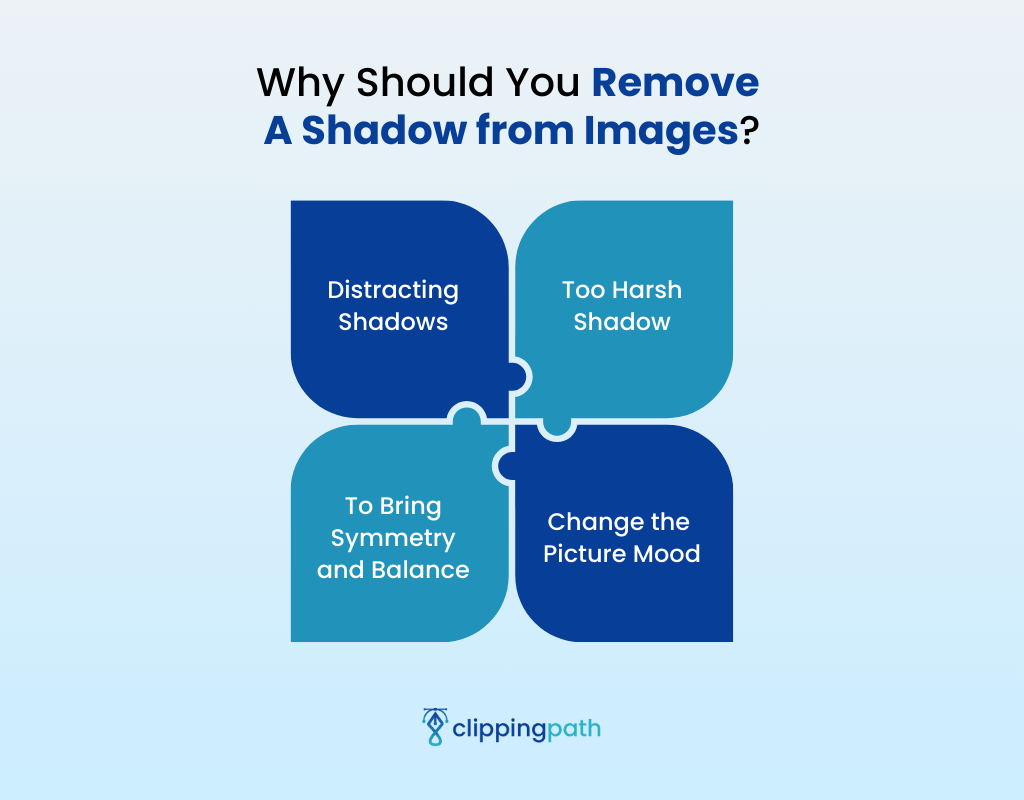
Distracting Shadows
When you click a picture outside in sunlight or at a studio with bright lights, the picture must have a shadow, which can distract the viewer’s eyes. If you want to keep the viewer’s focus on the subject only, you should remove all distracting shadows.
Too Harsh Shadow
Having a shadow is not always bad; some people even prefer adding a shadow to photos to make it look more natural. But if the shadow is too dark from the overall lighting in your photo, it may ruin the beauty of your photo.
Therefore, if you want to create a natural shadow in your photo, you can modify the shadow depth by following how to remove the shadow in the Photoshop tutorial. It will bring a soft and warm look to your image.
To Bring Symmetry and Balance
Suppose the main subject of your photo is in the center, and a shadow falls beside the subject, covering half of the image. In that case, the picture will have a weight on the shadow side.
You can remove the shadow of the subject to release the weight from your photo and make it look more symmetrical and balanced.
Change the Picture Mood
Want to eliminate the sense of drama, intensity, or mystery in your photo? You can use Photoshop’s remove shadow method to change and adjust it according to your liking.
4 Simple and Quick Ways of Removing Shadows in Photoshop
You can remove or adjust the shadow according to your required final result in Photoshop, as it has multiple tools for this task. We’ll focus on 4 easy and convenient ways of removing shadows using 4 different tools. These are:
- Clone stamp tool — Remove a shadow completely first, then use the clone pixels to fill the blank area.
- Patch tool — Remove the shadow from your picture by patching the area with pixels collected from other areas.
- Dodge tool — Reduces the appearance and may not be ideal for removing the entire shadow.
- Adjustment layers — Reduce harsh shadow.
How to Remove A Shadow in Photoshop Using Clone Stamp Tool
Imagine you have a perfect picture of yourself or a model promoting your products. But a shadow on your or your model’s face looks unpleasant and consumes the beauty of the picture.
In this case, the clone stamp tool is your go-to option. It can remove shadows from the face effectively. Here’s how Photoshop removes shadow from the face:
Step 1: Open and Duplicate the Main Layer
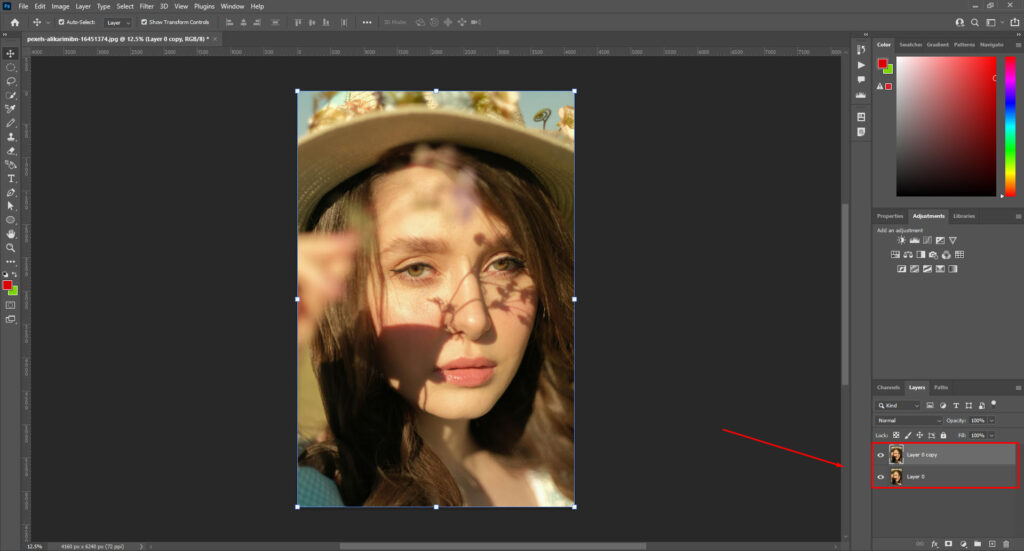
First, you need to set up your workspace in Photoshop. Open the photo you want to work on. Now, duplicate the background layer from the “Layer Panel.” You can also select the layer and press “Ctrl + J” to duplicate it.
Step 2: Select the Clone Stamp Tool
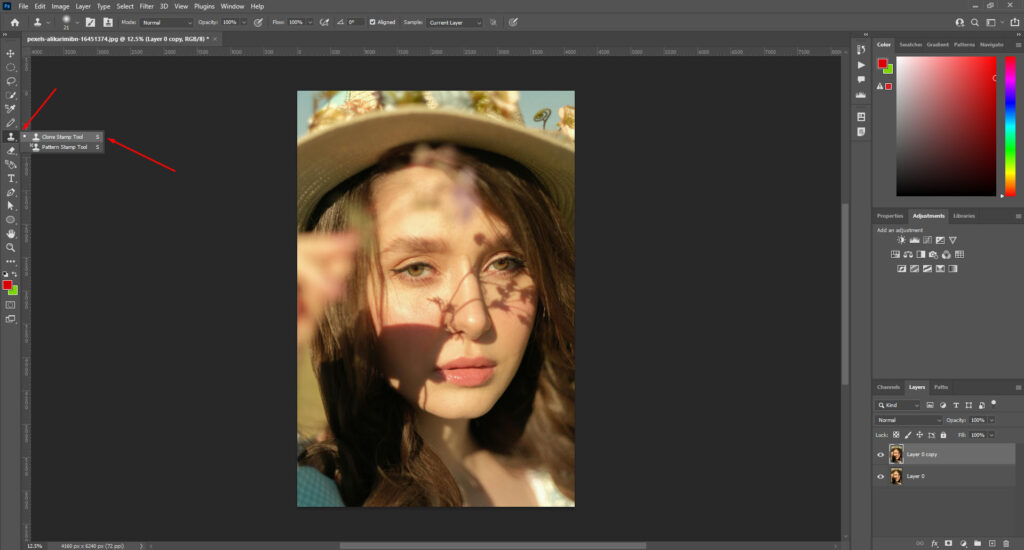
The Clone Stamp tool is located on your left toolbar and the icon of this tool looks like a rubber stamp. Click on the icon, and the Clone Stamp tool will be selected for use.
You can adjust the brush size of the tool according to your requirements.
Now, select the opacity of the brush based on whether you want to remove the shadow completely. Keep the brush opacity at 100% to eradicate the shadow.
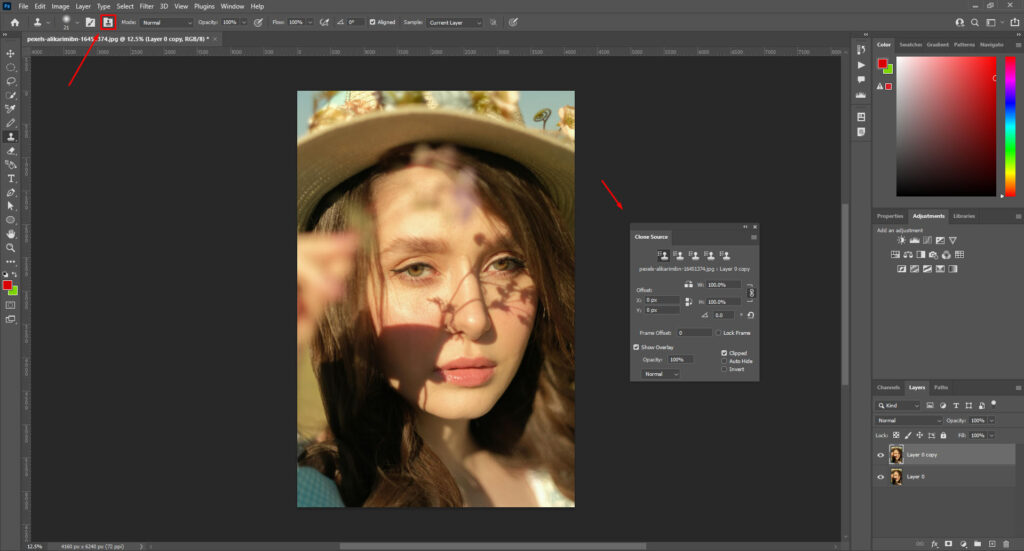
Step 3: Pick The Clone Source
When you remove the shadow, that particular area will lose all its information and become blank.
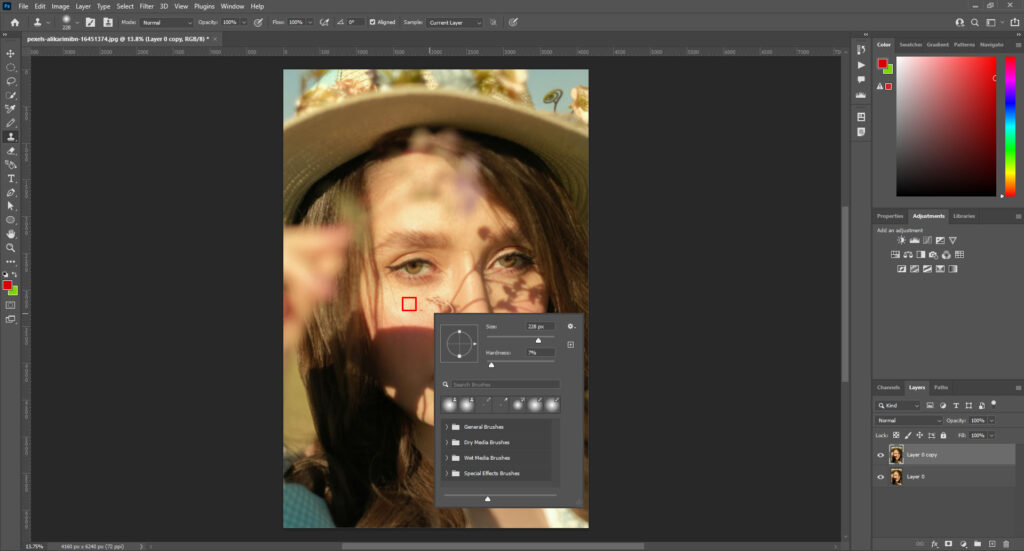
You can use similar areas of your picture to fill that blank area. For this step, you need to click on the pixel and press Alt simultaneously.
You’ll see that the cursor is changed to a crosshair icon. When you work on the blank area with the changed cursor, it will fill the area with the selected pixels.
Step 4: Remove the Shadow from Your Photo
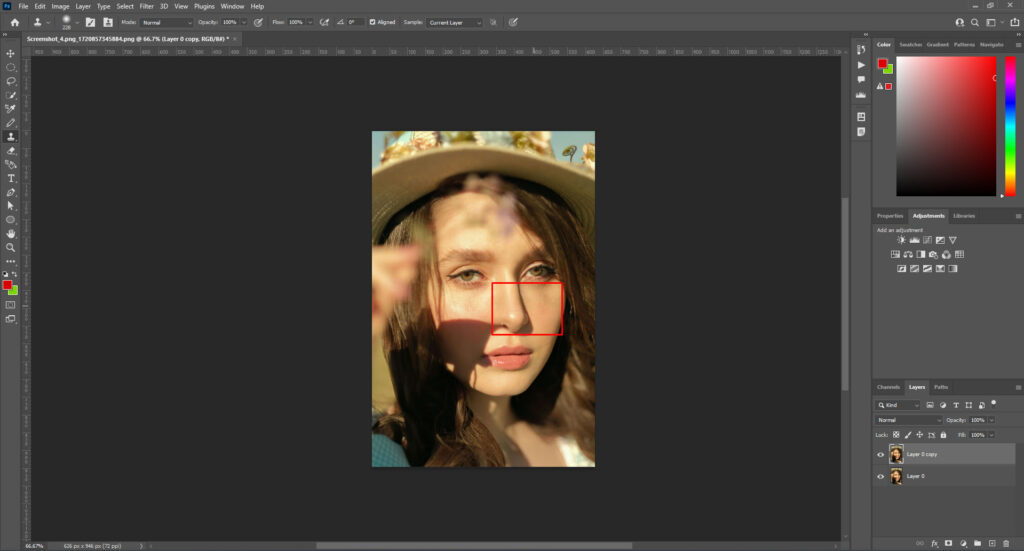
The last step is removing the shadow from your photos. To make the removal process accurate, you should zoom in on the photo and work with full attention.
Gradually move the brush over the shadow, then fill the area with the clone pixels. You may need to repeat the removal and filling process a few times before you reach perfection.
How to Remove A Shadow in Photoshop Using Patch Tool
The Patch tool works like Content-Aware Fill. If the photo you want to work on has a precise background with fewer objects, you can use this tool to remove shadow. Here’s how to get rid of shadows in Photoshop using the Patch tool:
Step 1: Open the Image and Duplicate the Layer
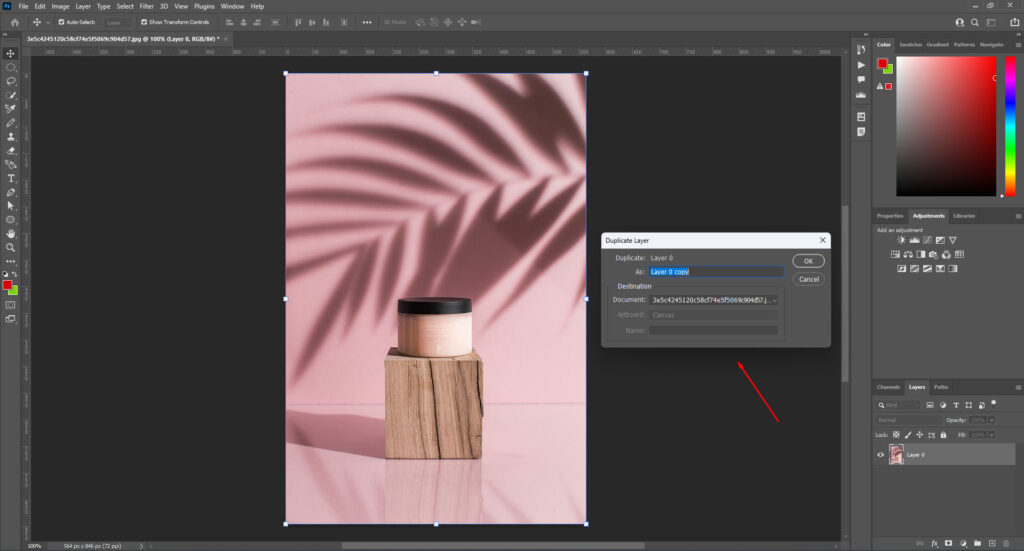
Like in the previous method, open your image in Photoshop and duplicate the image layer. Keep the main layer intact so you can use it as a backup when you make a mistake on the duplicate layer.
You can right-click on the layer and select “Duplicate Layer” from the menu. As a shortcut, you can also select the layer and press “Ctrl/Cmd + J.”
Step 2: Pick the Patch Tool
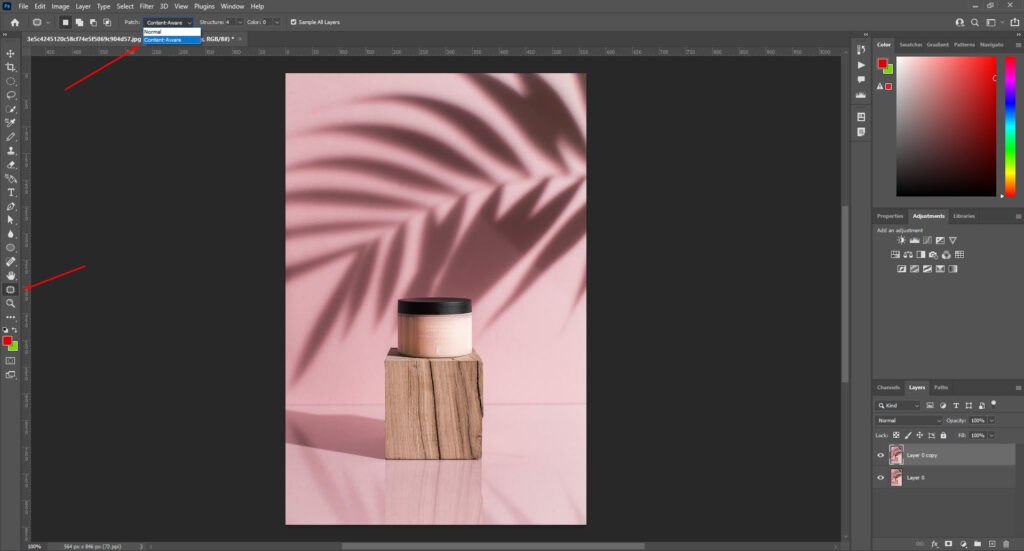
You’ll find the Patch tool in the toolbar. It has the basic shape of a paintbrush, with a brush tip on one end and a handle on the other. After clicking on the tool, you’ll see some elaborated options. Click on the “Content-Aware” option.
The Content-Aware option will guide Photoshop in accurately filling the shadow area with new pixels while blending the area with the background.
Step 3: Work on Removing Shadow
First, you need to select the shadow area of your image.
Then, drag it near other areas of your photo and see which area looks like the shadow area. When you drag it, the selected portion changes to the area where the selection is dragged.
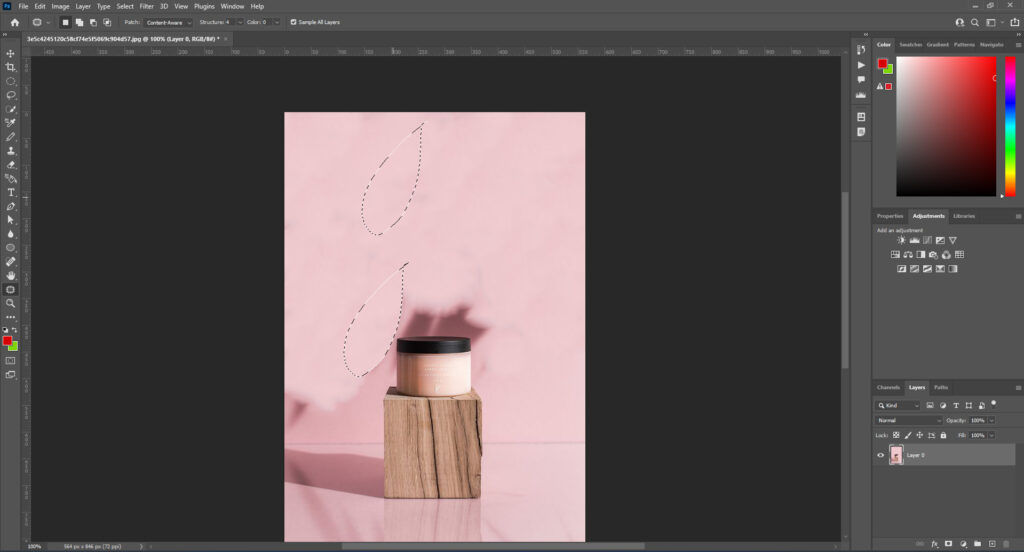
You can work with a small selection of shadows to make it more accurate. Continue the drag-and-change process until you get the perfect fill in the shadow area.
How to Remove A Shadow in Photoshop Using Dodge Tool
A dodge tool is one of the best options when you want to reduce the appearance of the shadow. But it may not be able to remove it in most cases completely. Let’s learn how to remove a shadow in Photoshop with the dodge tool:
Step 1: Duplicate Layer and Select the Dodge Tool
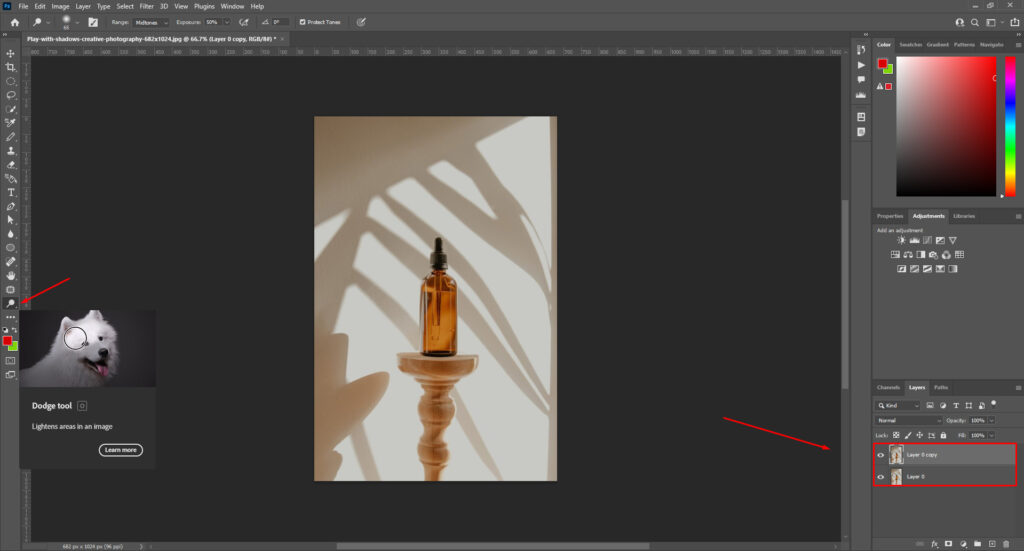
From the above discussion, you already know why you should duplicate the image layer and how to do it. After duplicating the layer, select the Dodge tool from the toolbar. The tool has a magnifying glass-like shape.
Step 2: Set the Exposure of the Tool

As you’re working on reducing the shadow appearance, you need to set the tool’s brightness. Exposure is the percentage that controls how much the tool increases the brightness of tones in the dodged area.
The good starting point of exposure is between 10 and 20% for soft shadows. For darker shadows, you may need to dodge many times at 30-50% Exposure. You can adjust the exposure level according to your requirement in the options bar.
Step 3: Set the Tool Size
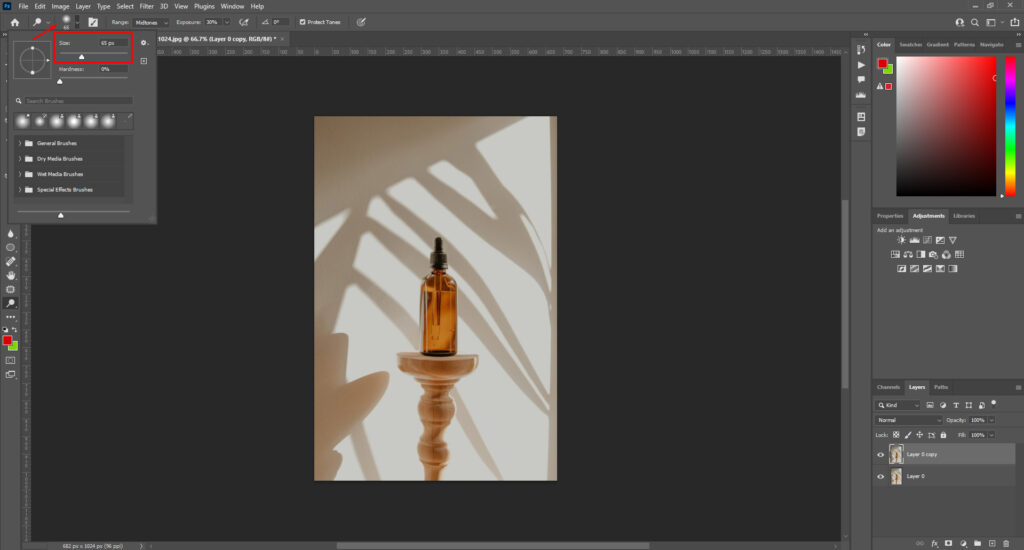
Now, you need to set the Dodge tool size; the ideal size is slightly larger than the shadow area. You can increase or decrease the tool size by pressing the left and right bracket keys.
Step 4: Paint the Shadow to Remove it
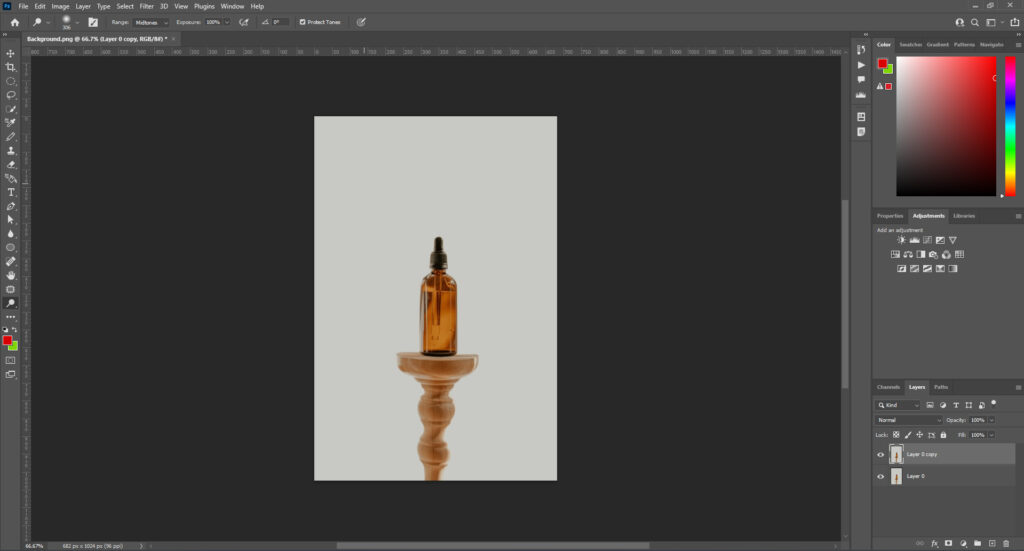
After setting the tool, you need to select the shadow area. Press and hold the Alt key and drag the dodge tool brush over the shadow. Zoom in on the picture to cover the edges accurately.
The brush will cover the shadow area, so make sure you remove the brush and check the shadow appearance after dragging the tool two or three times. There is no need to overbrush the shadow in one go.
Continue painting the shadow area until it looks natural and you’re satisfied with the final result. If needed, you can adjust the dodge tool settings for exposure or tool size.
How to Reduce A Harsh Shadow in Photoshop Using Adjustment Layers
This method is pretty similar to the Dodge tool method. Most prefer having a shadow in their photos but don’t like the harsh contrasting color of the shadow. Through adjustment layers, you can modify the temperature and brightness of the shadow. Here are the steps:
Step 1: Select the Shadow
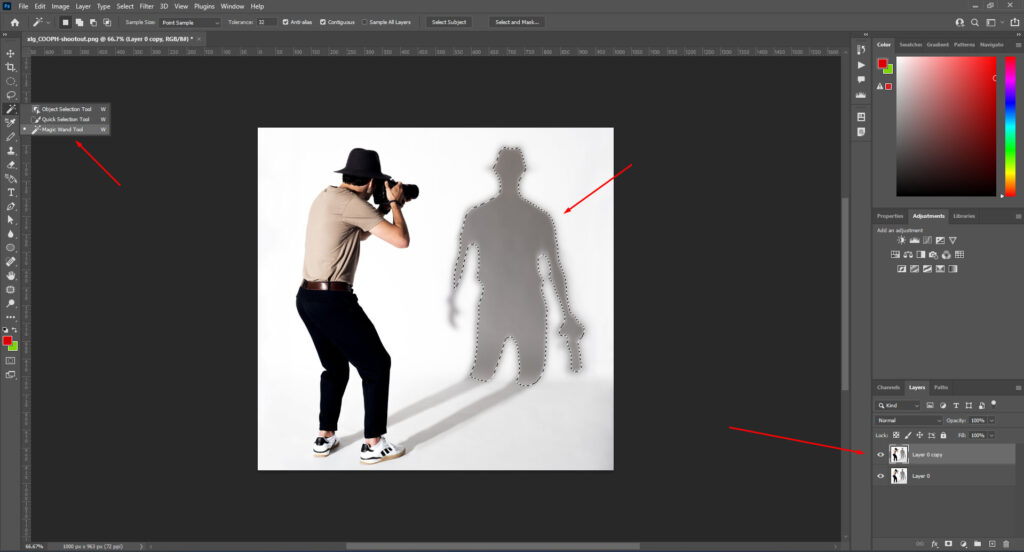
Follow the layer duplicating method to create a copy layer of the image. Then, work on the duplicate layer and select the harsh shadow using the Magic Wand, Lasso, or Quick Selection tool.
Step 2: Duplicate the Selected Shadow
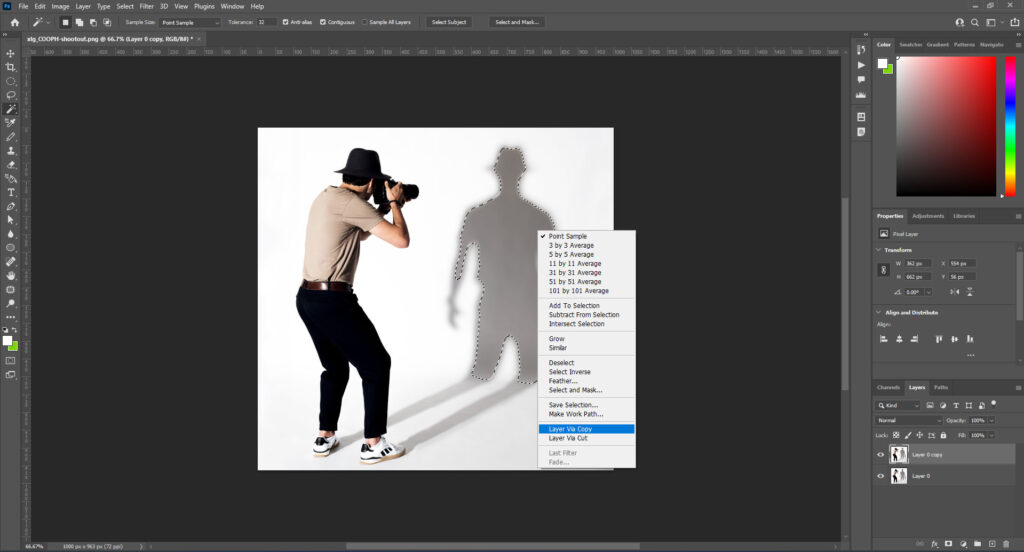
After you’re done with shadow selection, make a copy of the selection into a new layer. First, go to “Edit” and click “Copy” while the shadow selection is still active. Next, click on the “New” button located at the top of the Layer.
You’ll see some options from where you click “Layer via Copy” to make a new of the selected shadow only.
Step 3: Edit the Shadow in the New Layer
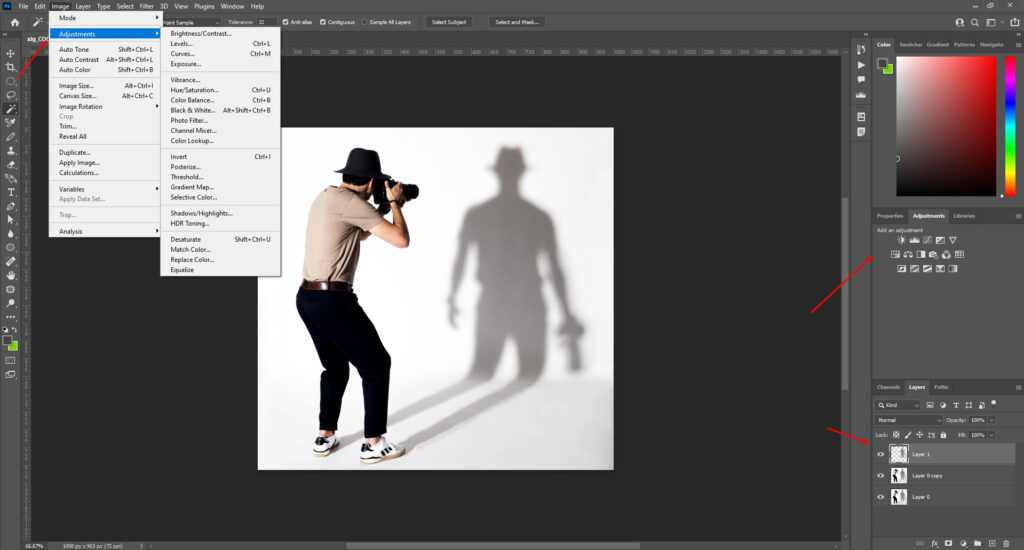
Now, you can work on adjusting the temperature and brightness of the shadow to modify and soften its appearance. To find the adjustment option, click on the “Layers” at the top right of the toolbar. From the dropdown menu, select “Adjustments” to open the “Adjustments Panel.”
You’ll find two options in the panel — Brightness and Contrast. Adjust the brightness from this panel, then move to working on the temperature.
You’ll find another option in the Adjustment Panel — Color Balance. It has three color sliders, such as Yellow, Cyan, and Magenta. Adjust the Yellow color to lower the temperature of the shadow and reduce its appearance.
Conclusion
So, how do you remove a shadow in Photoshop?
You can remove the shadow completely using the Clone Stamp or Patch tool. If you want to soften and reduce the shadow appearance, use the Dodge tool or Adjustment Layer methods.
While working with these methods, you need to invest time and probably redo the process a few times before you achieve the best result of shadow removal. Moreover, you may need to explore more than one of these methods to get the perfect result.
Meta Clipping Path – A well-known one-stop photo editing service provider company with 5+ years of experience and 25+ highly skilled professionals.
Working with 20 reputed worldwide e-commerce companies and 200+ satisfied customers.