![You are currently viewing How Do Clipping Masks Work? [Step-by-Step Guide]](https://metaclippingpath.com/wp-content/uploads/2024/05/How-Do-Clipping-Masks-Work.png)
Imagine a cookie cutter for your image editing software. That’s a clipping mask. Clipping masks are a non-destructive way to edit in Photoshop, GIMP, and other programs. This powerful tool lets you transform images and text into any shape you imagine.
But how do clipping masks work? Clipping masks use a shape to cut out sections of an image above it. The layer that sits at the bottom of a stack, is called the base layer. It controls what shows from all the layers above.
The better you understand the process, the more creative freedom you’ll have. So let’s explore the steps to create a clipping mask and unlock its potential for creative image editing.
What is a Clipping Mask?
A clipping mask is a powerful tool for controlling what parts of an underlying object are visible. It allows you to restrict the visibility of certain parts of a layer based on the content of another layer
It’s widely used in graphic design and image editing software, such as Adobe Photoshop or Illustrator.
How Do Clipping Masks Work?
Clipping mask work by using two layers bottom layer and the top layer. Here’s how they work in more detail:
- Bottom Layer (The Mask): This layer can be a shape, text, or even another image. It defines the “stencil” that will control what shows through.
- Top Layer (The Clipped Layer): This is the layer you wanna restrict. It could be a photograph, illustration, or anything you want to modify.
The key to using clipping masks effectively is layer order. Similar to stacks of paper. The layer on top determines the visible area of the layers below. Special commands like “Modify” or “Arrange” can be used to adjust the order.
Think of the crop tool as a simple clipping mask. It creates a rectangular window, but clipping masks offer far more flexibility.
They can take any shape, and even control the visibility of several objects across different layers. Both the mask and the masked objects can be edited after creation.
How Does Clipping Masks Work on Multiple Layers?
Did you know they can handle more than two layers? The key to using a clipping mask with multiple layers is keeping them together like best friends.
This means the layers you wanna include in the mask must be stacked directly on top of each other.
For example, if you’ve 4 layers, let’s say the bottom layer is the base of your clipping mask. You can include all the layers directly above it, creating a group that’s affected by the mask.
However, you can’t skip layers. If layer number three is missing from the stack, layer four won’t be included in the mask either.
Adding layers is intuitive:
- New layers within the masked group: These automatically become part of the mask’s effect.
- New layers on top: They won’t be masked, just like placing a new sheet on top of the existing stack.
- New layers below the base layer: These also remain unaffected, similar to adding a sheet underneath the main pile.
How to Create a Clipping Mask in Photoshop
There are multiple ways to create a clipping mask in photoshop, all leading to the same result. Choose the method that feels most comfortable for you. Here’s how you can use a clipping mask in Photoshop:
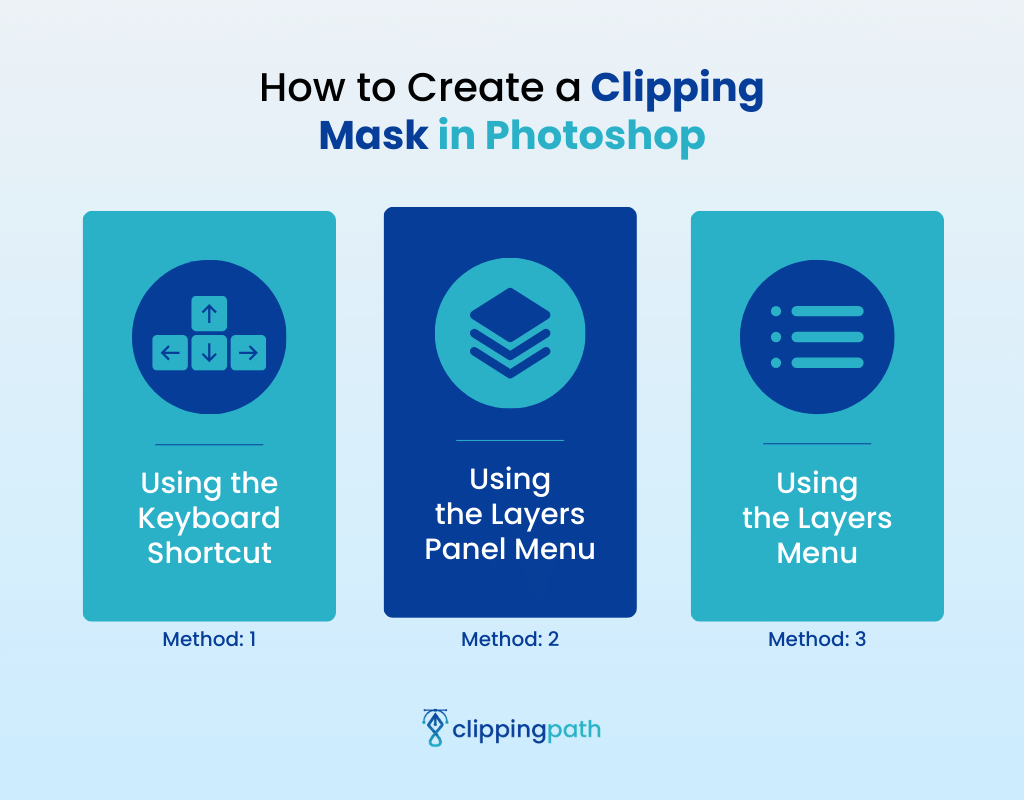
Method 1: Using the Keyboard Shortcut
- Press the “Alt” key.
- Move your cursor to the line separating the two layers in the Layers panel.
- The cursor will change into a special clipping mask icon (a square with an arrow pointing left).
- Once you see this icon, click your mouse button (or touchpad) on that dividing line.
Method 2: Using the Layers Panel Menu
- Select the layer you want to use from the layers panel.
- Right-click on the masking layer in the Layers panel to bring up a context menu.
- Choose “Create Clipping Mask” from the menu and click on it to activate the clipping effect.
Method 3: Using the Layers Menu
- Find and open the Layers menu at the top of your screen.
- Look for the option labeled “Create Clipping Mask.”
- Click on “Create Clipping Mask” to apply the clipping effect.
How to Make A Clipping Mask in Illustrator
You don’t need to spend money on image masking services if know the process. And here are the two easiest methods to use the tool in illustrator:
Method 1
Step 1: Ensure that the text layer is positioned above the pattern layer.
Step 2: If the pattern blocks the text, you can change it. Click on the text, then right click on it and select “Arrange. Then, click on “Bring to Front”
Step 3: Now you’ve to clip the pattern within the text. Press “Shift” key and select both layers.
Step 4: Now select “Object”. Next, choose “Clipping Mask” and click on “Make”. (Shortcut: For Mac press ⌘ + 7 and for Windows Ctrl + 7)
Your text is now masked by the pattern. Though it may not appear perfect yet. You can refine the mask to your preference.
Step 5: Select the Layers Menu from the Layers Panel.
Step 6: Select the pattern within the Clip Group.
Step 7: Resize and move the pattern to adjust the clipping effect.
Method 2
Step 1: Open a new Adobe Illustrator document.
Step 2: Import the image or pattern you want to use.
Step 3: Arrange the pattern design over the image.
Step 4: Lower the opacity of the pattern to view the image beneath.
Step 5: Press the Shift Key and choose the shapes you want to include.
Step 6: Go to the Pathfinder window. Inside Pathfinder, choose “Unite” from the Shape Modes section on the left side. This will merge the selected shapes into a single vector shape.
Step 7: Go to the Object menu, then select “Compound Path,” and finally choose “Make” to convert the merged shape into a Compound Path.
Step 8: Select both the pattern and image, then right-click on it. Next, select Make Clipping Mask.
How to Edit Clipping Mask
There are two methods to edit the clipping mask:
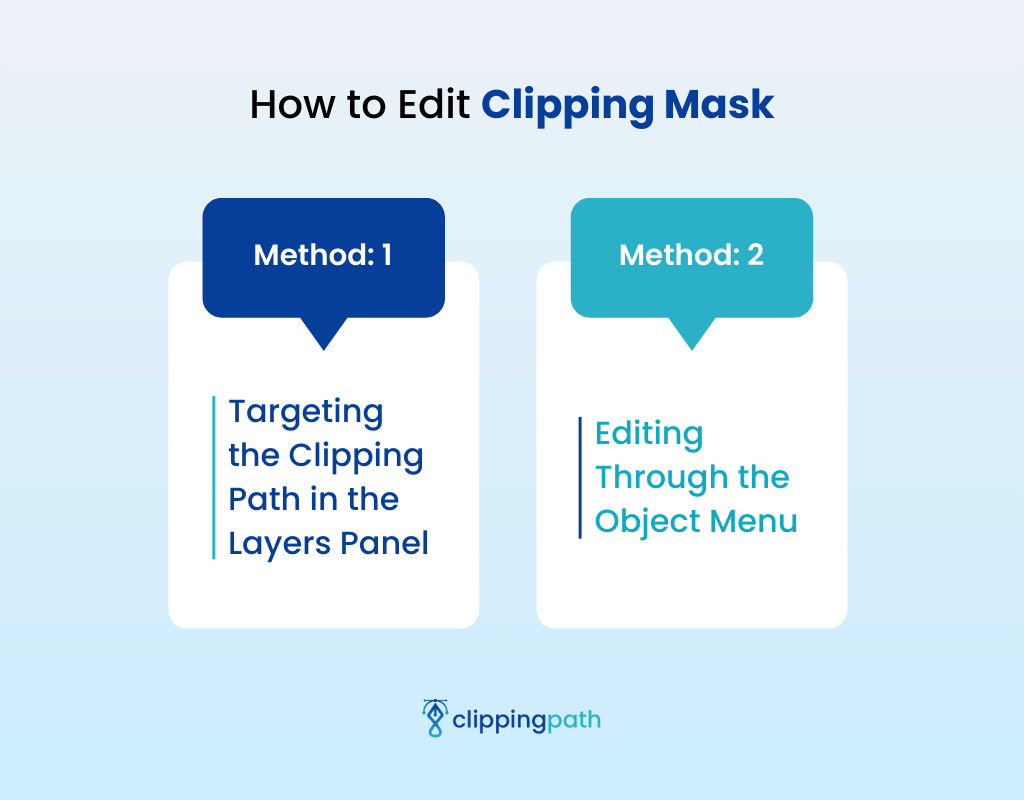
Method 1: Targeting the Clipping Path in the Layers Panel
Step 1: Find the clipping mask group within the Layers panel.
Step 2: Double-click on this group to enter “isolation mode.” This allows you to focus solely on the mask and masked objects for editing.
Method 2: Editing Through the Object Menu
Step 1: Select the entire clipping mask group using the selection tool.
Step 2: Go to the “Object” menu in your software’s interface.
Step 3: Locate the “Clipping Mask” submenu and choose “Edit Mask.” This will also activate isolation mode.
How to Remove a Clipping Mask
There might be times when you want to remove a clipping mask. Well, you can do it in two common ways to remove the mask:
Using the Menu
Step 1: Select the clipping mask group and go to Object
Step 2: Then select Clipping Mask
Step 3: Now click on Release in your software’s menu.
Using the Layers Panel
Find the “Make/Release” button (located at the bottom) and click it while the clipping mask group is selected.
Note: If you’re using Photoshop, you can check out how to remove the clipping mask in Photoshop.
Creative Uses for Clipping Masks You Can Utilize
Clipping masks are a handy tool in image editing and they can be applied in various scenarios:
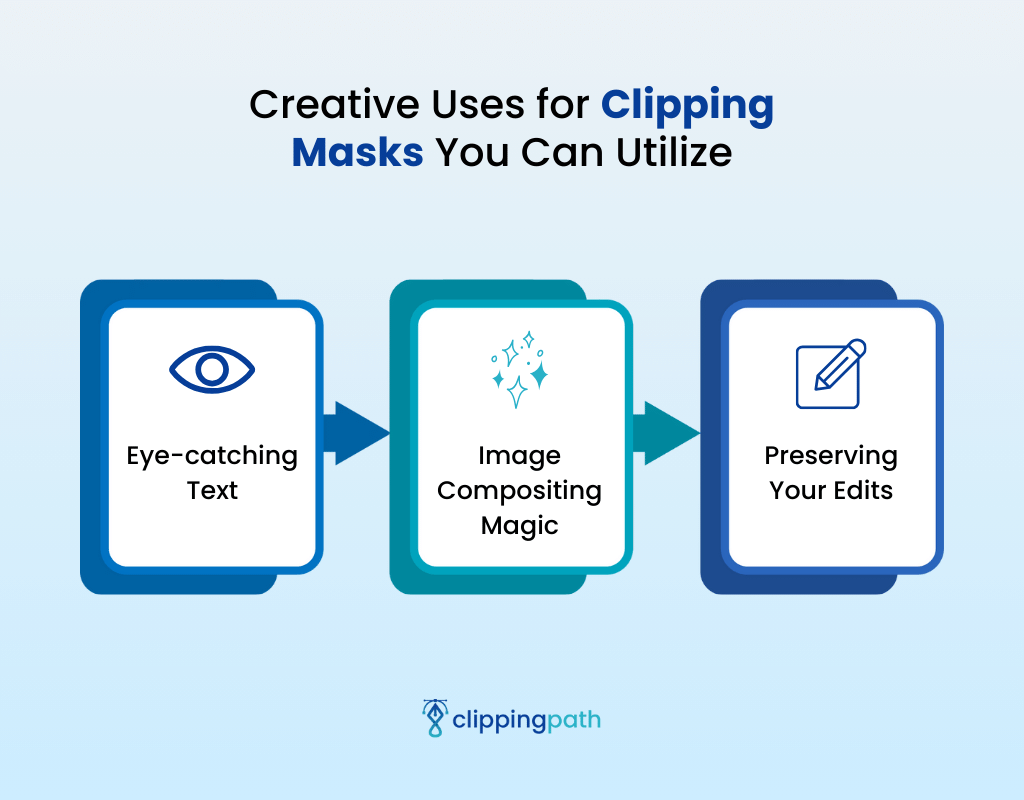
- Eye-catching Text: Instead of plain text, you can use clipping masks to fill letters with images or patterns.
- Image Compositing Magic: You can add textures and blend multiple photos to specific areas.
- Preserving Your Edits: Whether conventional tools erase pixels permanently. Clipping masks offer a non-destructive way to hide portions of a layer. You can unclip the delete part whenever you want.
Conclusion
That’s all. Let’s recap the answer to how clipping masks work one more time. Clipping masks work by using a shape to cut out sections of an image above it.
The layer that sits at the bottom of a stack, is called the base layer. It controls what shows from all the layers above. This allows you to transform images and text into any shape you imagine.
Lastly, if you feel overwhelmed with the process or have more work to get done quickly, you can check out our image masking services.
FAQs Related to Clipping Masks
What is the difference between a layer mask and a clipping mask?
There is one main difference that separates them from the other. Layer mask hides parts of a single layer, while a clipping mask uses a lower layer’s shape to reveal parts of the layer above.
What does clipping mask do in Procreate?
A Clipping Mask in Procreate confines the content of one layer to the shape of the layer below. Transparency and content control the visibility of the clipped layer.
Meta Clipping Path – A well-known one-stop photo editing service provider company with 5+ years of experience and 25+ highly skilled professionals.
Working with 20 reputed worldwide e-commerce companies and 200+ satisfied customers.
![Read more about the article How to Invert a Clipping Mask for Beginners and Pros [Illustrator and Photoshop]](https://metaclippingpath.com/wp-content/uploads/2024/06/How-to-Invert-a-Clipping-Mask-300x160.png)