![You are currently viewing How to Invert a Clipping Mask for Beginners and Pros [Illustrator and Photoshop]](https://metaclippingpath.com/wp-content/uploads/2024/06/How-to-Invert-a-Clipping-Mask.png)
Adobe Illustrator and Photoshop are powerful tools for converting shapes using clipping masks. But what if you need to highlight an area outside the mask?
You can invert a clipping mask using three easy methods. Pathfinder panels, duplication & exclusion, and opacity masks – choose the one that works the best for you!
In this article, you’ll find out how to invert clipping masks in Illustrator and Photoshop easily. Before choosing the right method, make sure to understand its pros and cons!
Why Do You Need to Invert a Clipping Mask?
Before you learn how to invert a clipping mask in Illustrator or Photoshop, let’s explore the benefits –
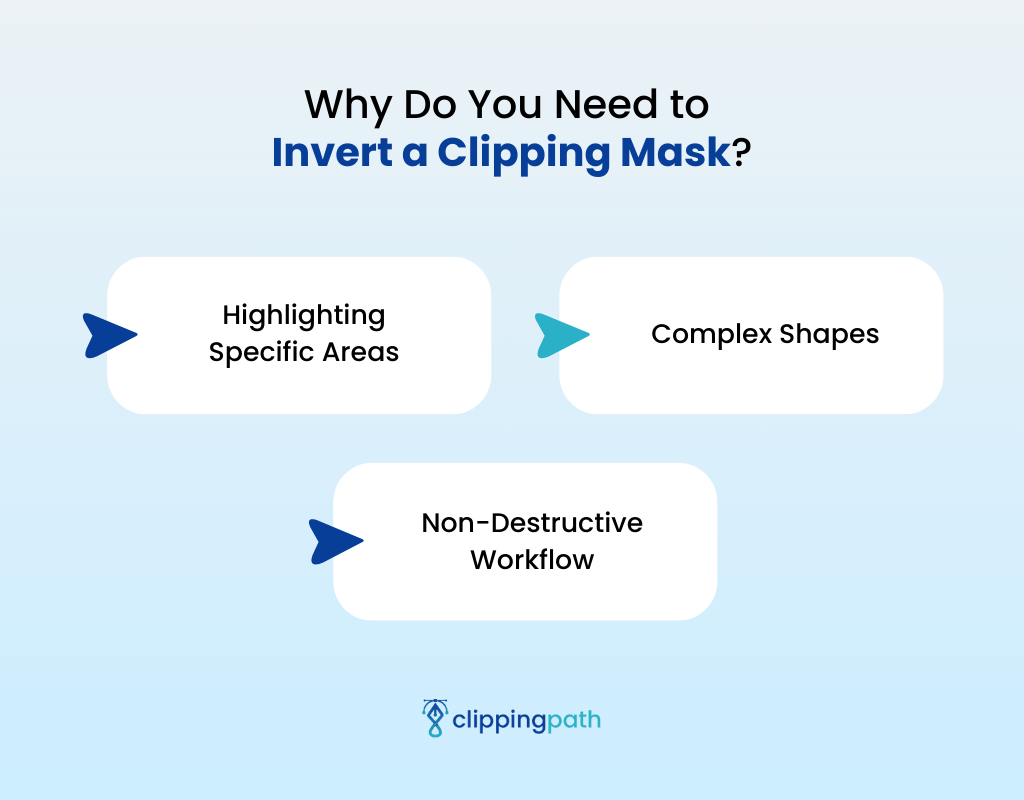
Highlighting Specific Areas
This technique lets you draw attention to specific elements outside the mask shape. You can use it to emphasize negative space in your design or create a sense of depth and layering.
Complex Shapes
Sometimes, directly revealing a complex shape with a traditional clipping mask might be difficult. Inverting clipping masks offers an alternative approach. This is very useful for showcasing intricate details outside the masked area.
Non-Destructive Workflow
Similar to standard clipping masks, this technique is non-destructive. You can always modify the original mask or underlying artwork without affecting the final “inverted” result.
If you face any difficulty with clipping masks in Photoshop or Illustrator, layer masks are also an option!
How to Invert a Clipping Mask: Easy Methods
You can invert a clipping mask using both Illustrator and Photoshop. Let’s get into the details!
Inverting a Clipping Mask in Illustrator
There isn’t a direct “invert clipping mask” function in Illustrator. But you can use the Pathfinder panel to achieve a similar effect –
- Select Both Objects: Use the Selection Tool (V) to select both the object you want to reveal and the clipping mask object itself. Make sure they are both highlighted.
- Open Pathfinder Panel: Go to “Window” > “Pathfinder” to open the Pathfinder panel.
- Minus Front with Alt Key: Hold down the “Alt” key and click the “Minus Front” shape mode icon in the Pathfinder panel.
If you’re dealing with a complex design, you may need some further refinement.
Inverting a Clipping Mask in Photoshop
We’ve listed three methods for inverting a clipping mask in Photoshop. Find out which works best for you!
Method 1: Using Pathfinder Panel
This is the easiest way of inverting a clipping mask in Photoshop. Follow these steps –
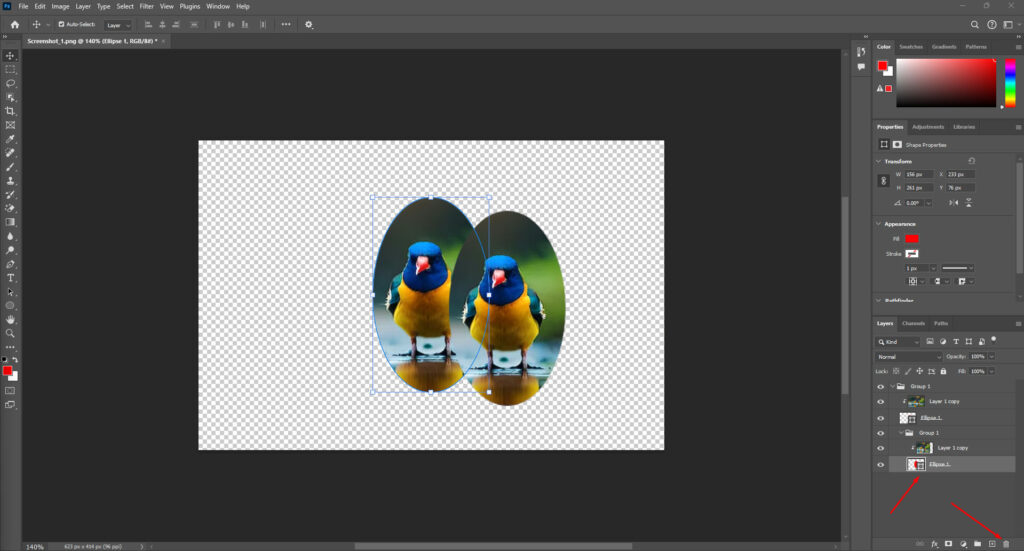
- Duplicate the Clipping Mask Group: Select the clipping mask group in the Layers panel. Now, duplicate it using Edit > Copy > Edit > Paste in Front).

- Isolate the Mask Path: In the newly created group, select the mask object and hit Delete. This reveals the entire underlying artwork.
- Subtract the Original Mask Shape: What if you want a cleaner “inverted” effect that precisely matches the original mask shape? You can subtract it from the revealed artwork! Use the Minus Front button in the Pathfinder panel to do this.
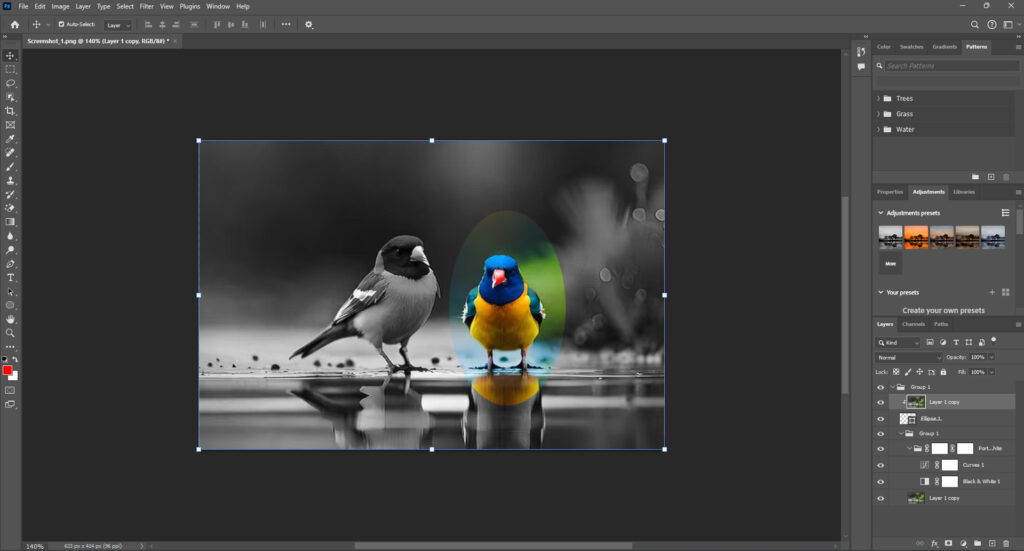
- Clean Up: If your design is too complex, you might have some unnecessary anchor points on the newly created shape. Use the Direct Selection Tool (A) to select and delete any unwanted points.
Method 2: Duplication and Exclusion
If you already have your desired shape, just duplicate and exclude as you want! Here’s how you can do it –
1. Duplicate the Masked Artwork:
- Start by selecting the artwork with the existing mask you want to modify.
- Go to the top menu bar and navigate to Edit > Edit > Paste in Front. This creates a duplicate layer of your artwork directly above the original.
2. Isolate the Artwork (Optional):
- This step improves visibility during editing. Drag the original masked artwork (the bottom layer) away from the mask path. Don’t worry about its exact placement for now, as long as it’s visually distinct from the mask itself.
3. Create an Encompassing Shape:
- Grab the Rectangle Tool (M) from the toolbar or choose another shape tool that best suits your needs.
- Draw a new shape that completely covers both the original mask path and the underlying artwork you want to reveal. Imagine a blanket large enough to hide everything beneath it.
- If you only want the “inverted” effect within a specific area, adjust the shape size accordingly. You can even use more complex shapes beyond rectangles for creative freedom.
4. Exclude the Original Mask:
- With both the new encompassing shape and the original mask path selected (hold Shift while clicking to select multiple layers), navigate to the Window menu at the top.
- Select Transparency. This opens the Transparency panel, which offers various blending mode options.
5. Apply the “Exclude” Blending Mode:
- In the Transparency panel, locate the dropdown menu next to the current blending mode (likely set to “Normal”). Click on it and choose Exclude.
- This magic happens here! The “Exclude” mode essentially punches a hole through the new encompassing shape, revealing the underlying artwork previously hidden by the original mask.
6. Remove Excess Shapes:
- If you no longer need the original masked artwork or the newly created shape, simply select and delete them.
- You’re left with the “inverted” area – the previously masked section of your artwork is now visible!
Method 3: Opacity Masks
If you want to control the visibility of a specific area, opacity masks work best.
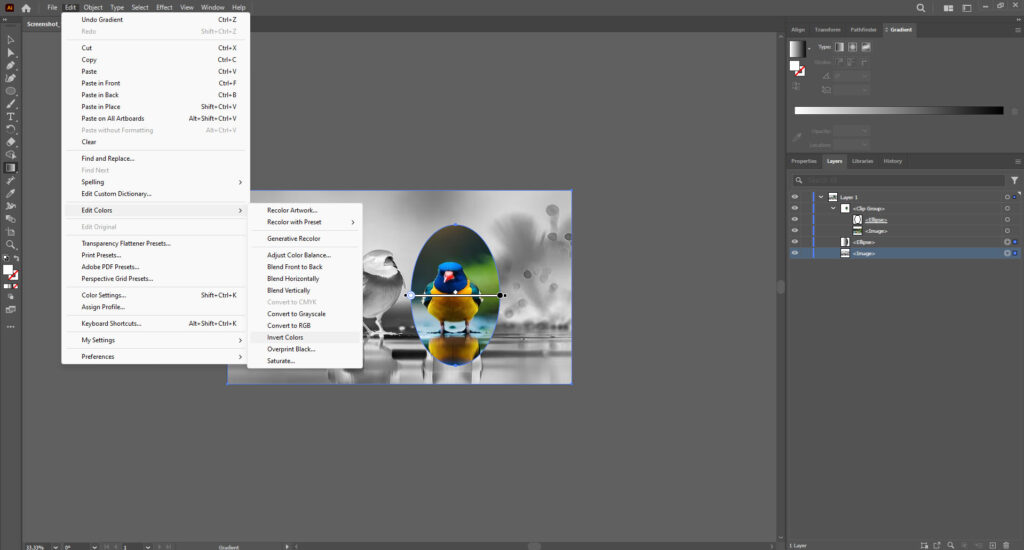
- Convert the Clipping Mask to an Opacity Mask: Select the clipping mask group in the Layers panel. Go to the Object menu and choose Clipping Mask > Release. This separates the mask path from the underlying artwork.

- Create a Grayscale Copy of the Mask Path: Duplicate the mask path and fill it with a grayscale gradient. White areas represent full visibility and black areas represent complete transparency. You can use grayscales to create varying degrees of transparency.
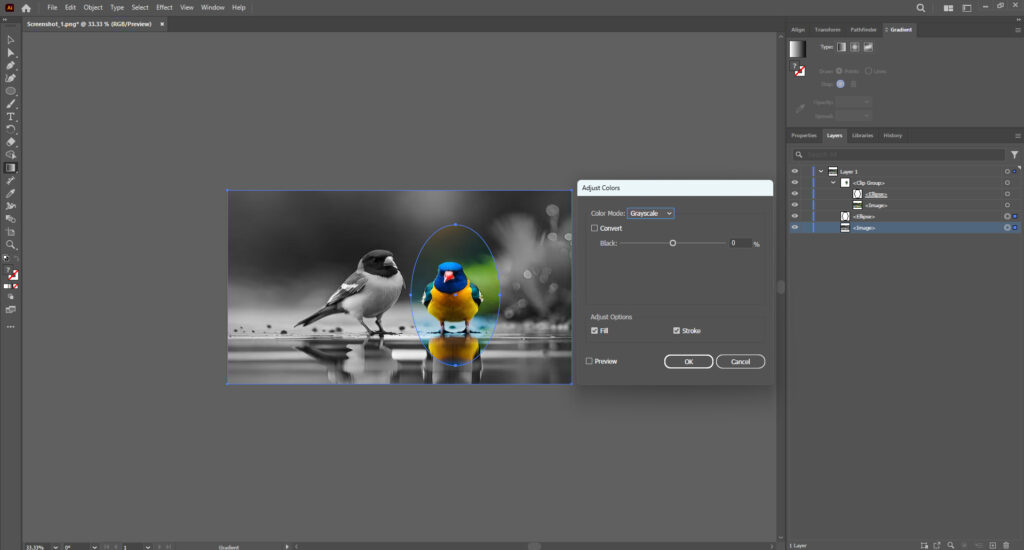
- Apply the Grayscale Copy as an Opacity Mask: This creates an opacity mask where the white areas reveal the underlying artwork. Besides, the black areas become transparent – “inverting” the visibility within the original mask shape. Do you want a more nuanced inverted effect? Adjust the grayscale gradient to fine-tune the transparency!
Choosing the Right Method: Which One Will Suit You The Most?
The best method depends on your desired outcome and design complexity. We have explored the pros and cons of all the methods so you can choose the most suitable!
Method 1: Pathfinder Panel
You can achieve a clean and precise result using a simple workflow. However, this method has limited flexibility.
Pros:
- This method creates a sharp and exact “inversion” of the original mask shape.
- Utilizing the Pathfinder panel is a relatively straightforward process for basic “inversion” needs.
- Like traditional clipping masks, this method allows for further edits to the original mask or artwork.
Cons:
- It doesn’t offer adjustments within the “inverted” area, making it less suitable for nuanced effects.
- If the design involves multiple objects within the clipping mask group, subtracting them might require additional cleanup.
Method 2: Duplication and Exclusion
If you’re dealing with complex shapes, duplication & exclusion will work the best. But you may need to follow a few extra steps!
Pros:
- This method allows for more creative freedom, as you can customize the shape encompassing both the mask and the artwork.
- It’s ideal for revealing intricate details outside a complex mask shape.
- Similar to other methods, it allows for edits to the original artwork or mask path.
Cons:
- The process requires duplicating elements and using the Transparency panel. So, it’s slightly more complex than the Pathfinder panel.
- If you have other objects in your design, ensuring they don’t interfere with the encompassing shape might require extra attention.
Method 3: Opacity Masks
You’ll have the most control for fine-tuning in this method. But the results may not be as sharp and precise.
Pros:
- Opacity masks allow for creating a more nuanced “fading out” effect instead of a sharp contrast.
- You can adjust the grayscale gradient within the opacity mask to fine-tune the level of transparency and achieve subtle variations.
Cons:
- This method doesn’t offer the clean “inversion” of the previous two methods. It’s more suitable for creating a softer, blended effect.
- Compared to other methods, it might require additional steps to achieve a specific “inverted” shape. This happens when your design involves complex outlines.
If these methods don’t come in handy, you can also use a layer mask instead of a clipping mask!
Final Words
Wondering how to invert a clipping mask? Our easy methods are suitable for both beginners and pros!
You can try the Pathfinder panel, the opacity masks, or even duplication and exclusion. Understand the pros and cons of each method and your specific needs. For any expert photo-editing advice, contact Meta Clipping Path for the best service!
Meta Clipping Path – A well-known one-stop photo editing service provider company with 5+ years of experience and 25+ highly skilled professionals.
Working with 20 reputed worldwide e-commerce companies and 200+ satisfied customers.
![Read more about the article How Do Clipping Masks Work? [Step-by-Step Guide]](https://metaclippingpath.com/wp-content/uploads/2024/05/How-Do-Clipping-Masks-Work-300x160.png)