![You are currently viewing Top 10 Photoshop Background Effects for Your Photography [Easy Photo-editing Tips]](https://metaclippingpath.com/wp-content/uploads/2024/06/Photoshop-Background-Effects.png)
Photoshop is an incredible tool for editing your background and photography. However, if you want to tell a unique story through your pictures, you need something extra!
You can edit and enhance your photography using the diverse Photoshop background effects. Gradient, textures, patterns, and particle effects are some of the effects you should try. Go ahead and combine different effects for your desired results.
In this article, we’ll explore the applications and methods of the top 10 Photoshop background effects. Follow the expert tips for the best results!
Why Do You Need Photoshop Background Effects?
We all know you can create a background in Photoshop however you like. But sometimes, you may need to edit the background for your photography.
This is where background effects come in useful:
Replace Unwanted Backgrounds
Background effects let you remove unwanted elements from your image. You can easily remove the background from a logo in Photoshop!
Add Style
If you want to add a different style to your photography, background effects are great! For example, textures and grunge effects can create a vintage look. You can use HDR effects for a more modern storefront background image.
Fix Lighting
In some cases, you may need to correct lighting issues in your background image. You can use a lighting effect to simulate a different time of day or add a subtle light source to create more depth.
Set the Mood
Background effects can set the mood and atmosphere of your image. A dramatic cloudscape can create a sense of tension. On the other hand, a soft gradient might evoke a feeling of serenity.
Top 10 Photoshop Background Effects for Your Next Photography
Most people only know how to create a background using Photoshop. But you can use these popular background effects to transform your images and unlock your creative potential –
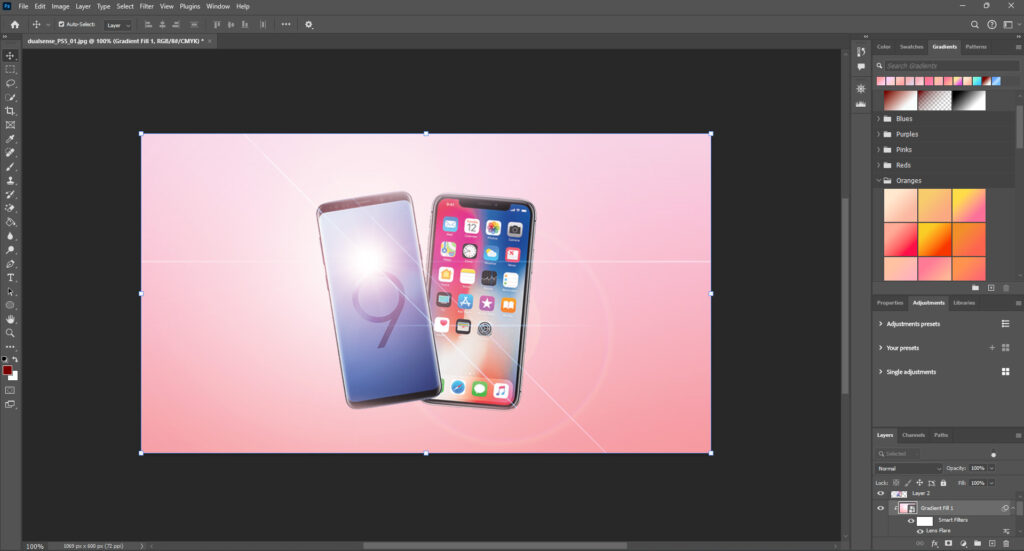
1. Gradients
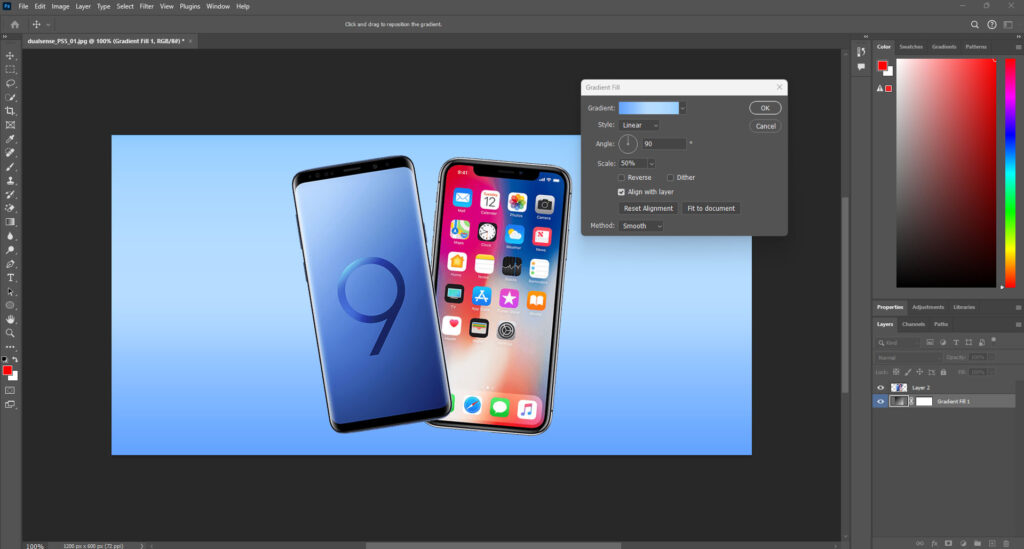
Gradients are suitable for product photography, website banners, presentations, and creating subtle depth in portraits.
They offer a smooth transition between two or more colors, giving you a clean and versatile backdrop for various image types.
- Use the Gradient Tool, which is available in the toolbar.
- Choose your desired colors and adjust the angle of the gradient to achieve the effect you want.
- Explore different blending modes like “Multiply” or “Overlay” to further customize the look.
2. Textures
Textures can infuse your images with a sense of realism and depth. These are ideal for adding a vintage touch to portraits. You can easily create realistic backgrounds for product mockups. Textures also add a touch of grittiness to artistic compositions.
- Use premade textures downloaded online or create your own using brushes or filters.
- Experiment with the “Overlay” and “Soft Light” blending modes to integrate the texture seamlessly with your image.
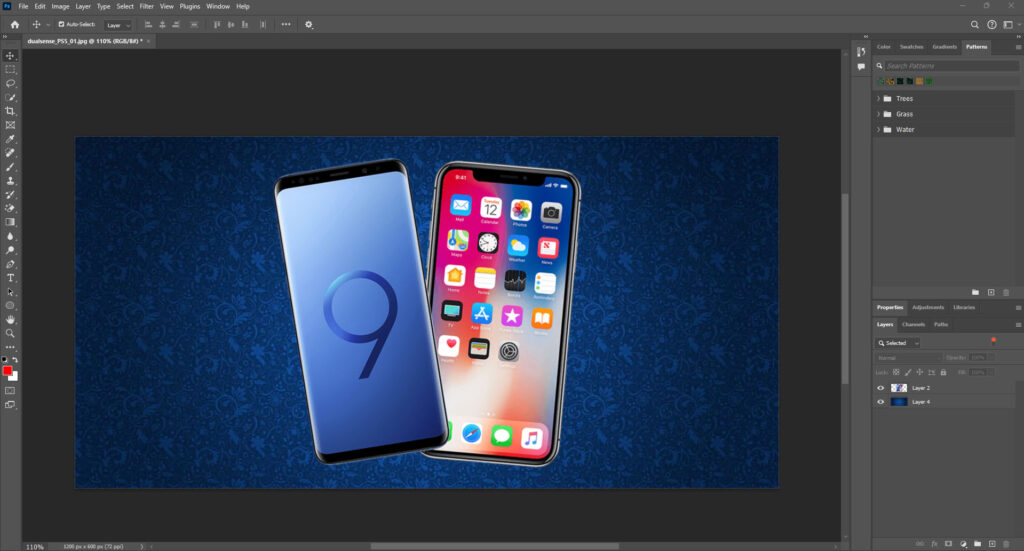
3. Patterns
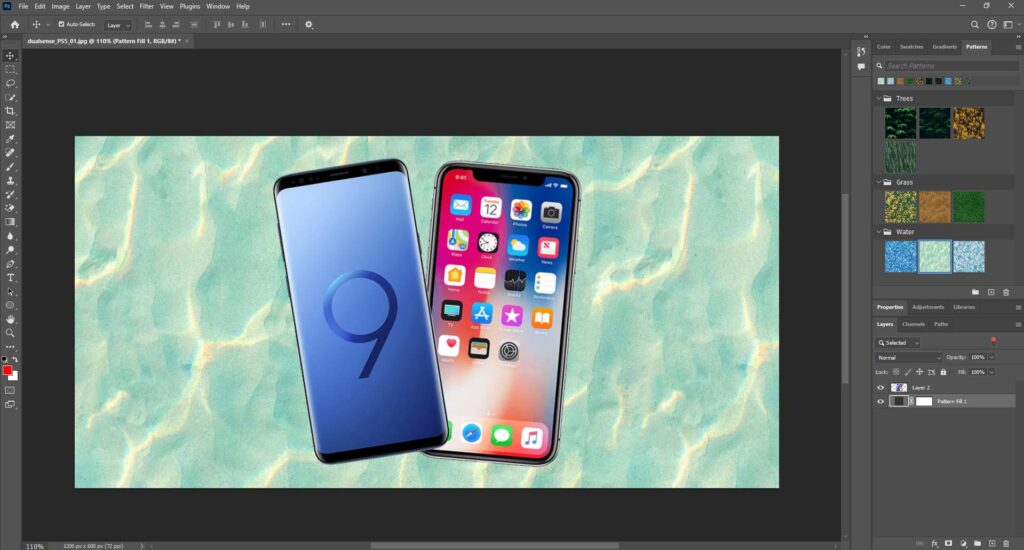
Patterns can add visual interest and decorate your background. You can use geometric patterns, floral patterns, damask patterns, etc. These are perfect for creating eye-catching social media posts and website backgrounds.
- You can create your own seamless patterns in Photoshop. If you want fast results, use the premade patterns!
- Apply the pattern as a layer behind your subject.
- Adjust the opacity or blending mode for a balanced look.
4. Bokeh Effect
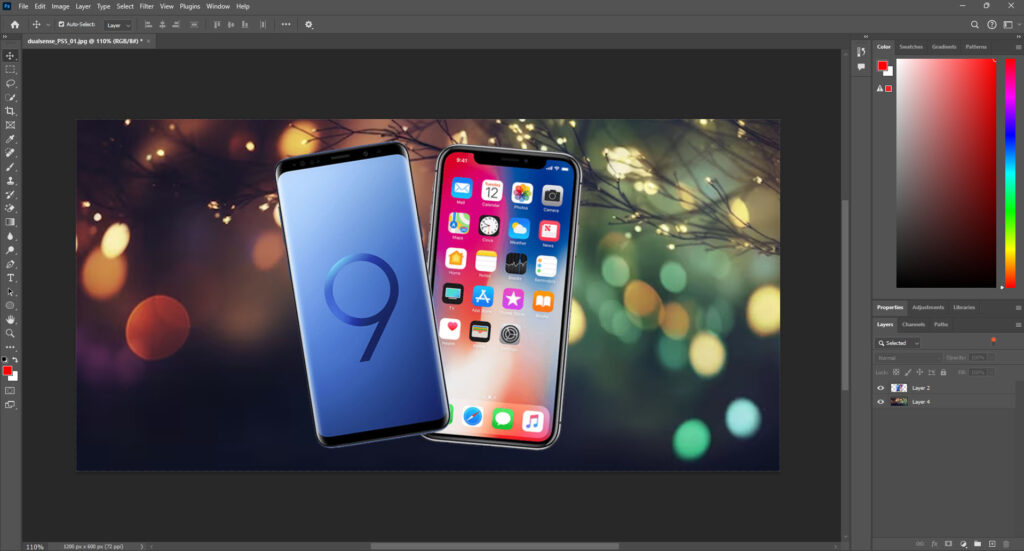
The bokeh effect creates a dreamy background blur. This technique draws the viewer’s attention to the foreground subject and adds a touch of softness. Bokeh is ideal for portrait photography and product photography highlighting a specific object.
- Use the “Blur Gallery” (Filter > Blur Gallery) in Photoshop.
- Experiment with different blur types like “Iris Blur” or “Gaussian Blur” to achieve the desired bokeh effect.
- You can further refine the blur using layer masks to ensure your subject remains sharp.
5. Lighting Effects
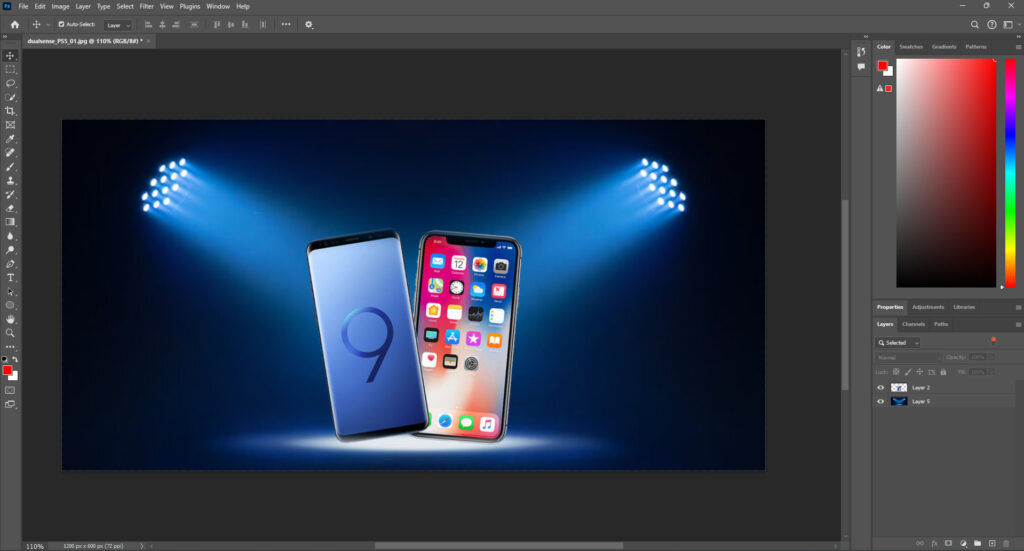
Lighting effects can significantly enhance the mood of an image. Dramatic lighting can add a sense of urgency, while soft light can create a more calming atmosphere.
- Use tools like the “Gradient Tool” and brushes with different textures. These can create light rays or gradients simulating a specific lighting scenario.
- Explore pre-made lighting effect overlays available online for a faster workflow.
6. Particle Effects
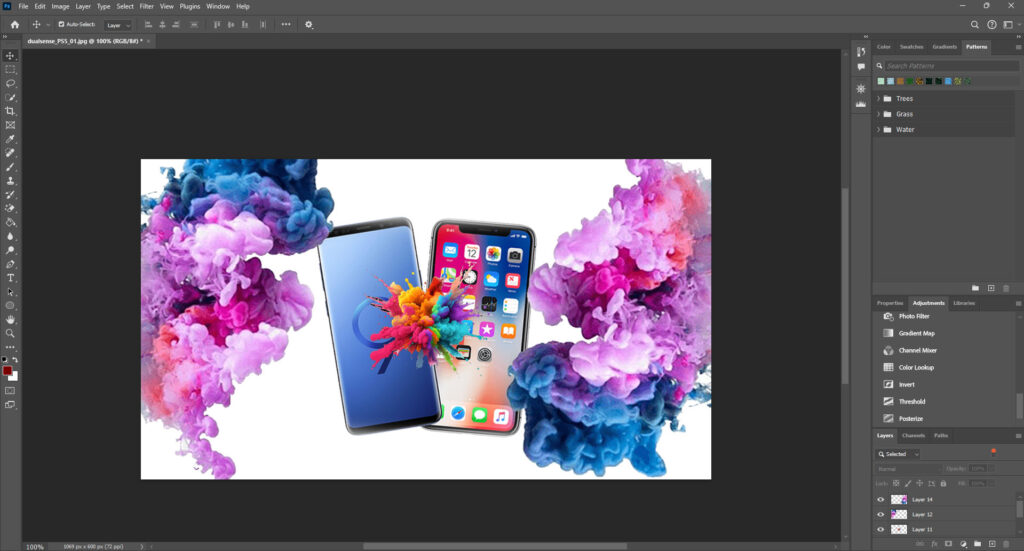
Particle effects are perfect for adding a magical touch to fantasy illustrations. You can also create a festive atmosphere for holiday images, or draw attention to specific areas of your image.
- Use brushes designed for creating particle effects. You can also explore pre-made brushes available online.
- Adjust the size, opacity, and color of the particles to achieve the desired effect.
7. HDR Effects
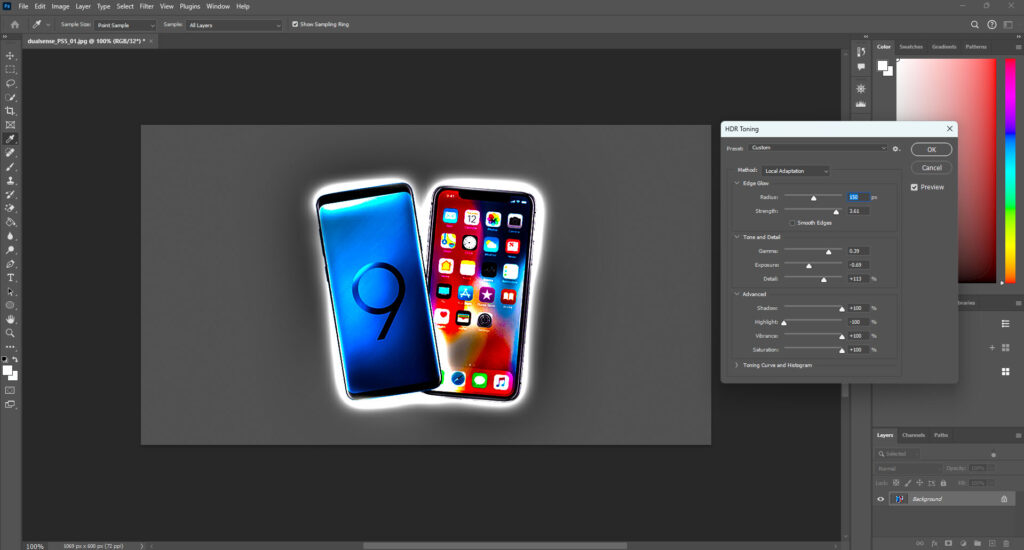
You can use HDR effects creatively for landscape photography and add a pop of color to product images. These effects can also create a surreal and dreamy vibe.
- Use “HDR Toning” to create HDR effects. Go from Image > Adjustments > HDR Toning.
- Don’t overdo it because overly strong HDR effects can look artificial.
8. Lens Flares
Want to make outdoor pictures more realistic? Use lens flares! They can create a vintage or cinematic feel or add a touch of drama to portraits.
- Use the “Lens Flare” filter in Photoshop. Follow Filter > Render > Lens Flare.
- Now, choose from various lens flare presets.
- Finally, adjust the intensity, color, and position of the flare for a customized look.
9. Color Overlays
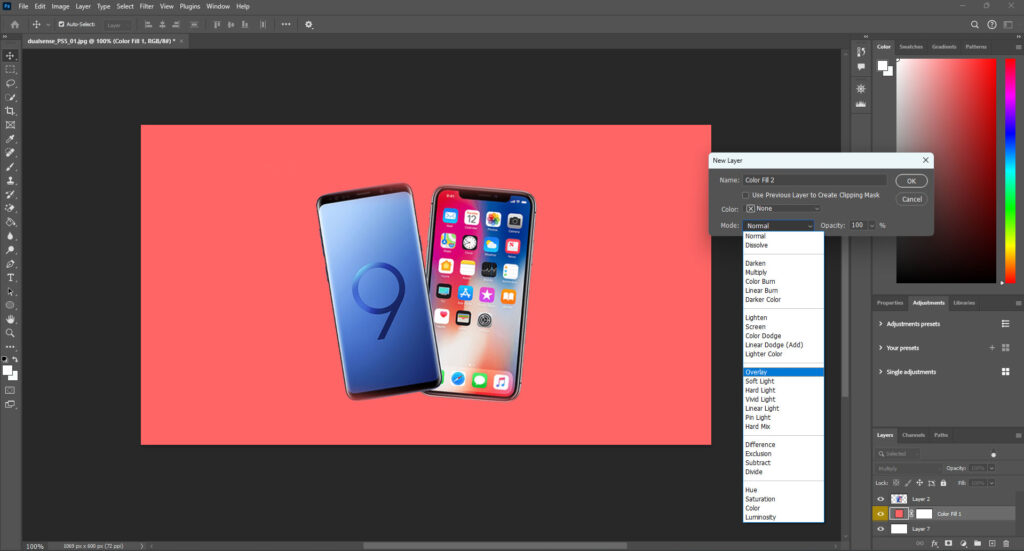
Color overlays are incredibly versatile. Use them to create a specific mood or color theme for your image, and add a pop of color to a bland background!
- Use a blank colored layer behind your subject.
- Adjust the blending mode to achieve the desired effect. Popular blending modes for color overlays include “Multiply,” “Overlay,” and “Soft Light.”
10. Cloudscapes
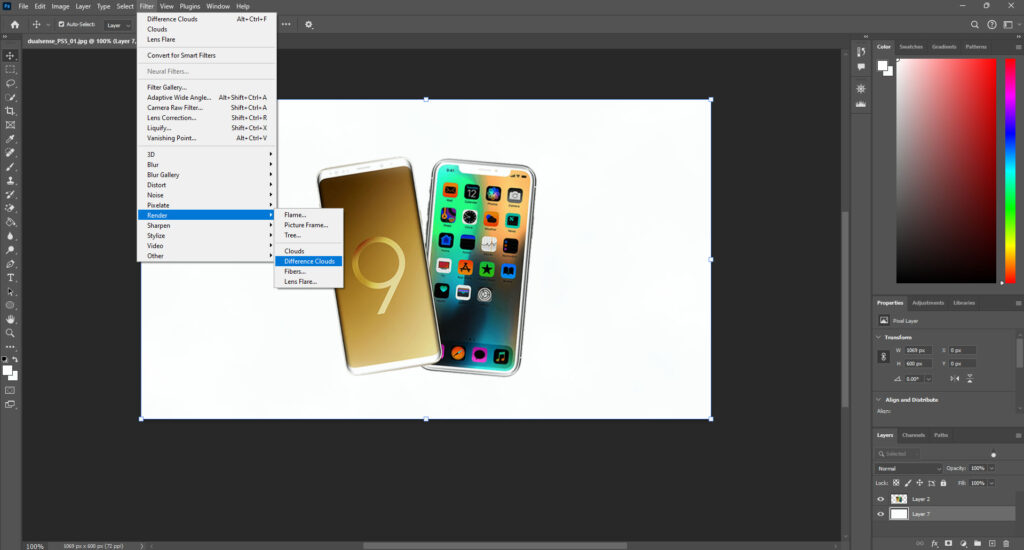
Cloudscapes can amplify landscape photographs and add drama to portraits shot outdoors.
- Use brushes designed for creating clouds or explore cloud filters like “Render Clouds.”
- Experiment with blending modes and adjustments like “Color Balance” to integrate the cloudscape seamlessly with the lighting in your image.
Finally, you can watch Photoshop BG tutorials to learn more. Experiment with different techniques, and don’t be afraid to push the boundaries!
Extra Tips for the Best Photoshop Background Effects
For an easy editing experience, we’ve gathered some expert tips on Photoshop background effects for you!
- Before diving into Photoshop, take a moment to visualize the desired effect.
- Analyze the lighting, colors, and overall style of your image, and choose a background that fits seamlessly.
- Always use non-destructive editing techniques. This means working on separate layers for adjustments and effects.
- You can experiment with different blending modes like “Multiply,” “Overlay,” “Soft Light,” and “Screen” to achieve various effects.
- Make sure to pay close attention to the color palette of your subject and the background.
Final Words
Want to add magic to your photos? Photoshop background effects are your secret weapon! From classic textures to dreamy bokeh, these effects can replace distractions, set the mood, or completely transform your image. Imagine a portrait with a swirling galaxy background!
Before editing, consider your photo’s overall style. Choose an effect that complements your subject for a natural look. Use non-destructive editing techniques (working on separate layers) to experiment freely. There are also blending modes to achieve unique results.
With a little practice, you can master Photoshop background effects. From subtle tweaks to dramatic changes, these effects let you express your creativity and create stunning visuals. So grab your favorite photo and start experimenting!
Meta Clipping Path – A well-known one-stop photo editing service provider company with 5+ years of experience and 25+ highly skilled professionals.
Working with 20 reputed worldwide e-commerce companies and 200+ satisfied customers.
![Read more about the article How to Change Background for Photography Editing [Edit Photos on Photoshop Like a Pro]](https://metaclippingpath.com/wp-content/uploads/2024/06/Background-for-Photography-Editing-300x160.png)
![Read more about the article 11 Creative Background for Jewelry Photography [2025 Updated]](https://metaclippingpath.com/wp-content/uploads/2024/06/Background-for-Jewelry-Photography-300x160.png)